Quite a few people have remarked on the covered buttons for my recently finished Merchant and Mills September Coat so I have done this tutorial . https://merchantandmills.com/eu/the-september On a previous blog post you can also see how I made covered buttons for the @MunaAndBroad #Waikerie, which I made as a duster. Muna and Broad Waikerie Duster
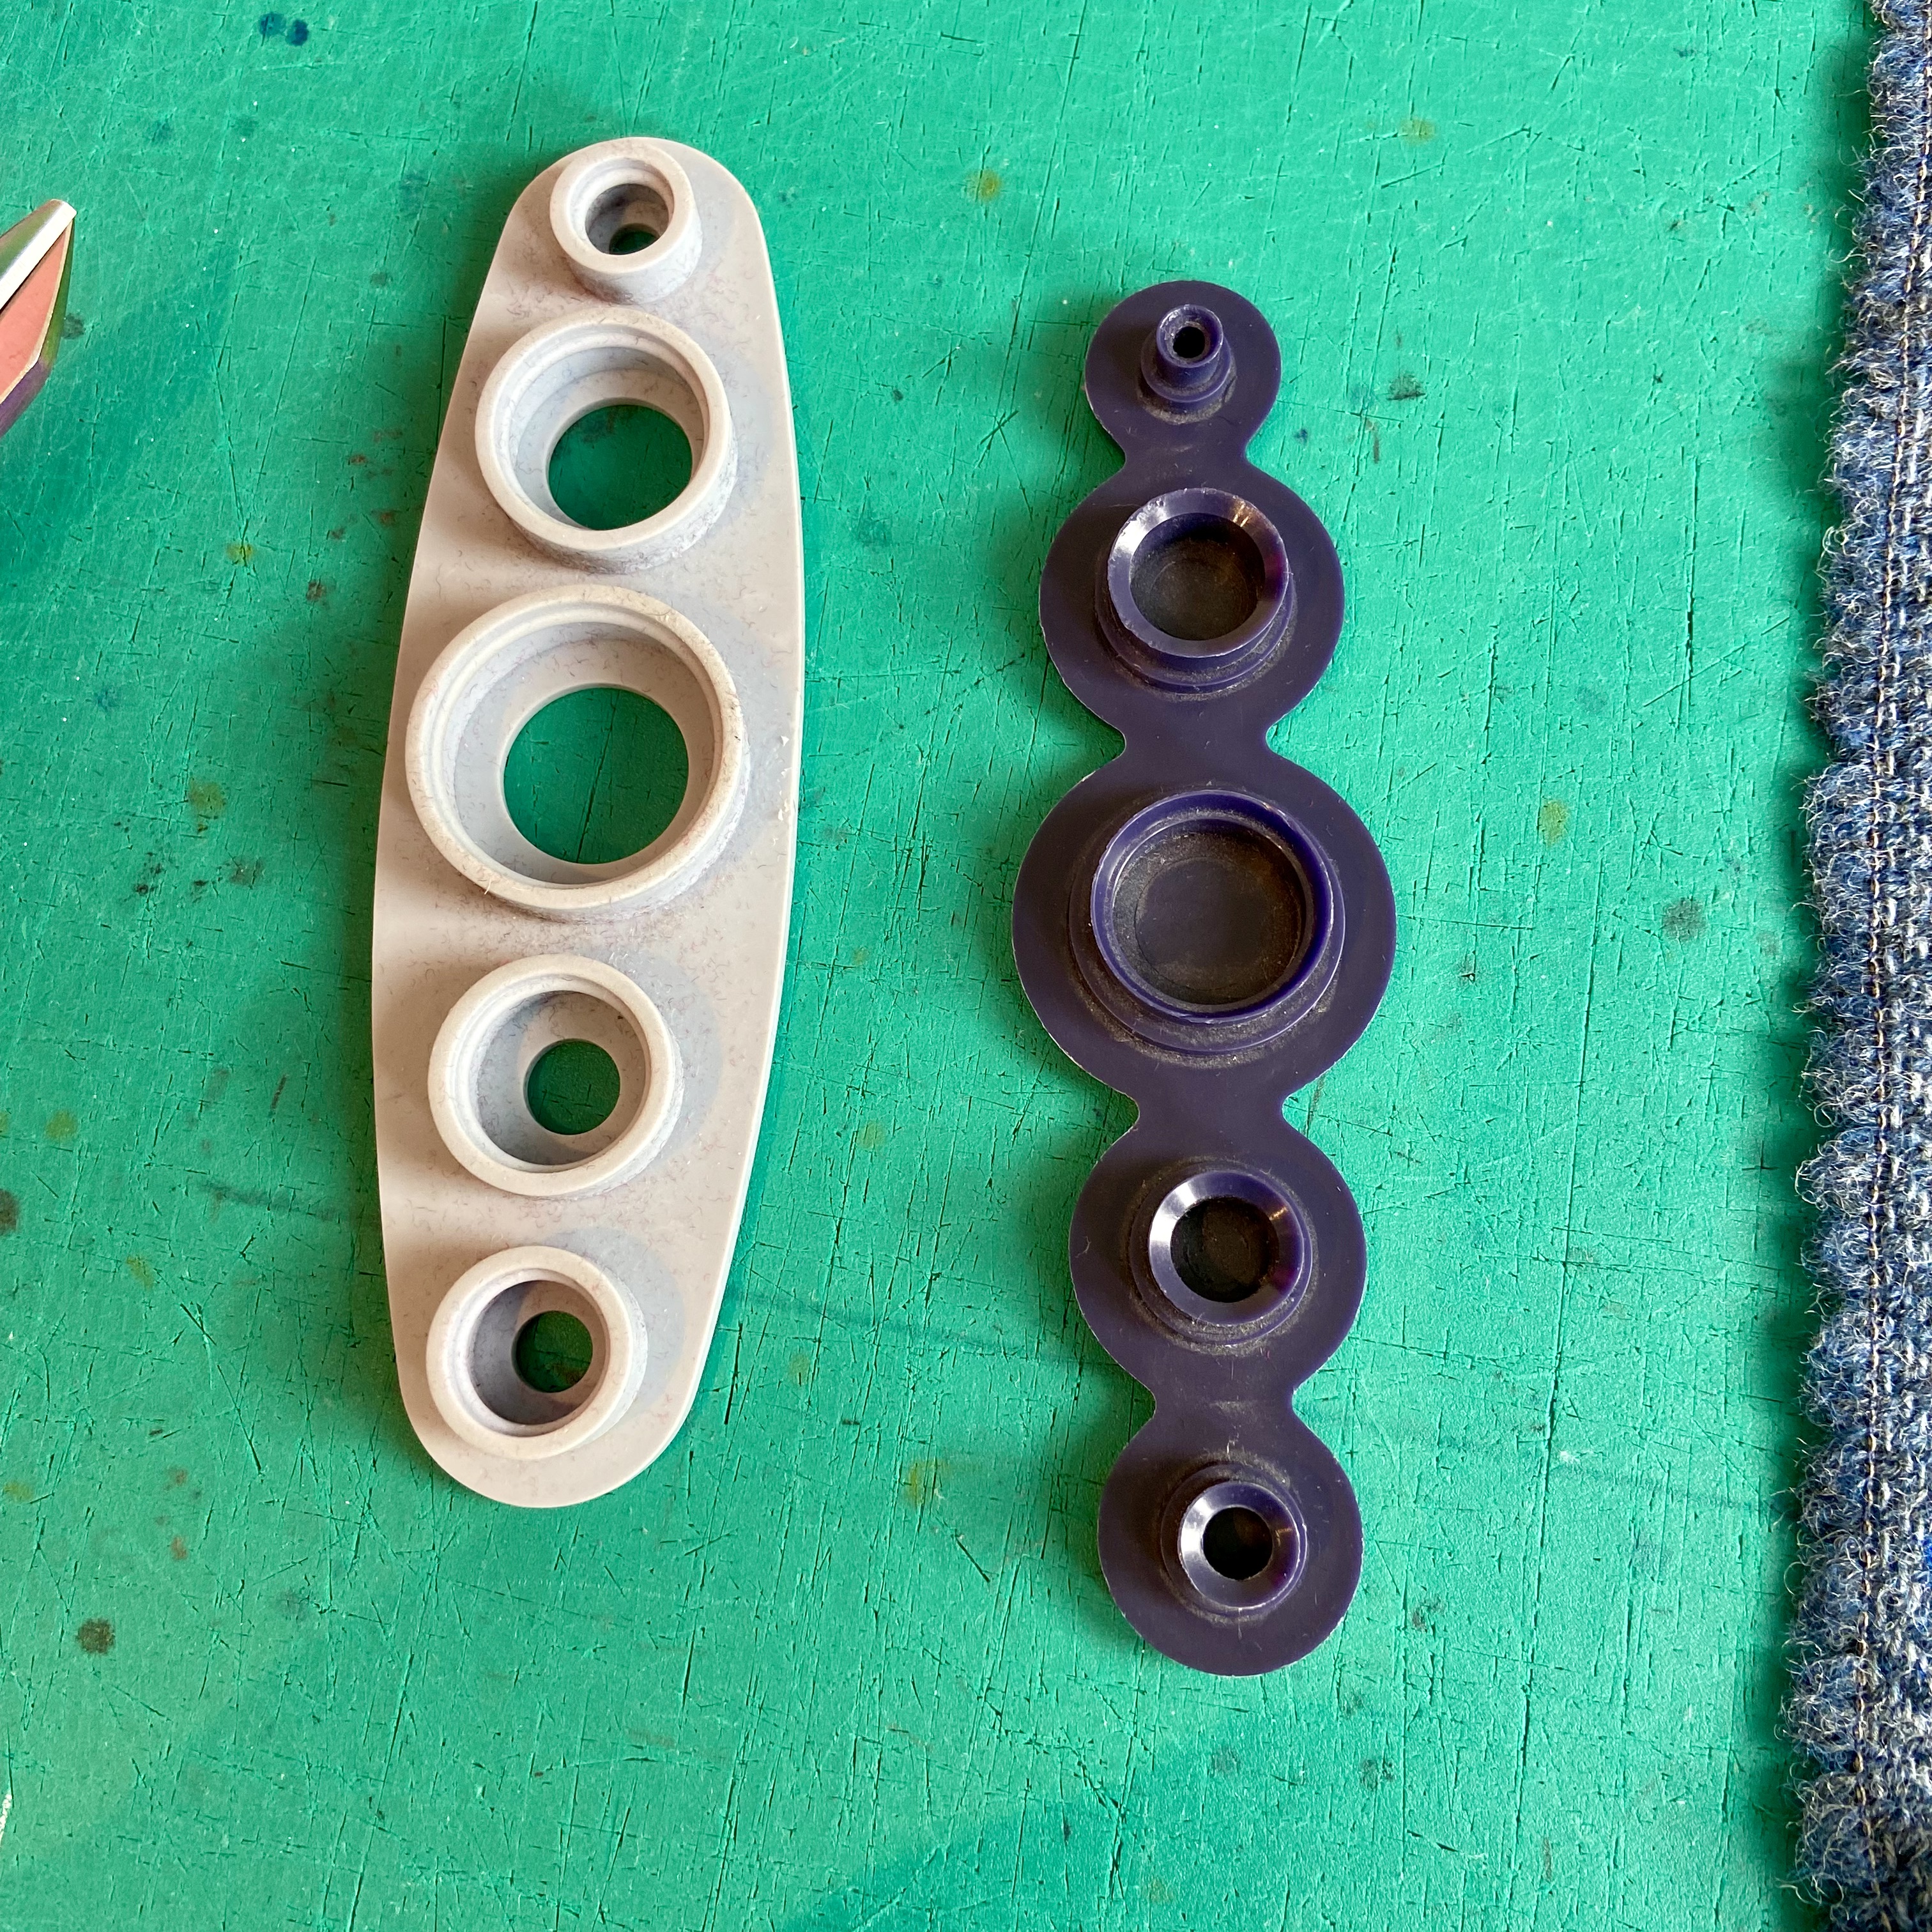
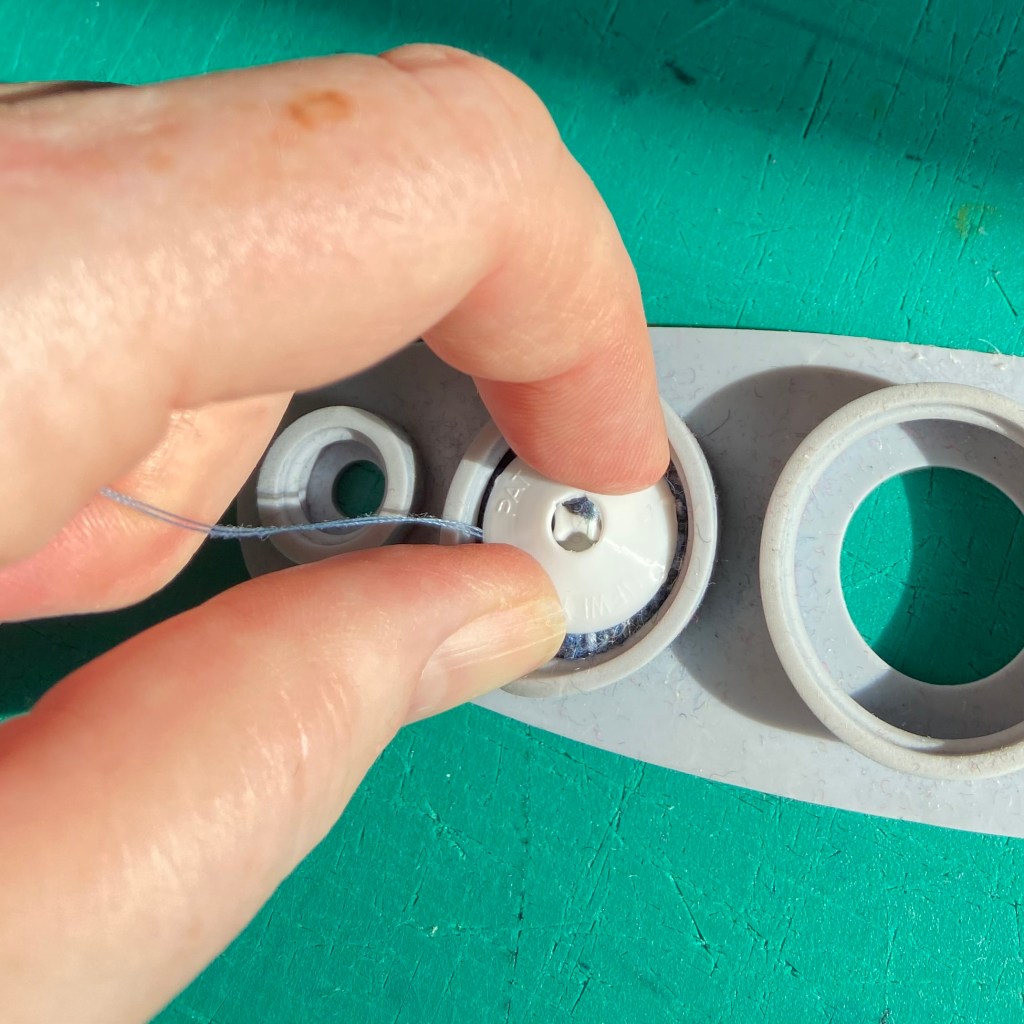
I love the look of covered buttons and it makes it easy to match or contrast with the garment. They are really easy to make – it takes me five minutes or less to make one. I use the Prym Universal Tool for Cover Buttons 11-29mm – it costs under five pounds on Amazon. If your button is 1 or 2mm different to any of the sizes in the tool, it will still work.
I have experimented with different blanks and while the metal ones are aesthetically pleasing, I find the plastic ones easier to use and they last really well. The blanks come in many sizes.
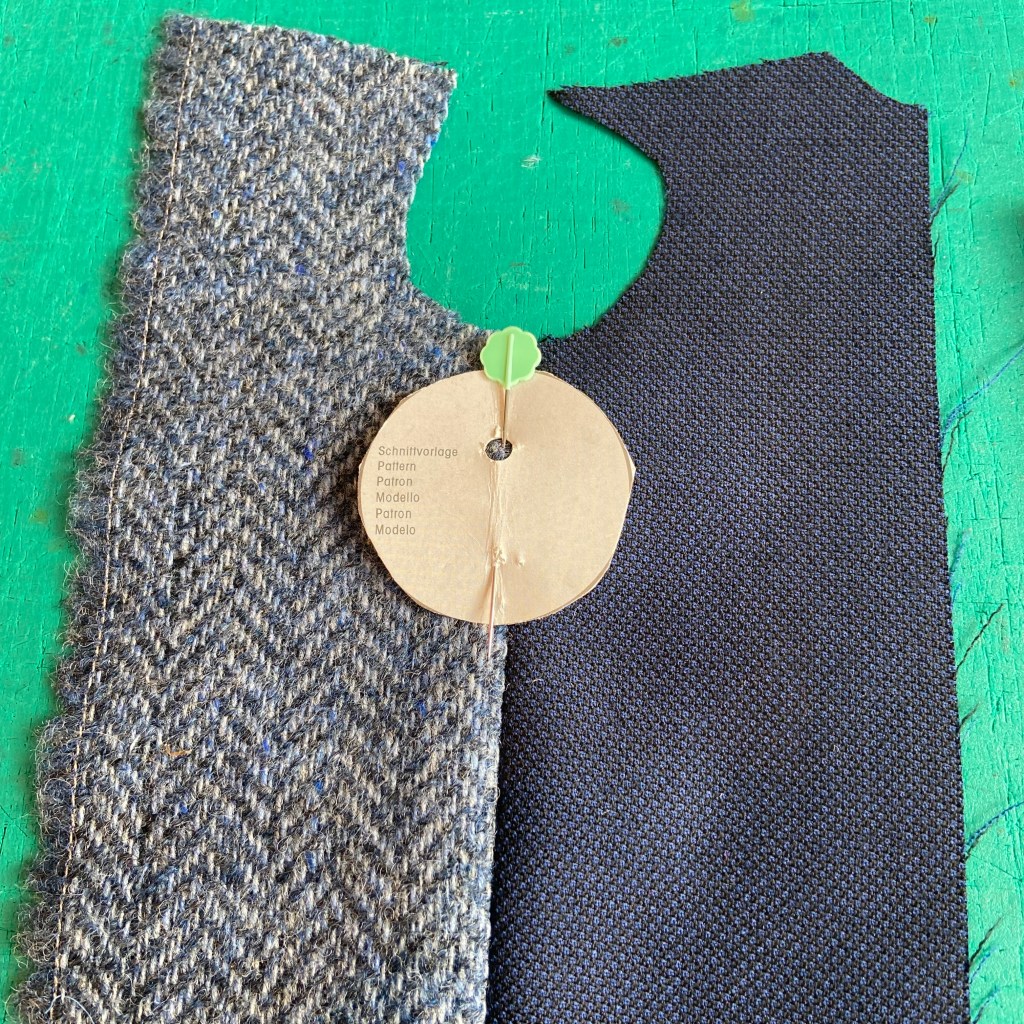
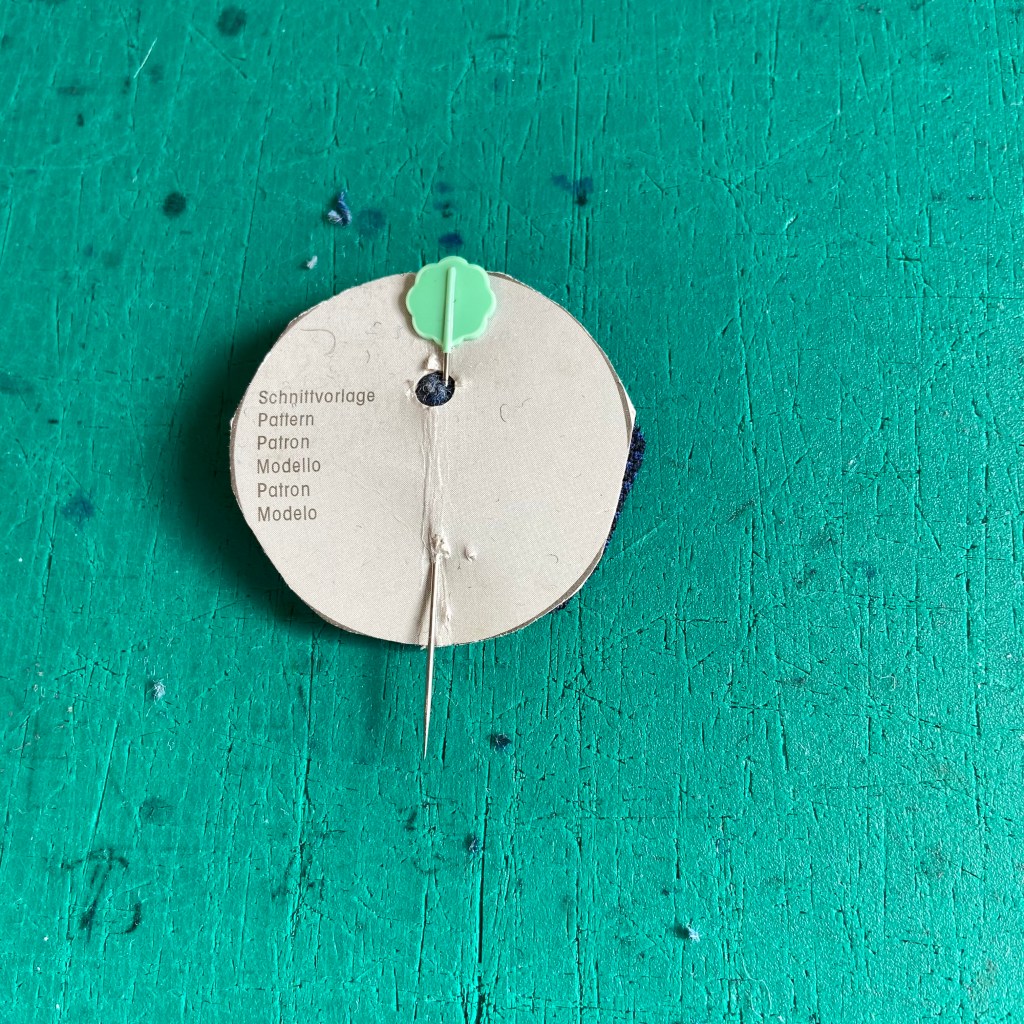
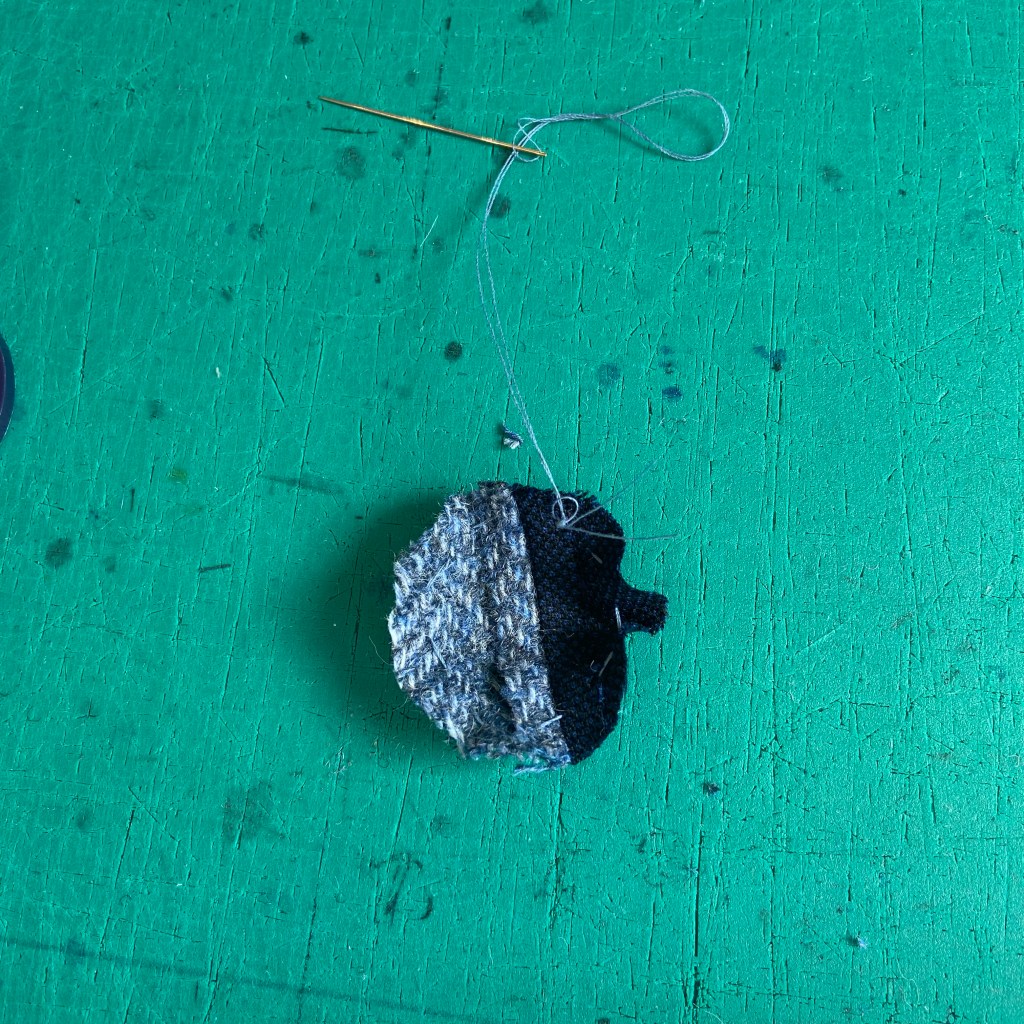
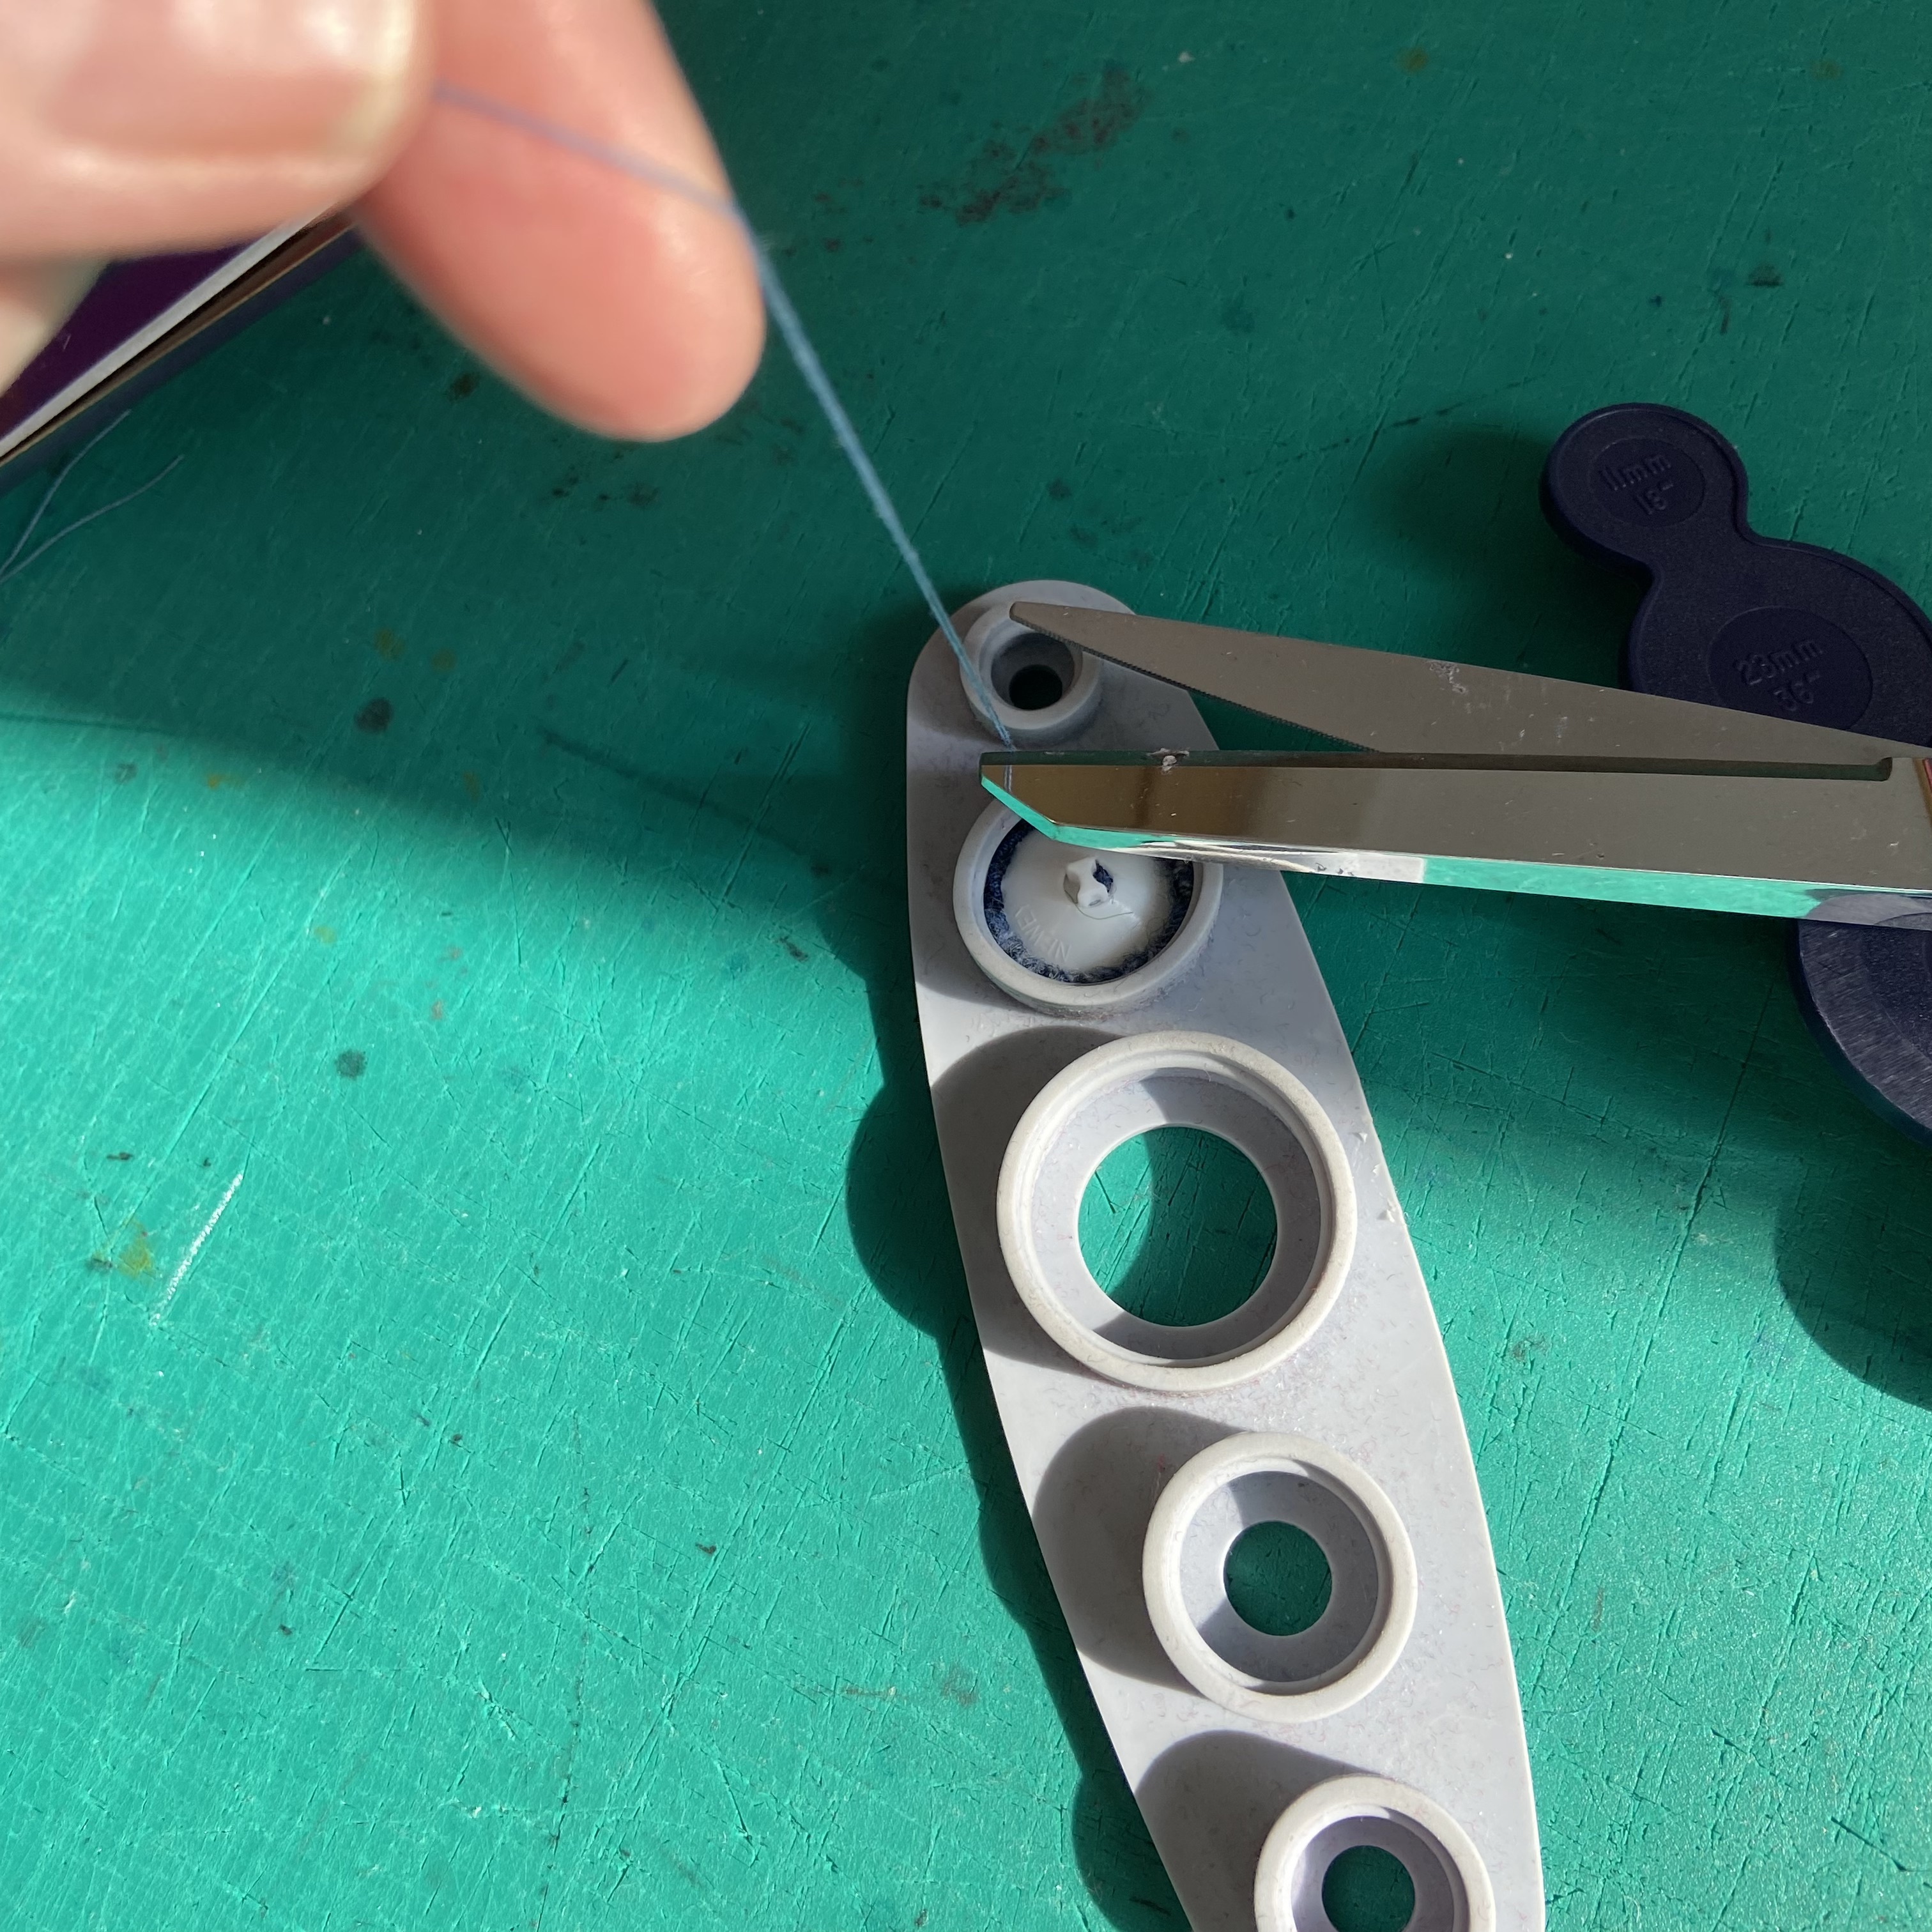
It makes life a lot easier if you do a running stitch around the edge of your cutout circle before inserting it into the tool.
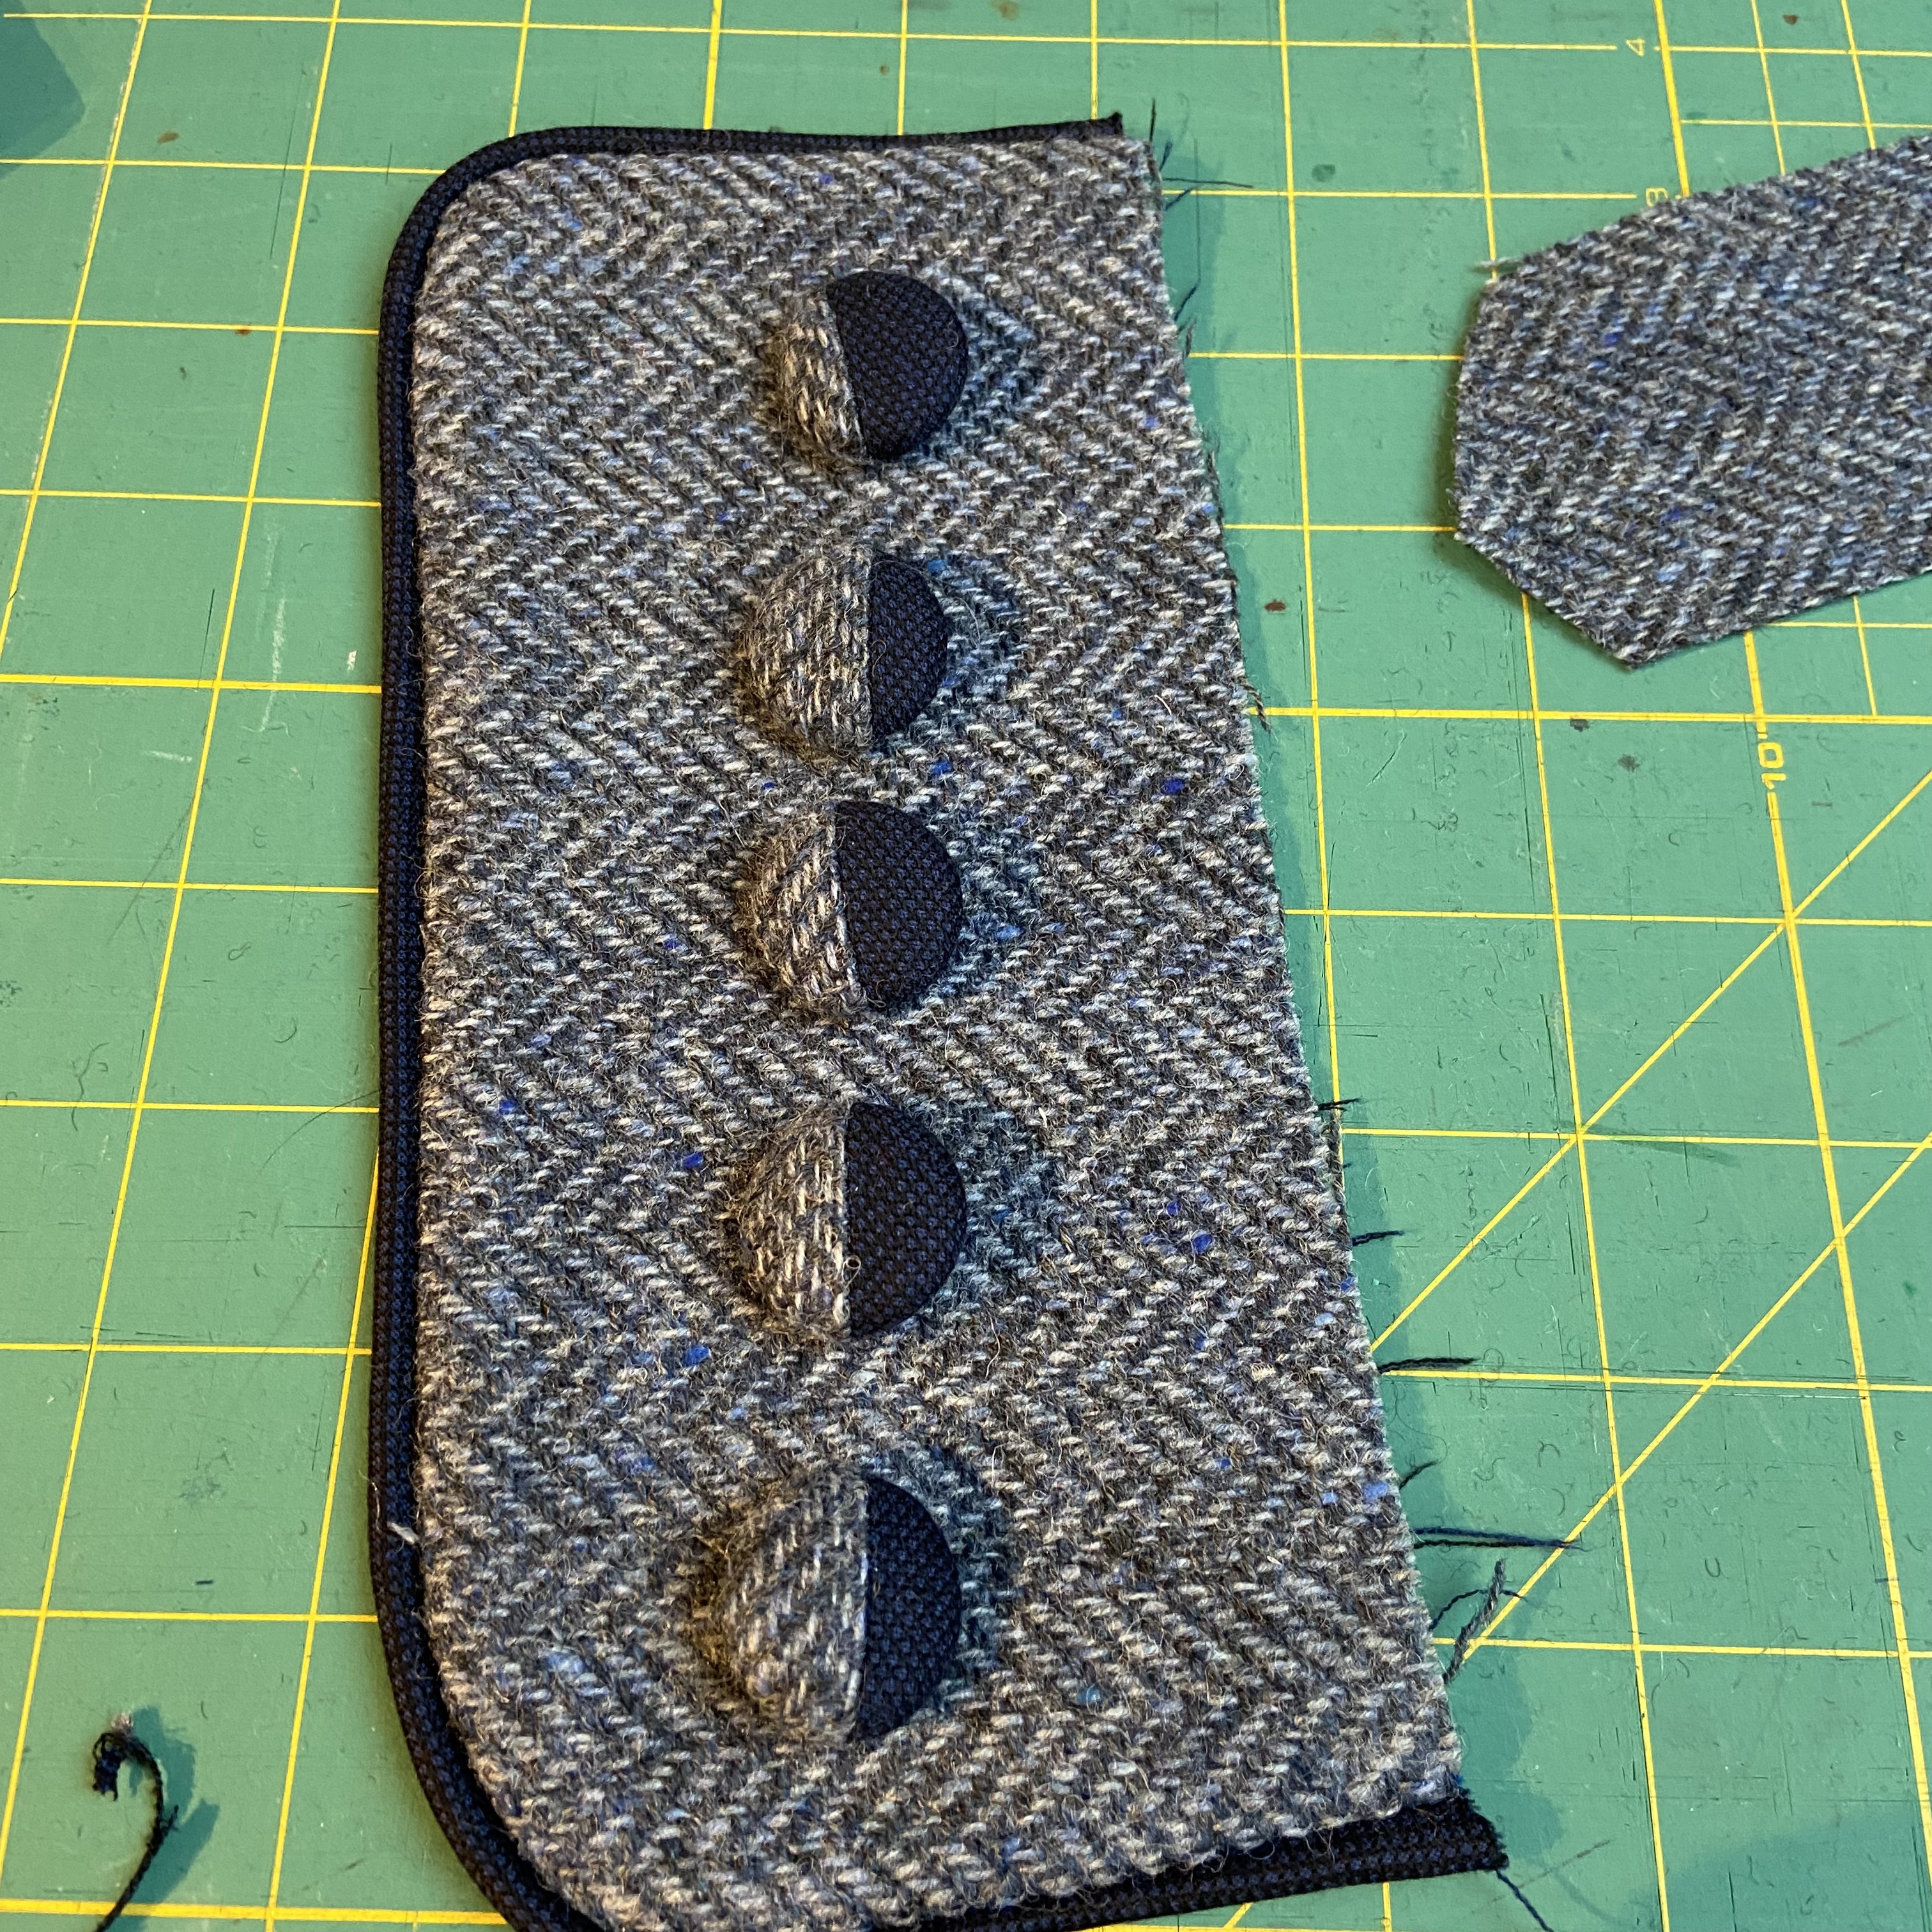
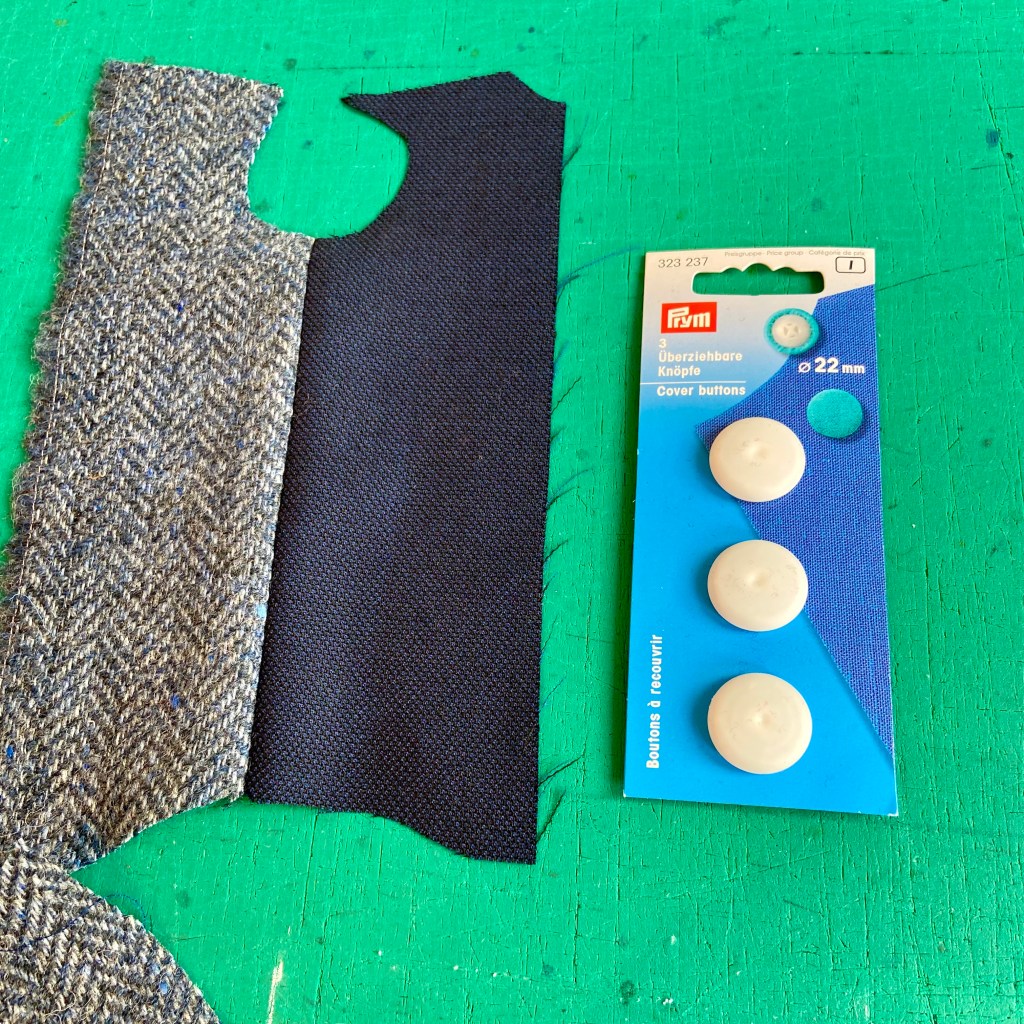
For these 22mm buttons for the September Coat, I just sewed two strips of fabric together, trimmed down the seam and cut out as usual. I don’t think this would work for a much smaller button as the seam allowance would be too bulky.
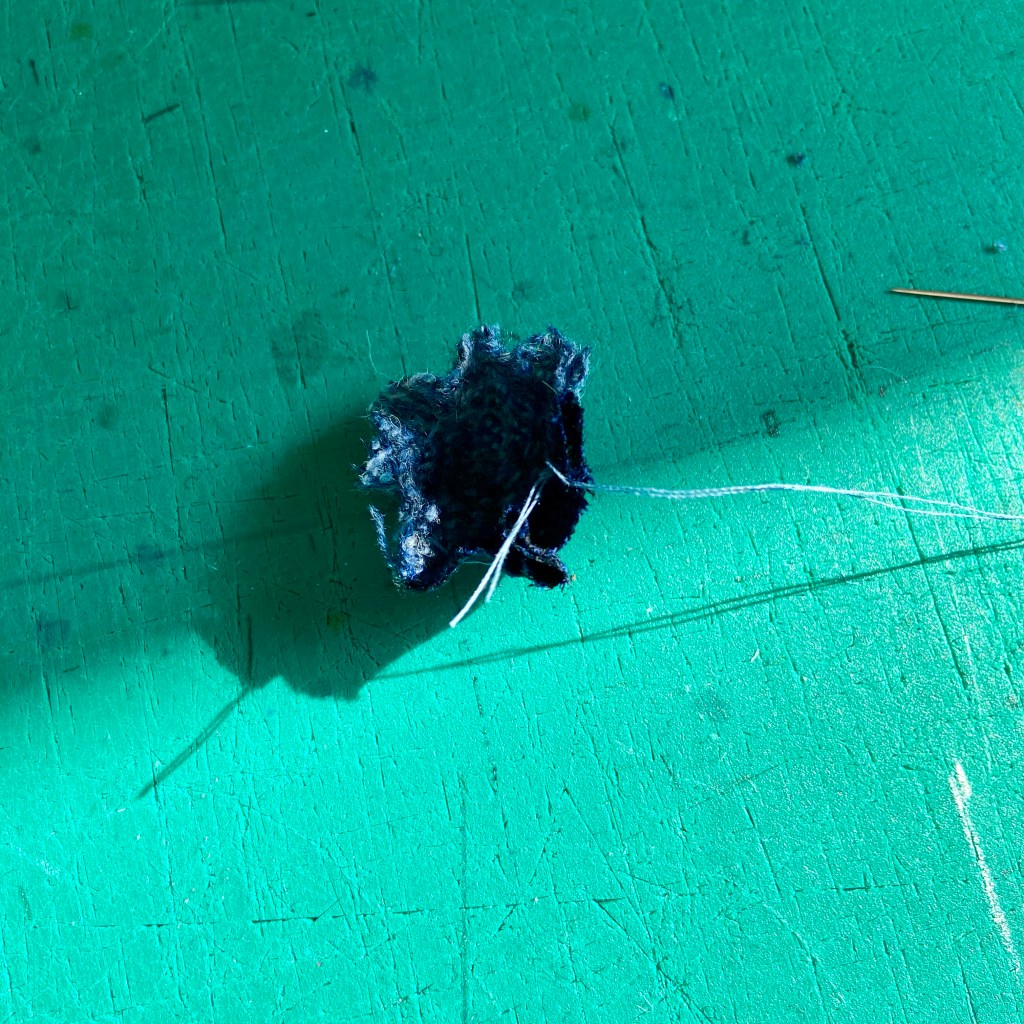
I also used the very lightweight plain navy wool for the piping, the undercollar and to face the pocket flaps. I didn’t worry about the dividing line down the middle of the button being at the exact centre.


[…] ButtonsI used covered buttons. You can see the full details here. […]
LikeLike