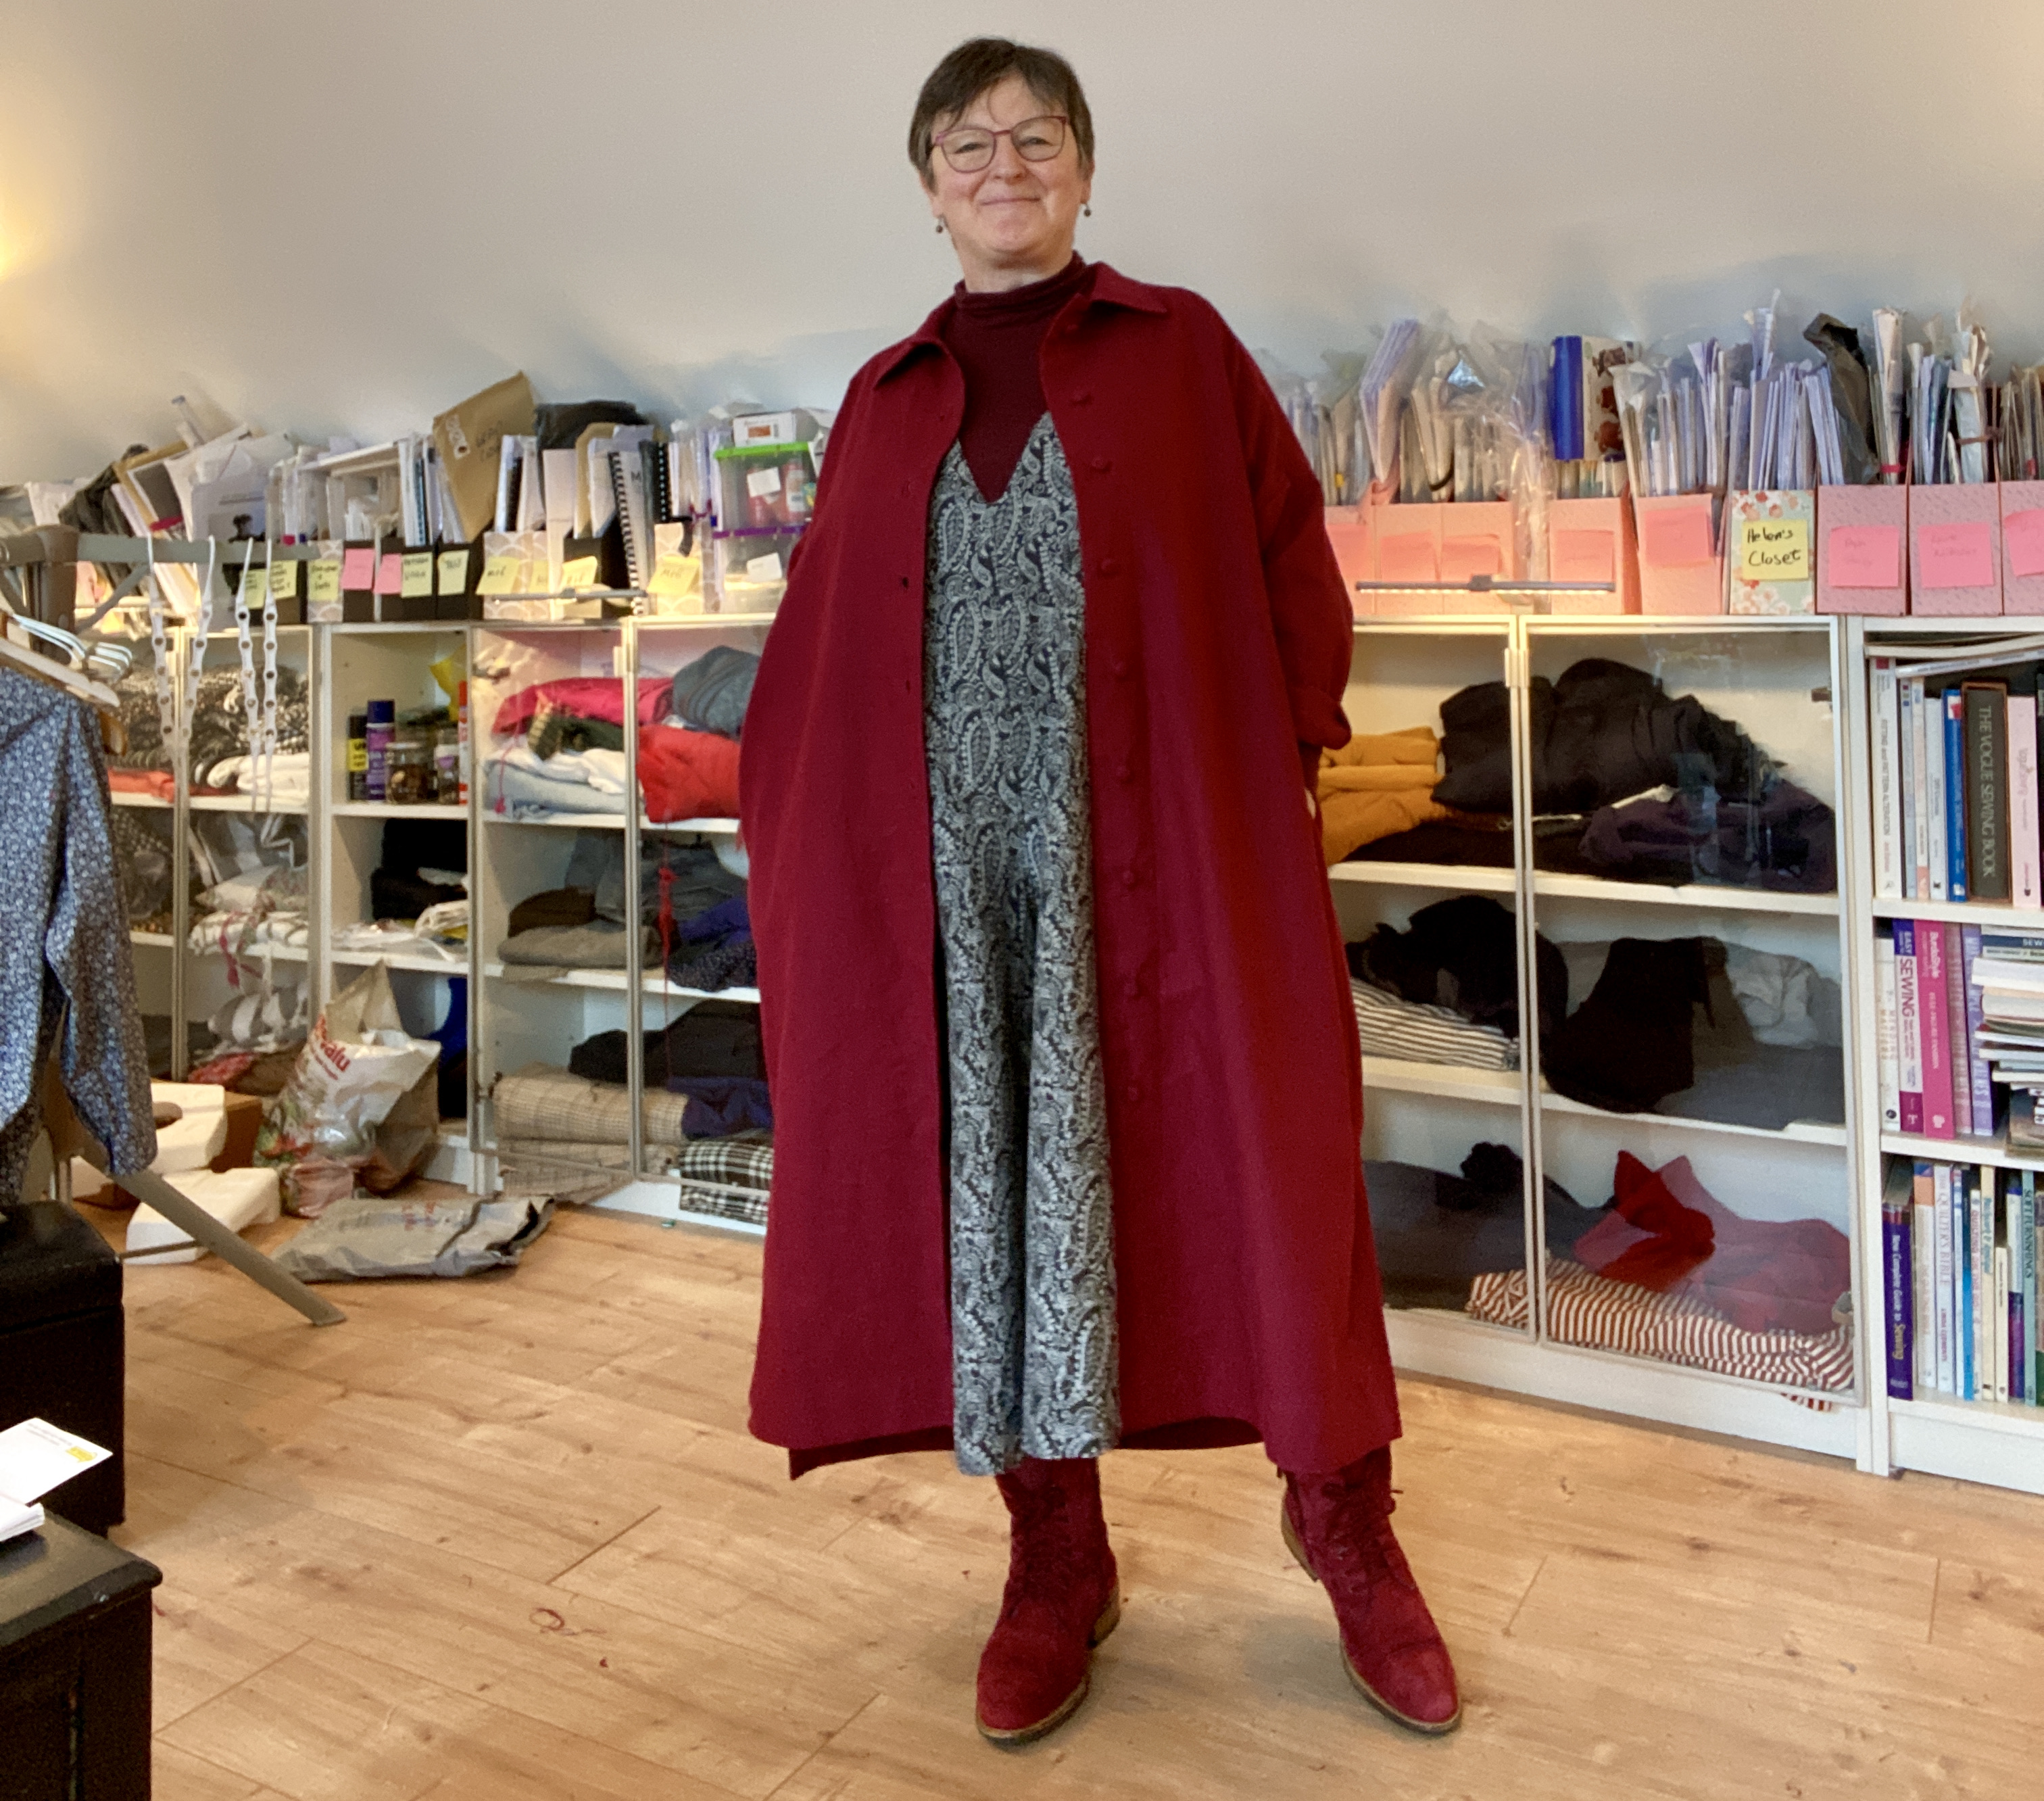
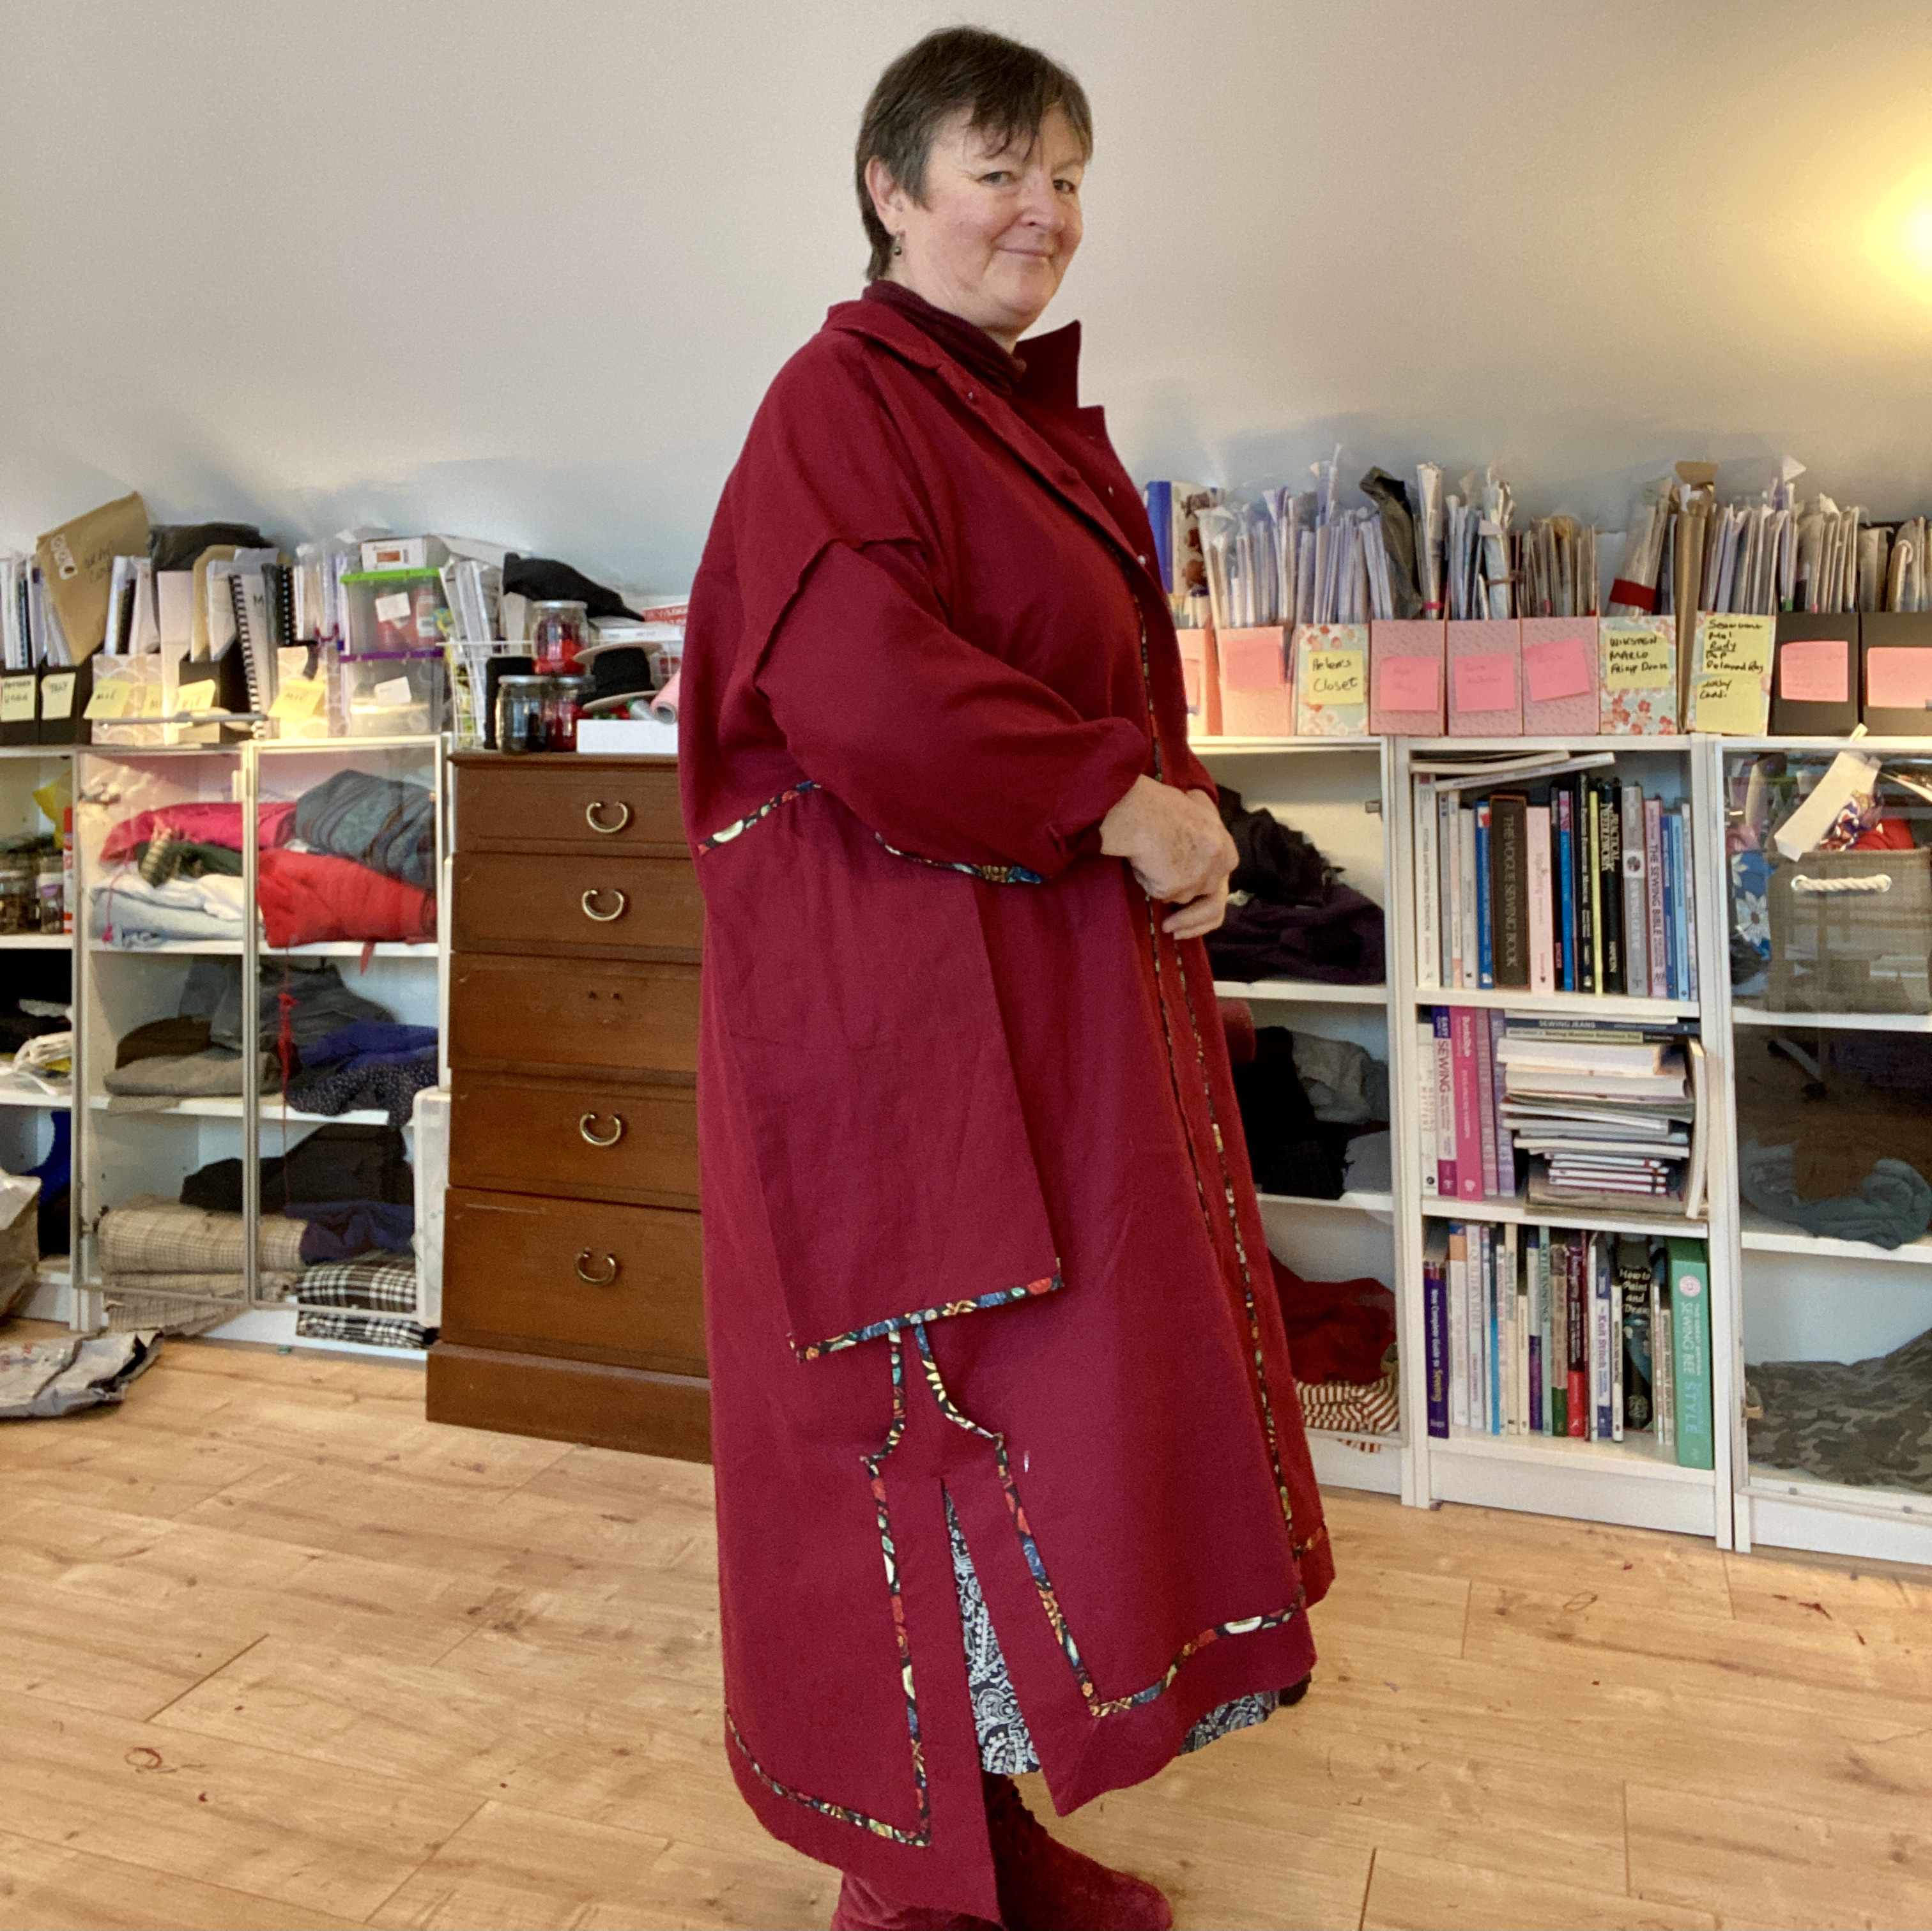
A real pleasure to sew and wear
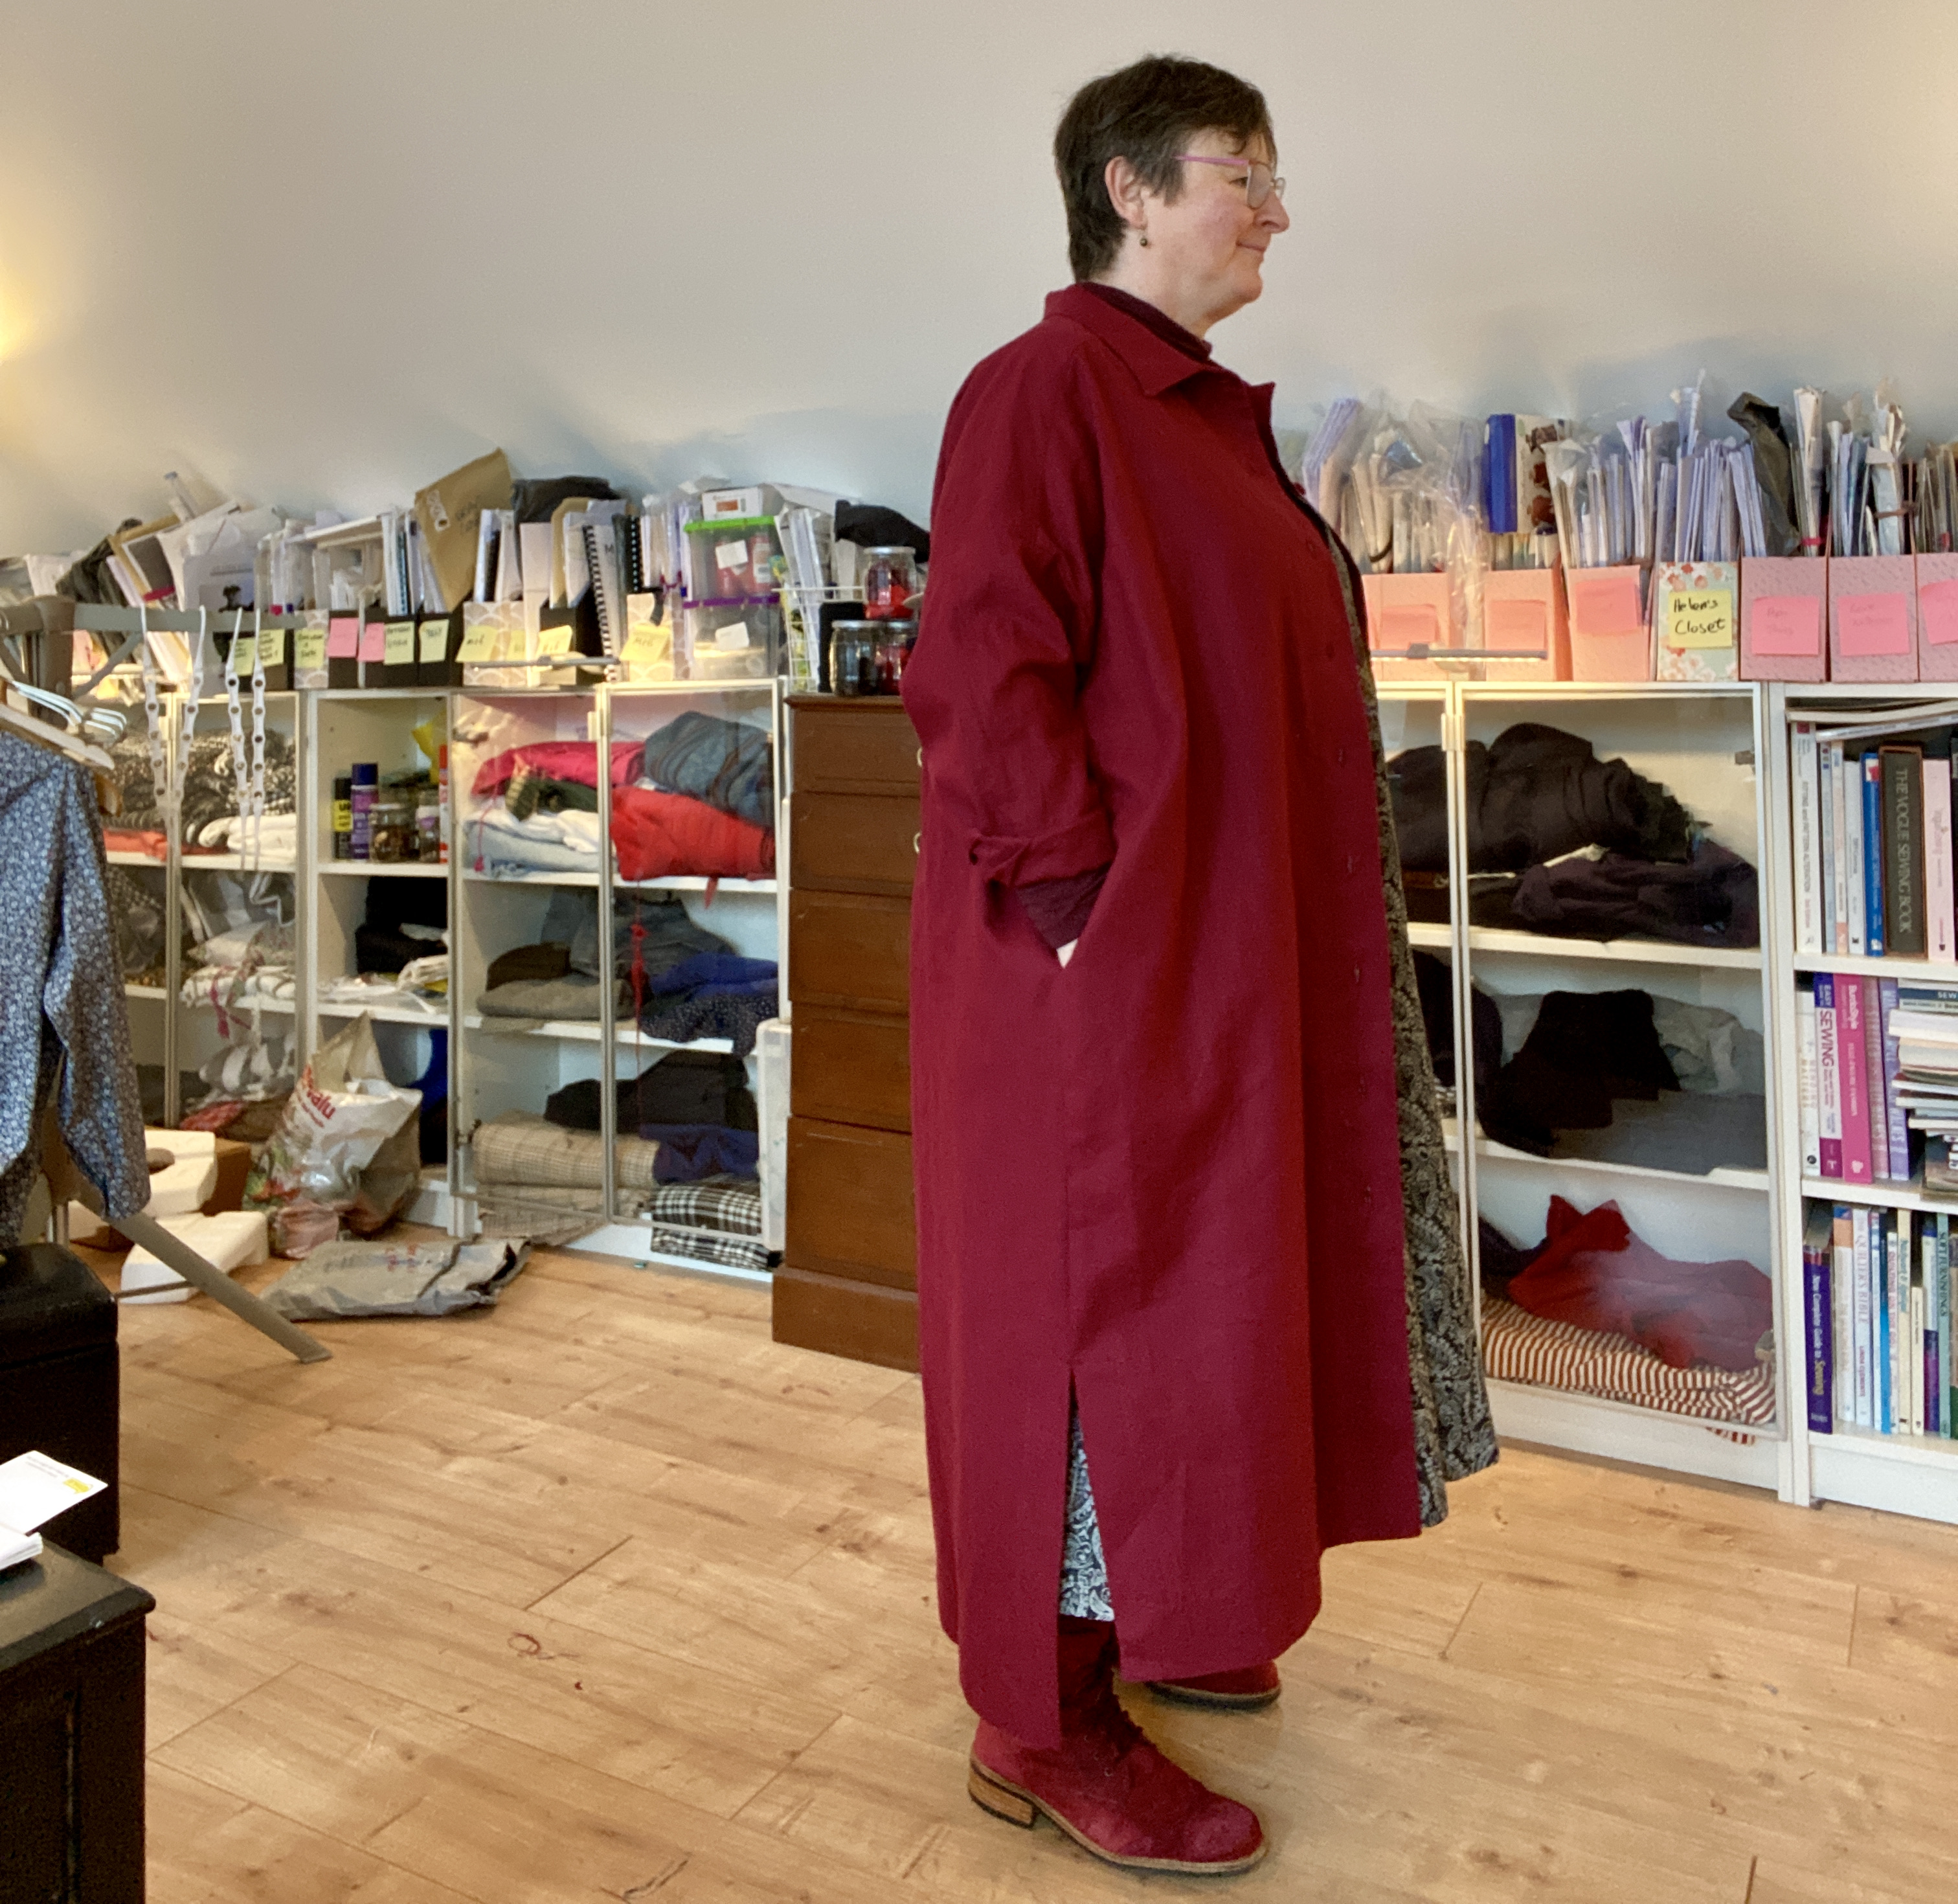
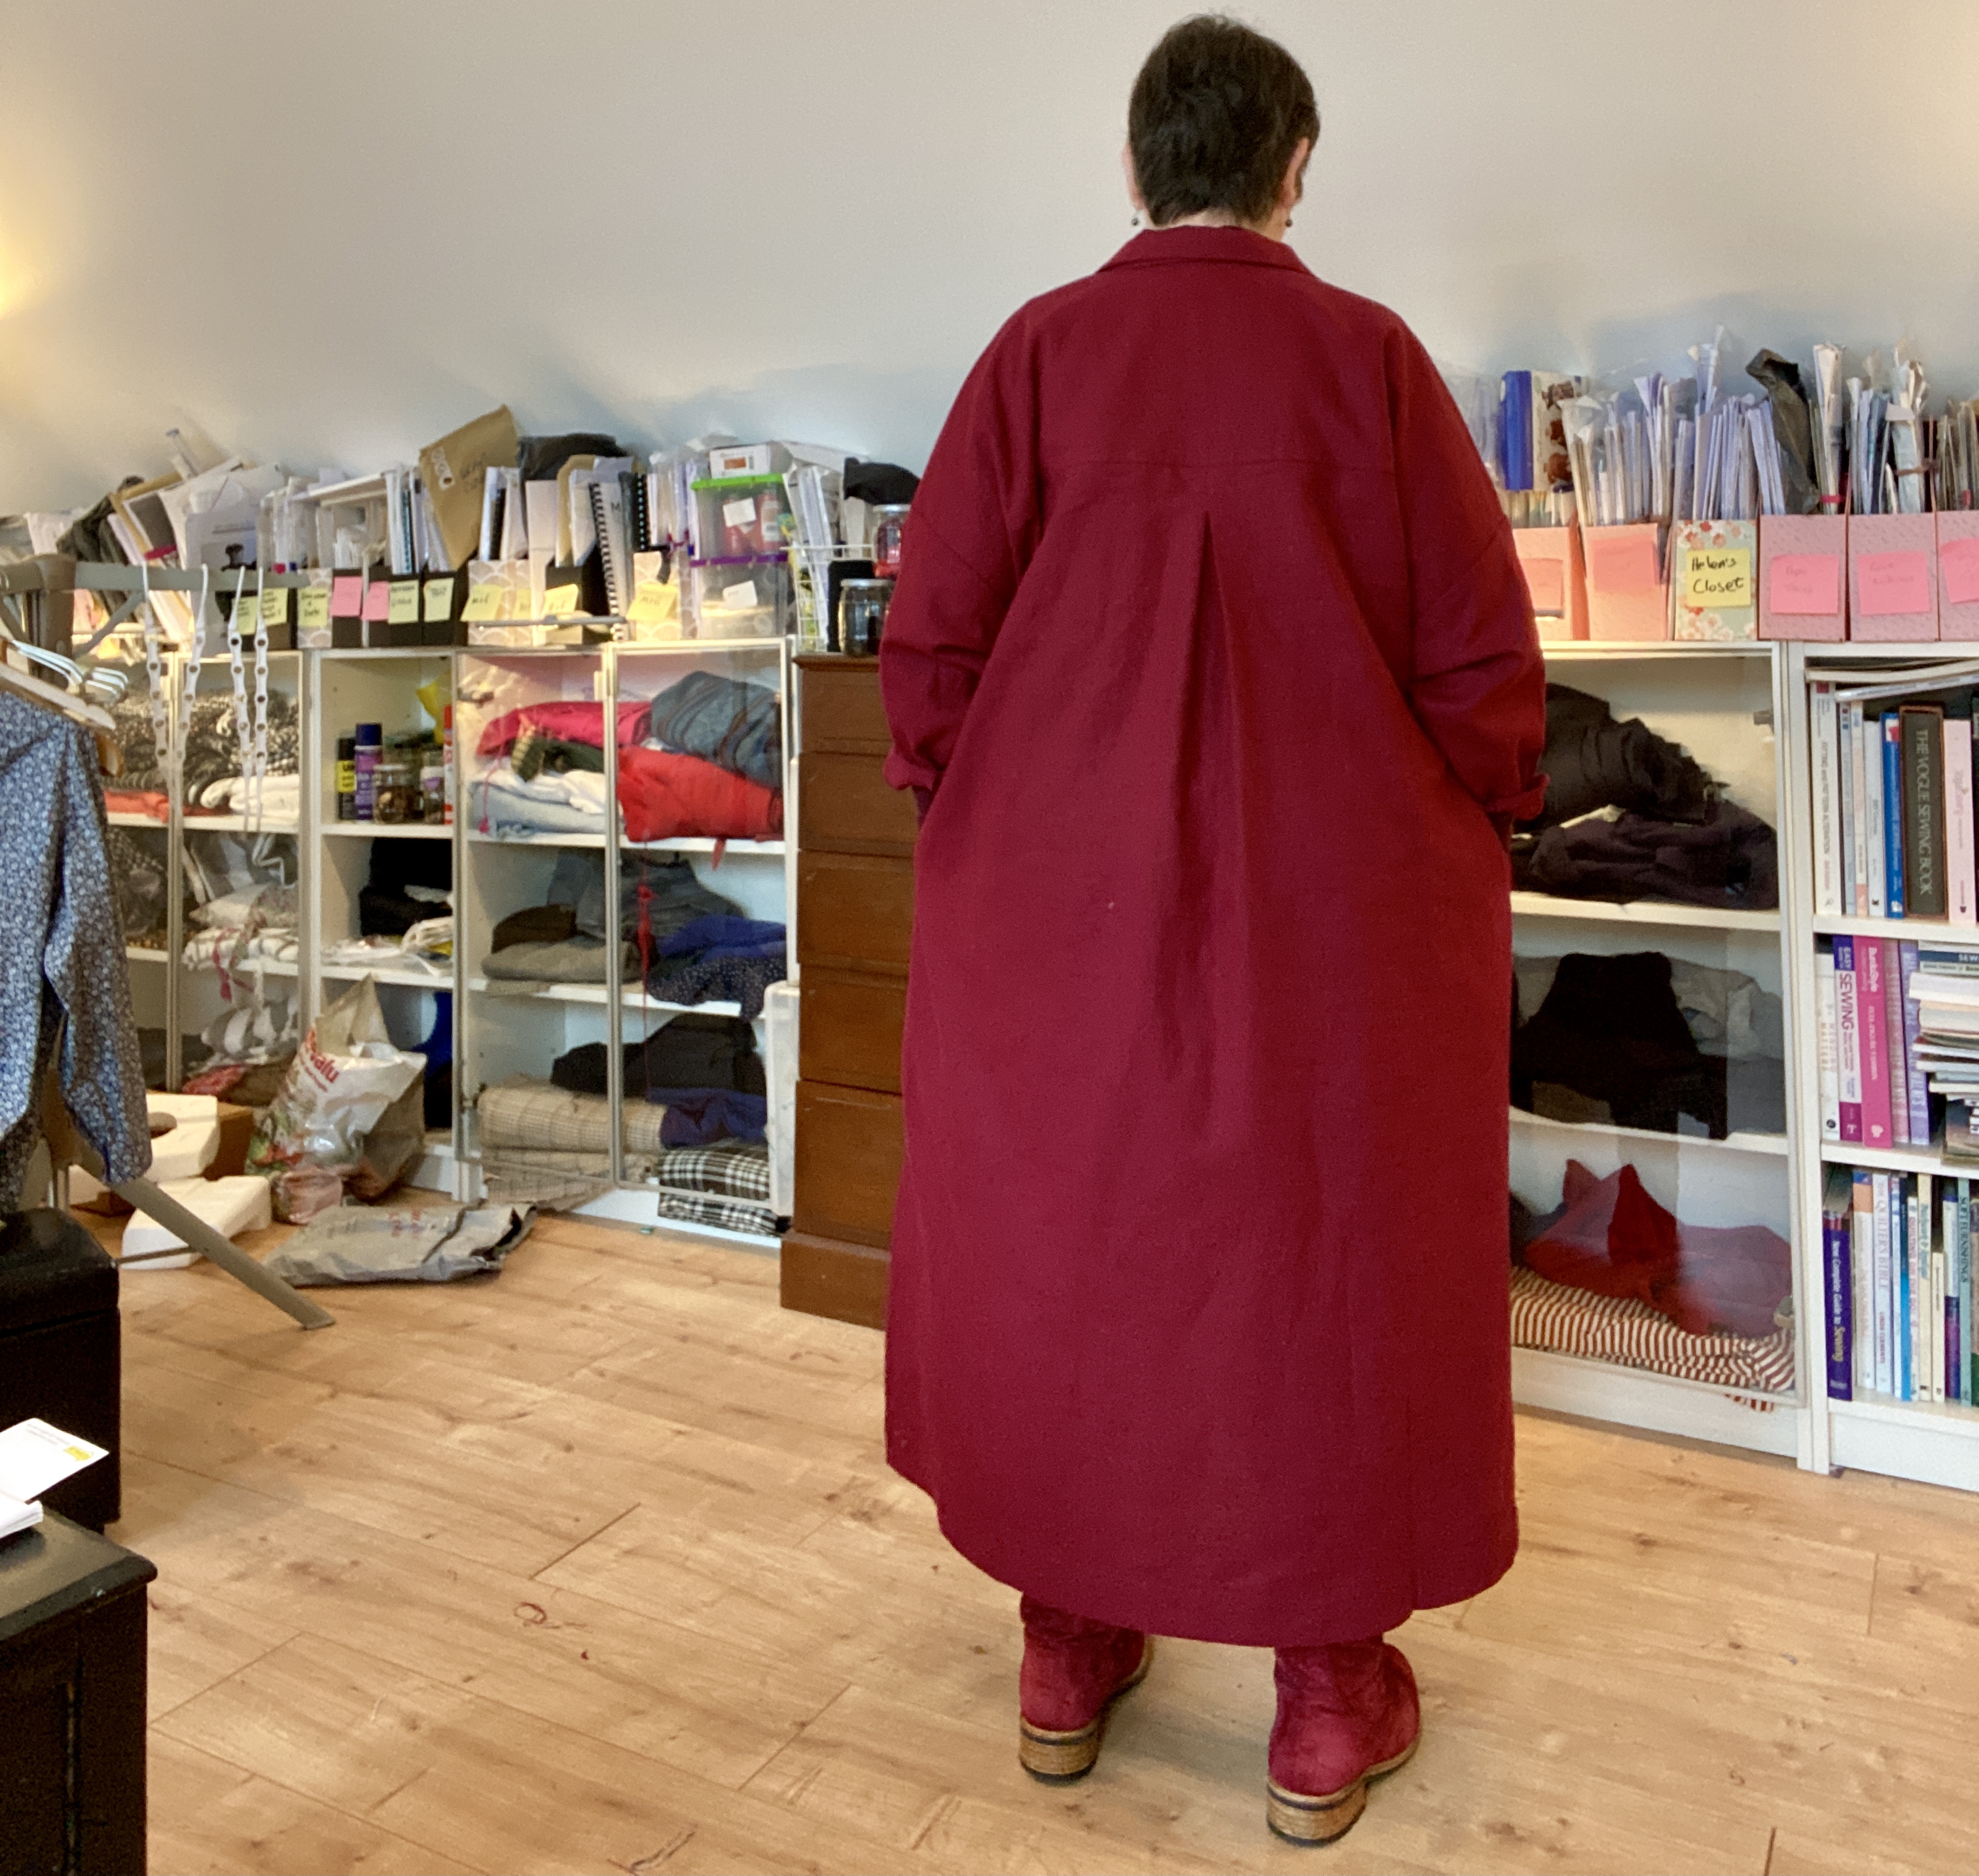
Okay, I adore this! It’s a duster version of the Muna and Broad Waikerie Shirt/Dress. Because I’m wearing it as a spring/summer coat and probably mostly open, I did Hong Kong binding on all the seams, the hem and the pocket edges and it was worth the trouble. I serged the armsyce because I have found in the past that this seam can feel too bulky and uncomfortable with all those layers if they are HK bound.
As usual with M&B patterns there are wonderful video tutorials from @leila_sews to accompany this pattern. I found the one on the pocket and the collar especially helpful.
I had never done a collar with no stand before. The only tricky bit was attaching the centre back collar on the inside. I ended up hand sewing this because this linen is medium-heavy weight and it was easier to control when sewing by hand. This is only a small section so it didn’t take long.
I used a medium-heavy weight linen that was very good value from http://www.purelinen.ie. It was very suitable for this coat version but I think it would be too heavy for a dress.
I did end up with the interfaced side of the back collar in the wrong position, but I don’t think it really matters!
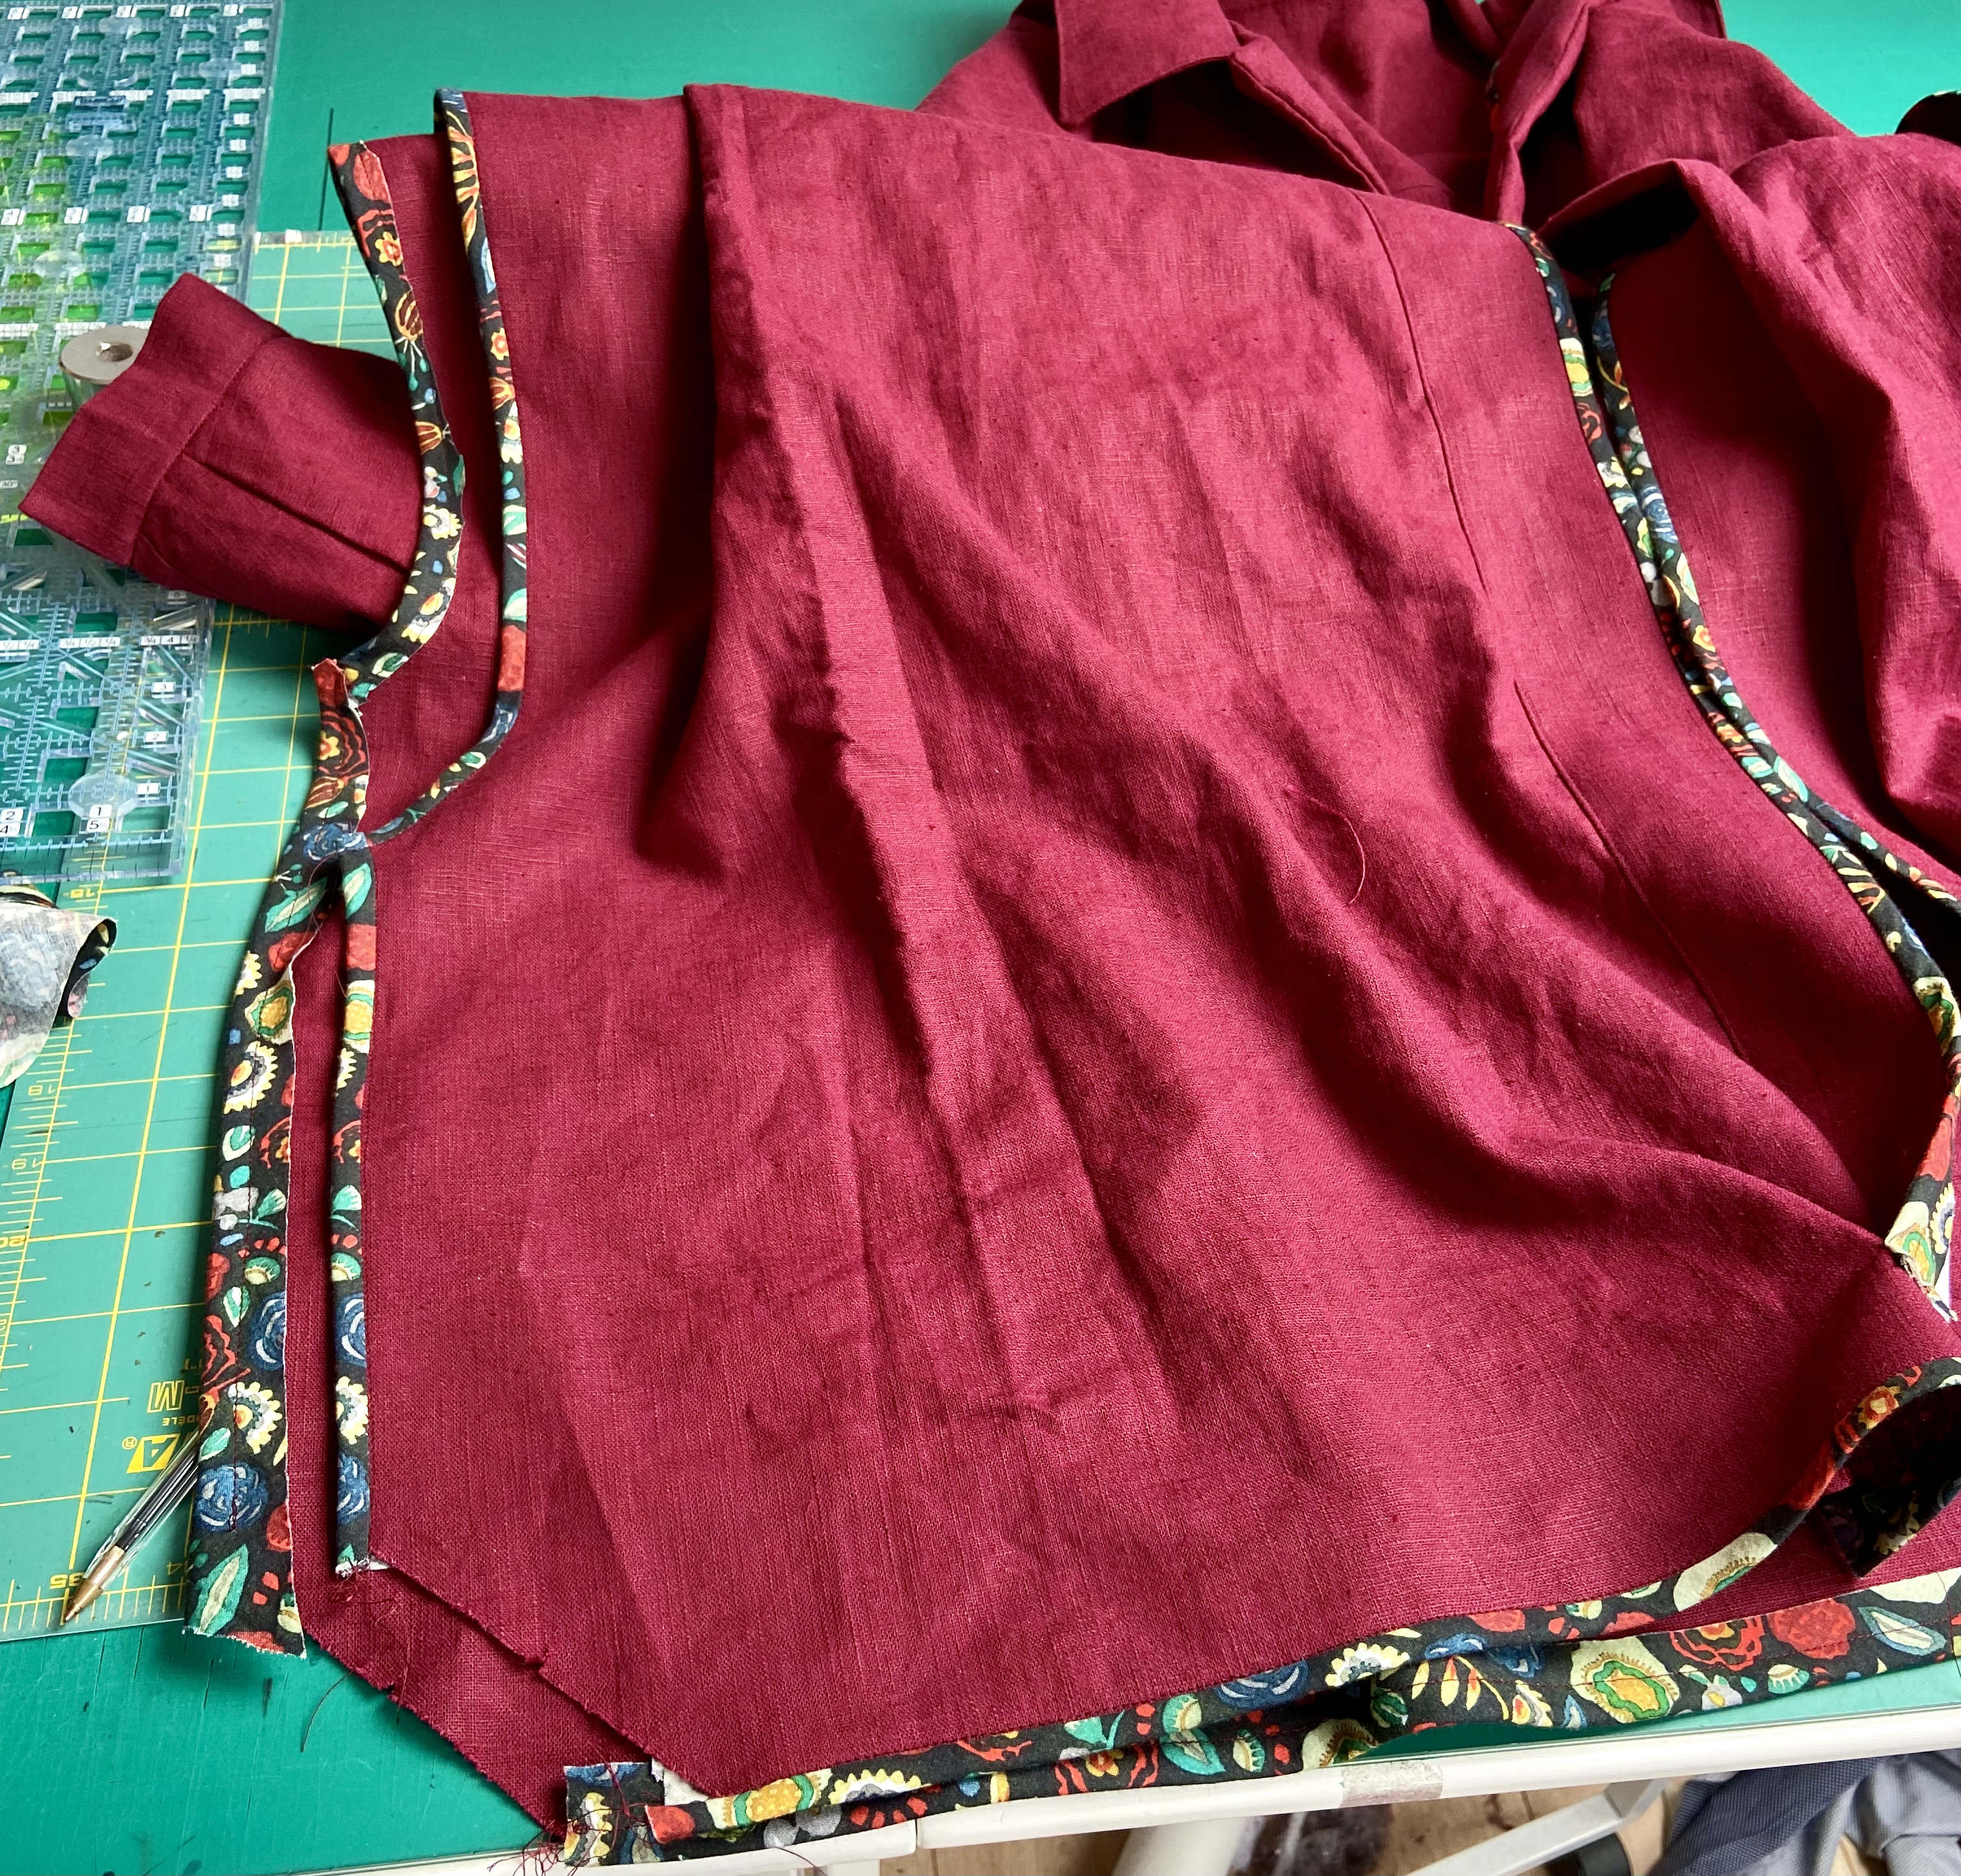
The pockets are an ingenious design that go between back and front and are topstitched at the top. I was using a faux hand-stitched kind of saddle stitch on my machine so needed to top-stitch from the outside. I basted the pocket with white thread and then followed just inside that line.
I used the same top-stitch all around the facing and hems. I pinned these in place and did them from the outside too. The Hong Kong binding on the inside makes these easy to feel on the outside so I didn’t need to baste or mark them.
In several places in this pattern you sew up to adjoining seams. I found there was too much in the way behind my sewing foot to do this easily. So I started these in the middle and then sewed to the join (on both sides). This made it much easier.
This was so easy to fit for me too. I graded from D at the shoulders out to E lower down. I used the E sleeves but used a 3/8” seam allowance instead of 4/8 because I like plenty of room in my sleeves. And I planned to wear this over other clothes. The sleeve cuff is a bit snug on me so I would make it one size bigger the next time. For now, I moved the button to the very edge and it’s grand.
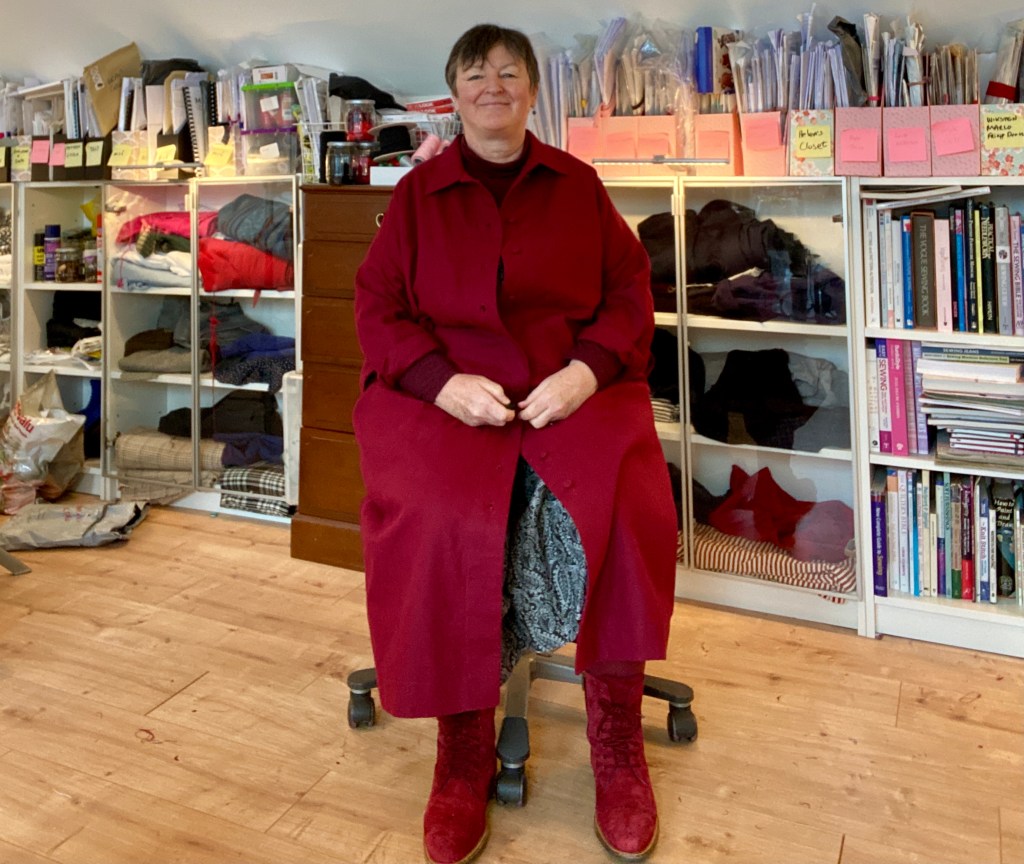
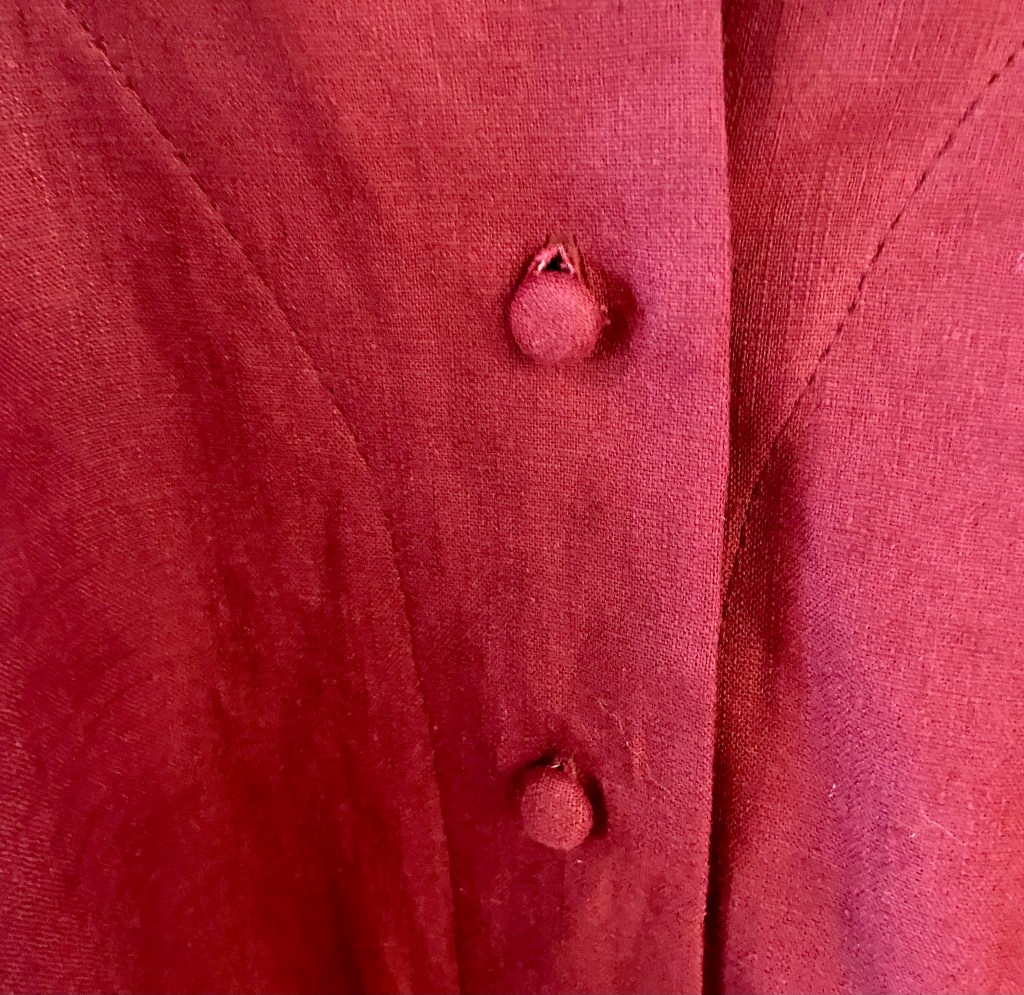
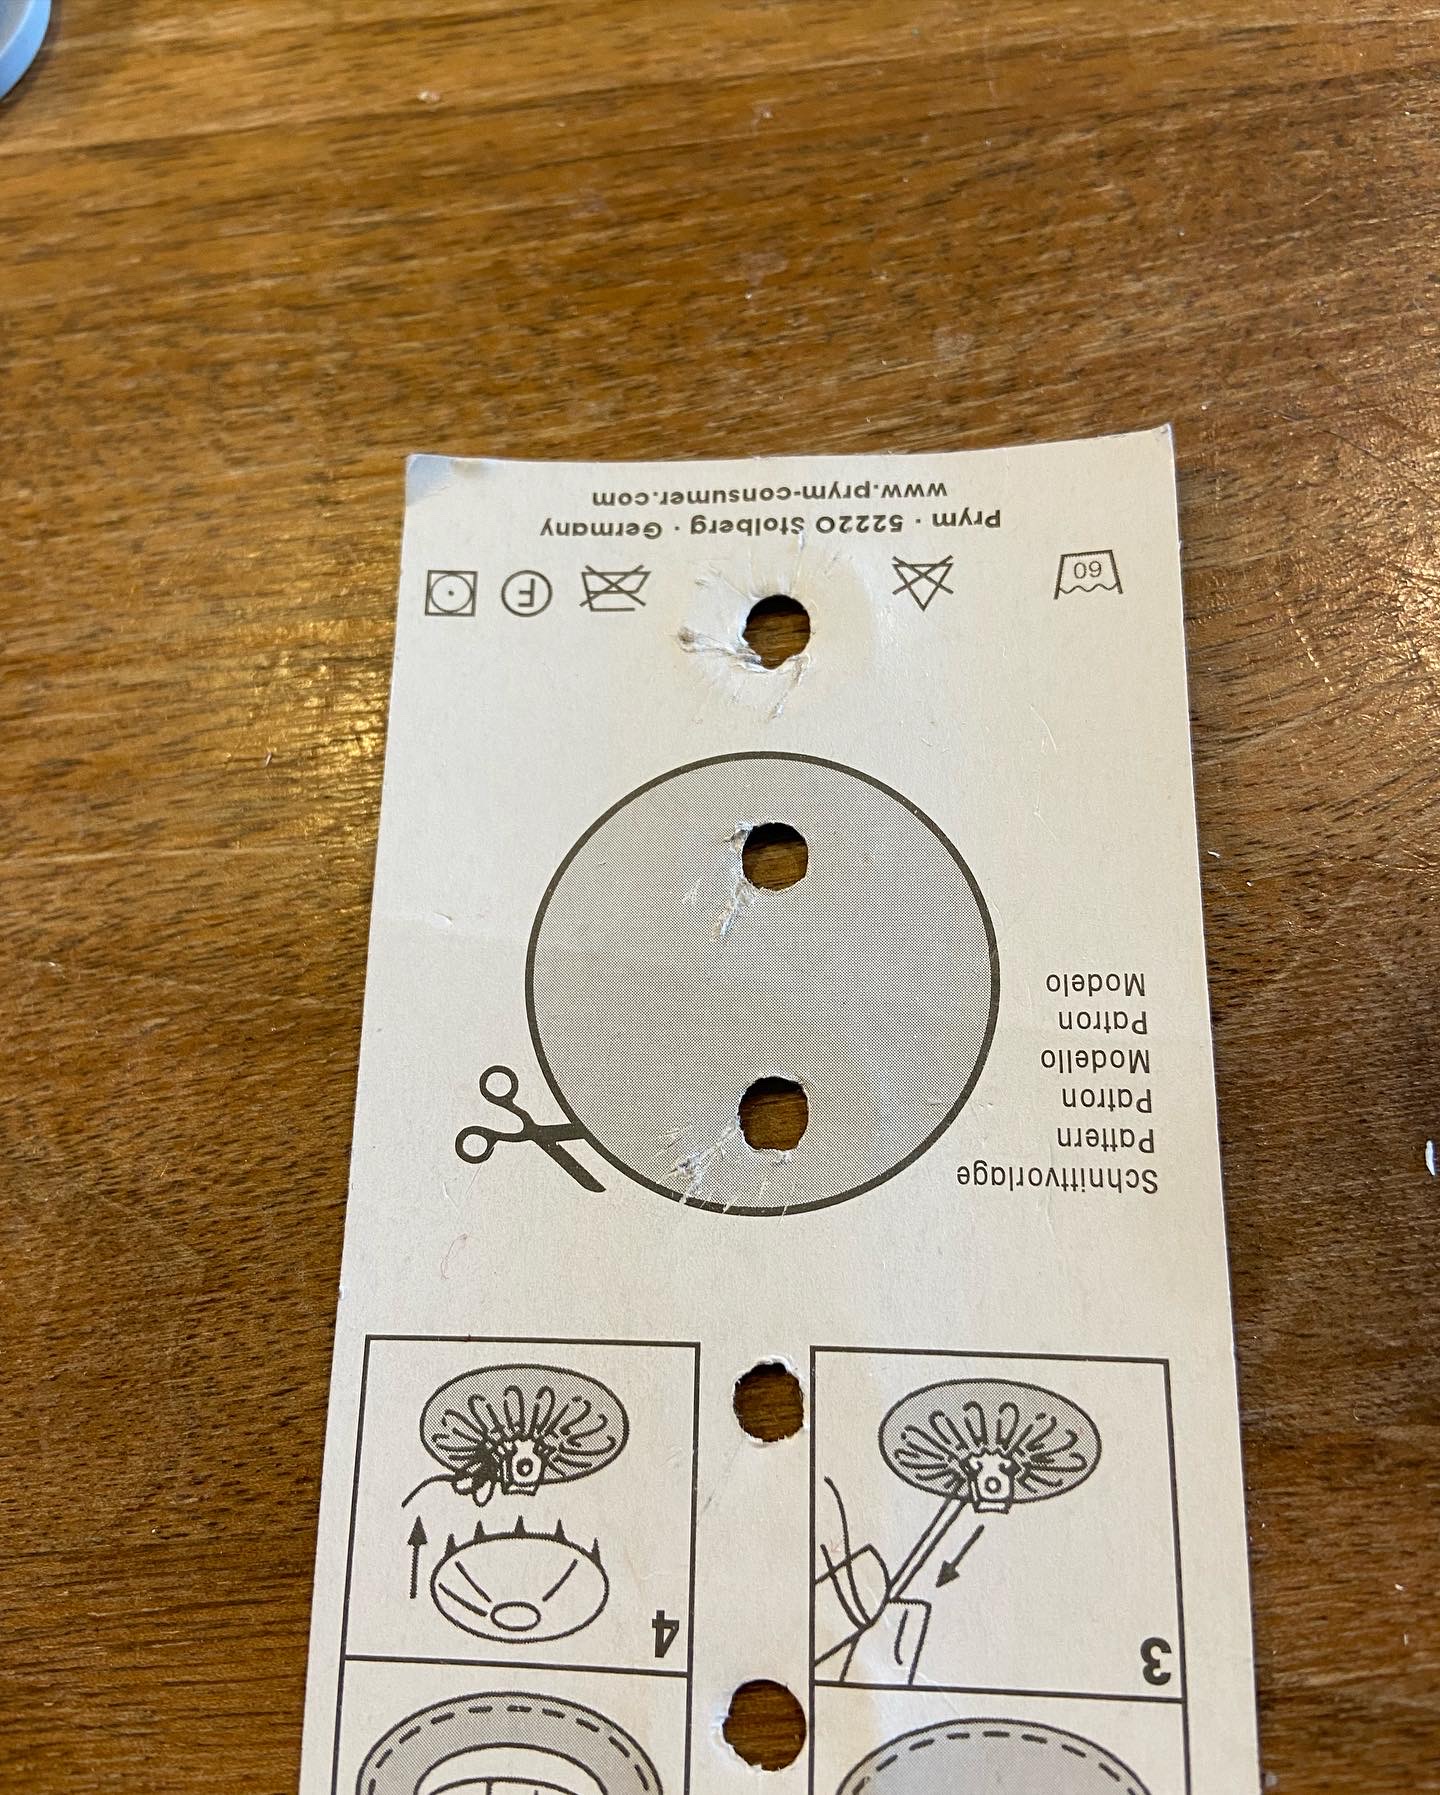
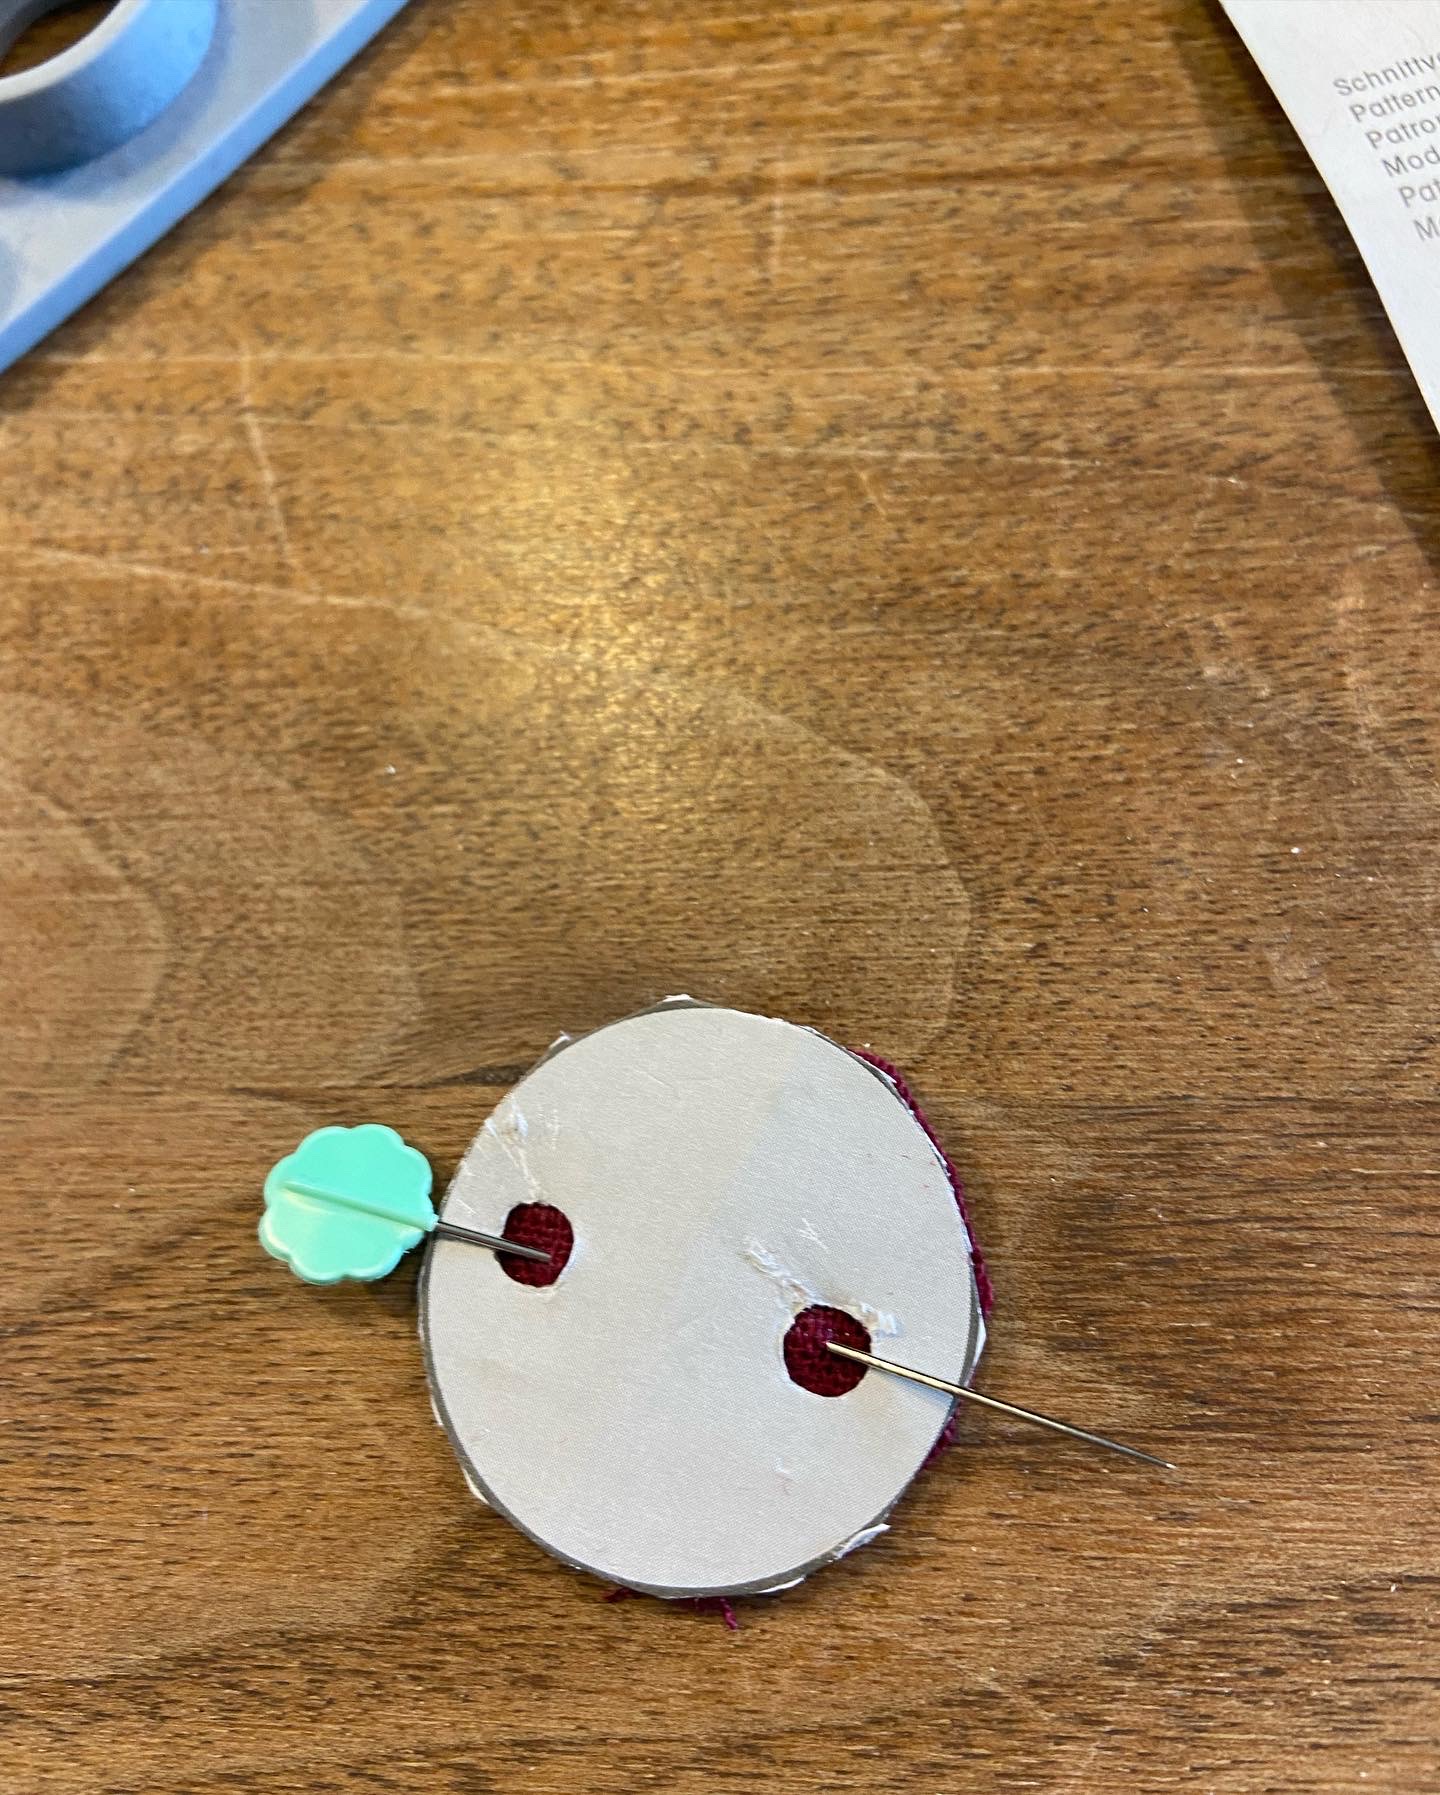
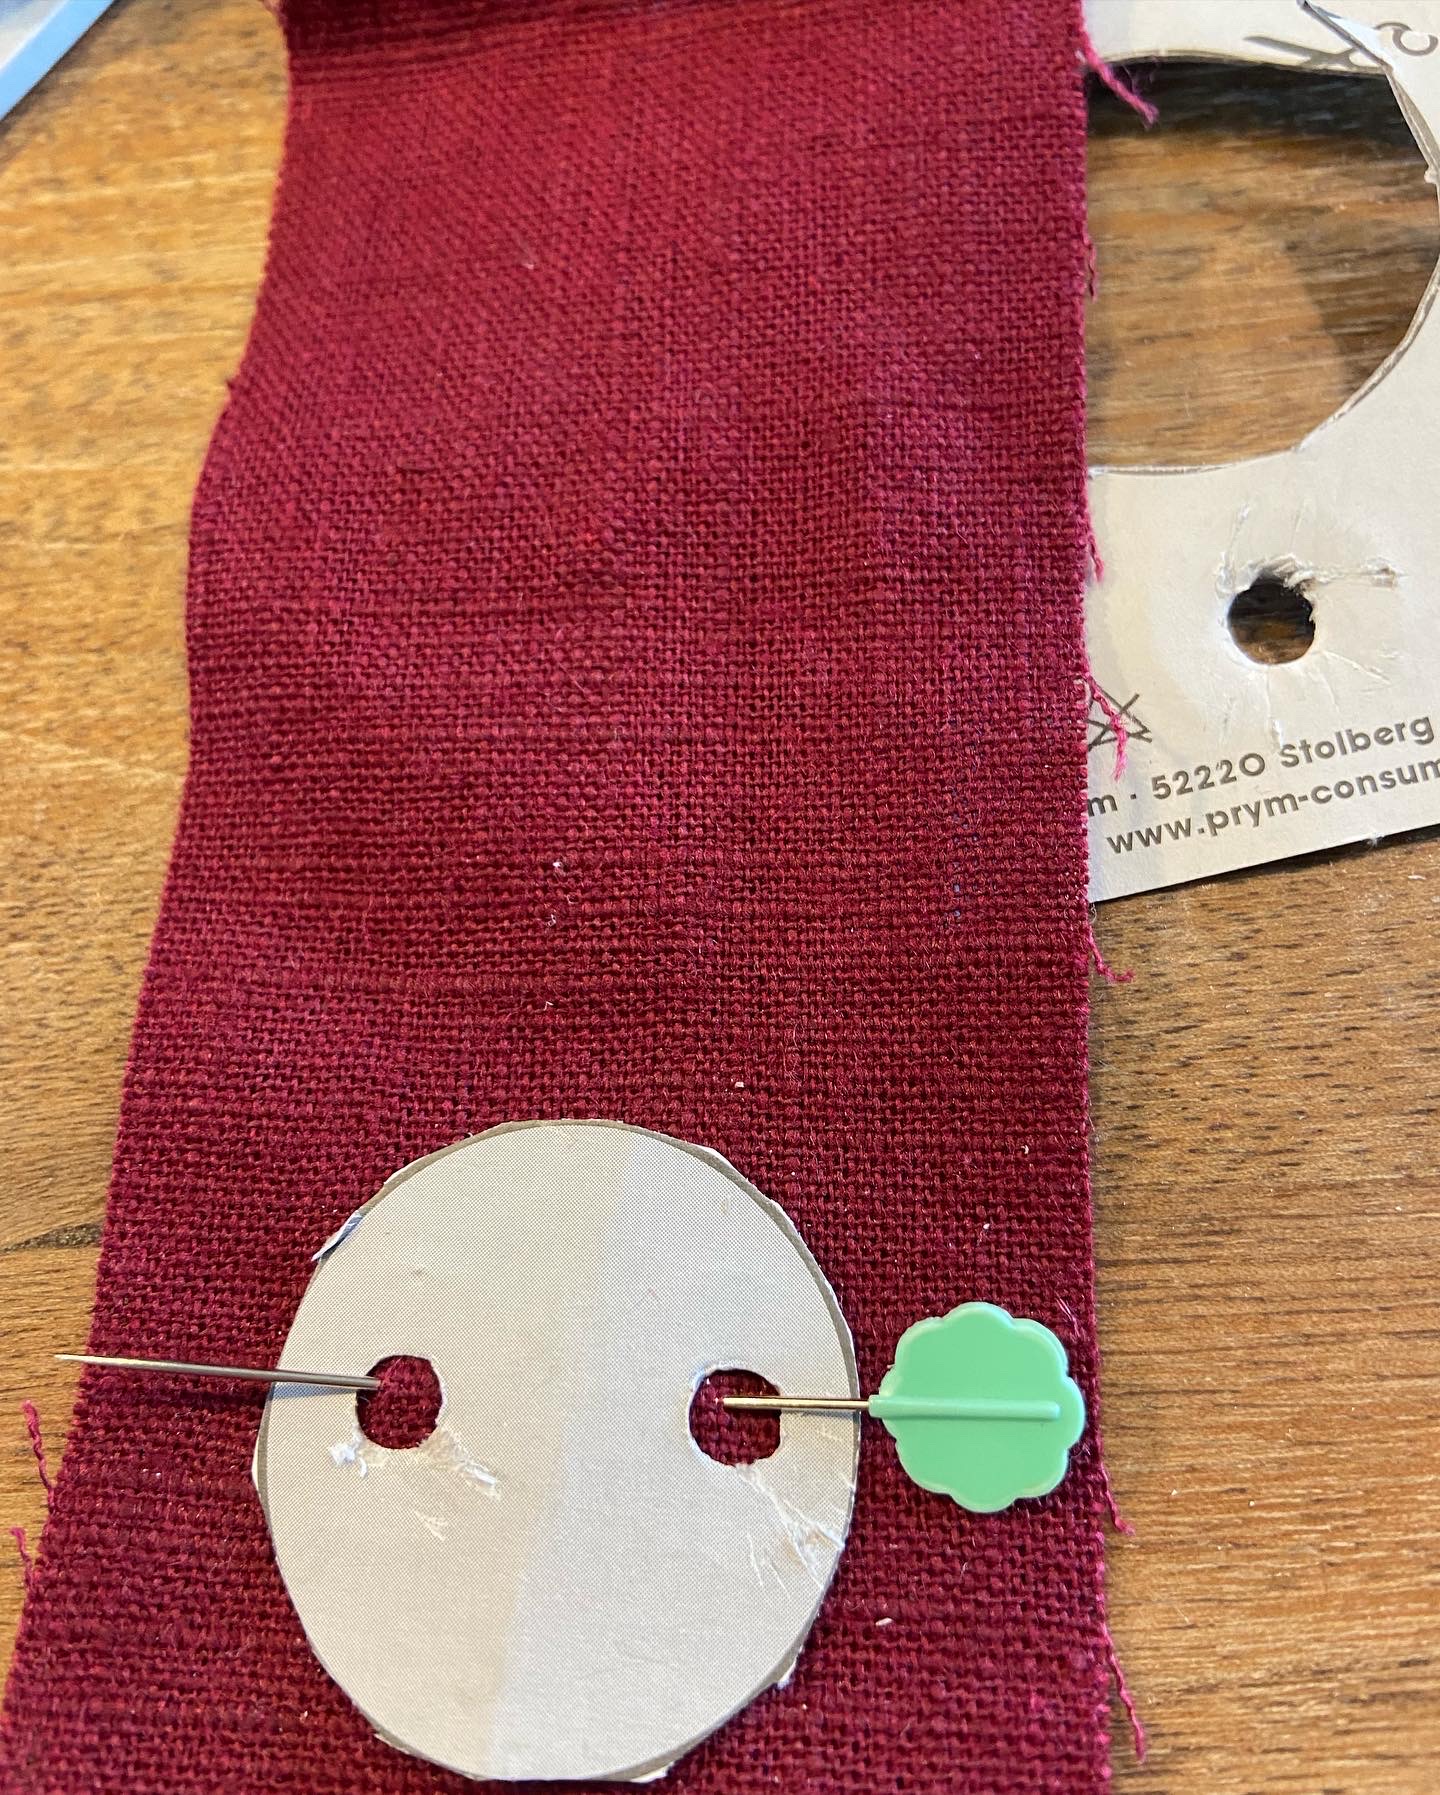
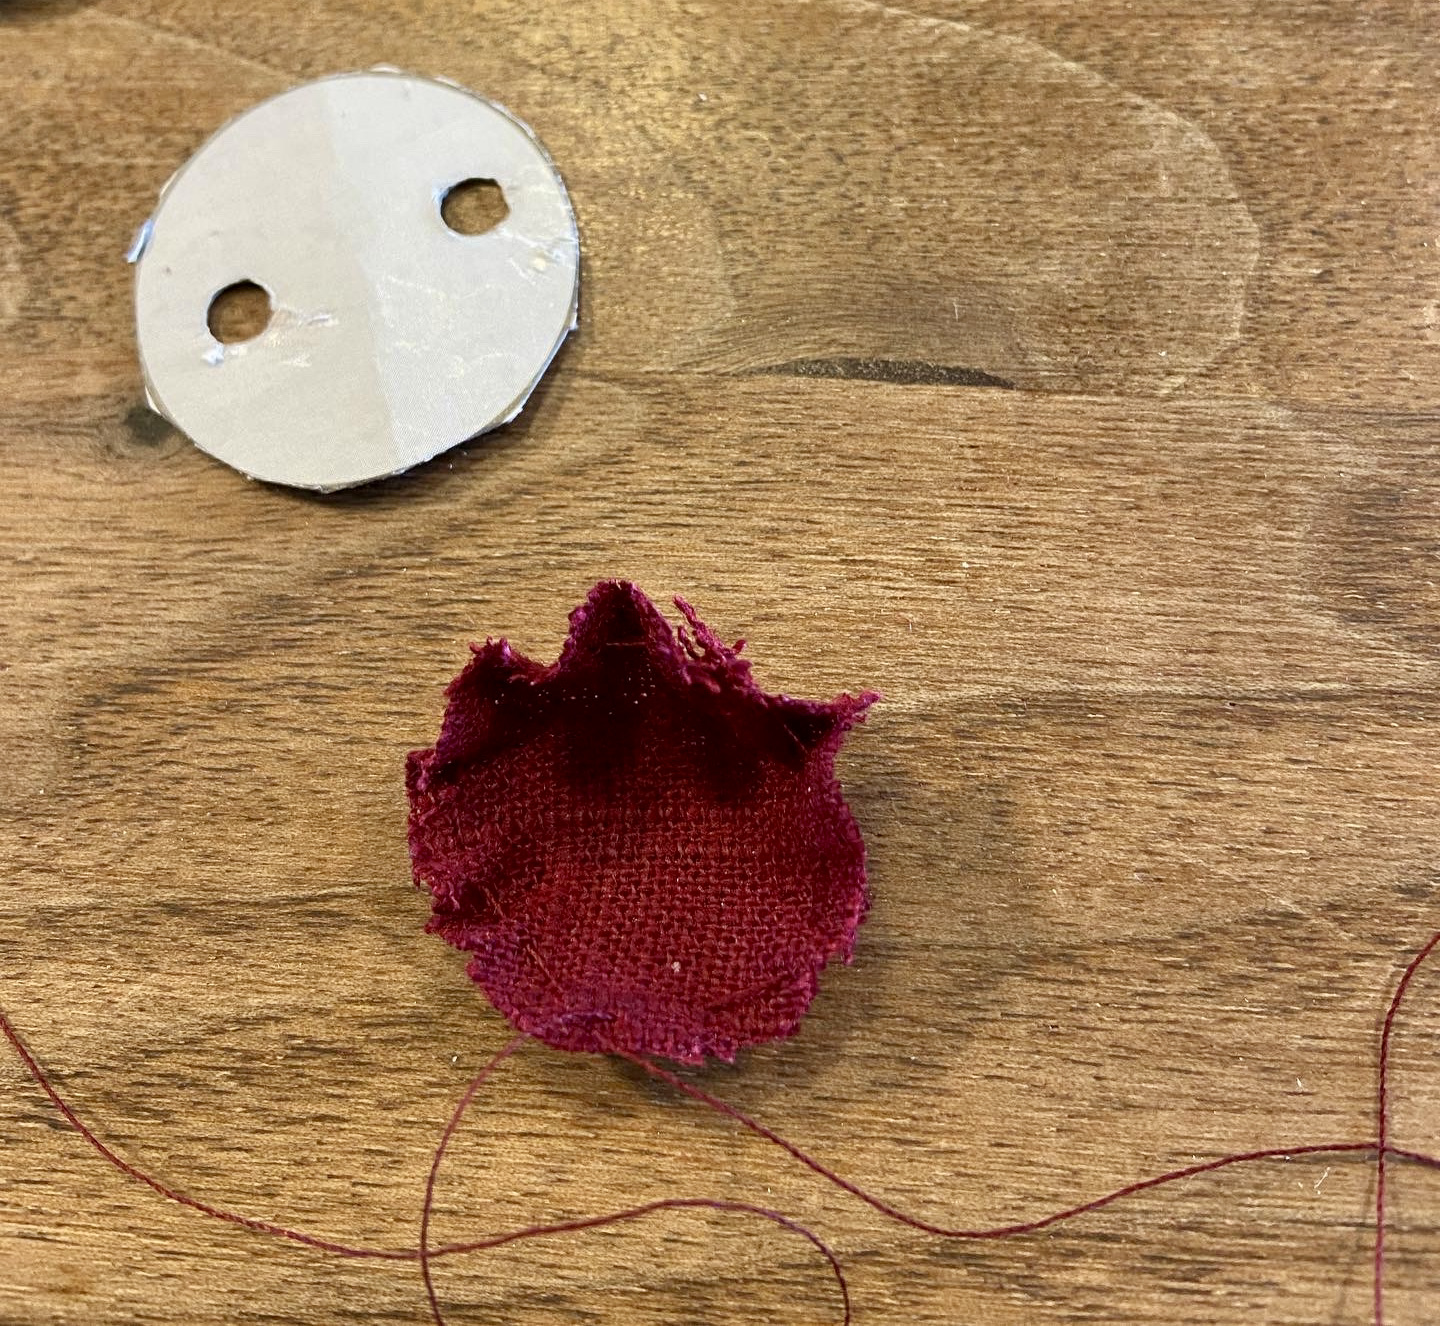
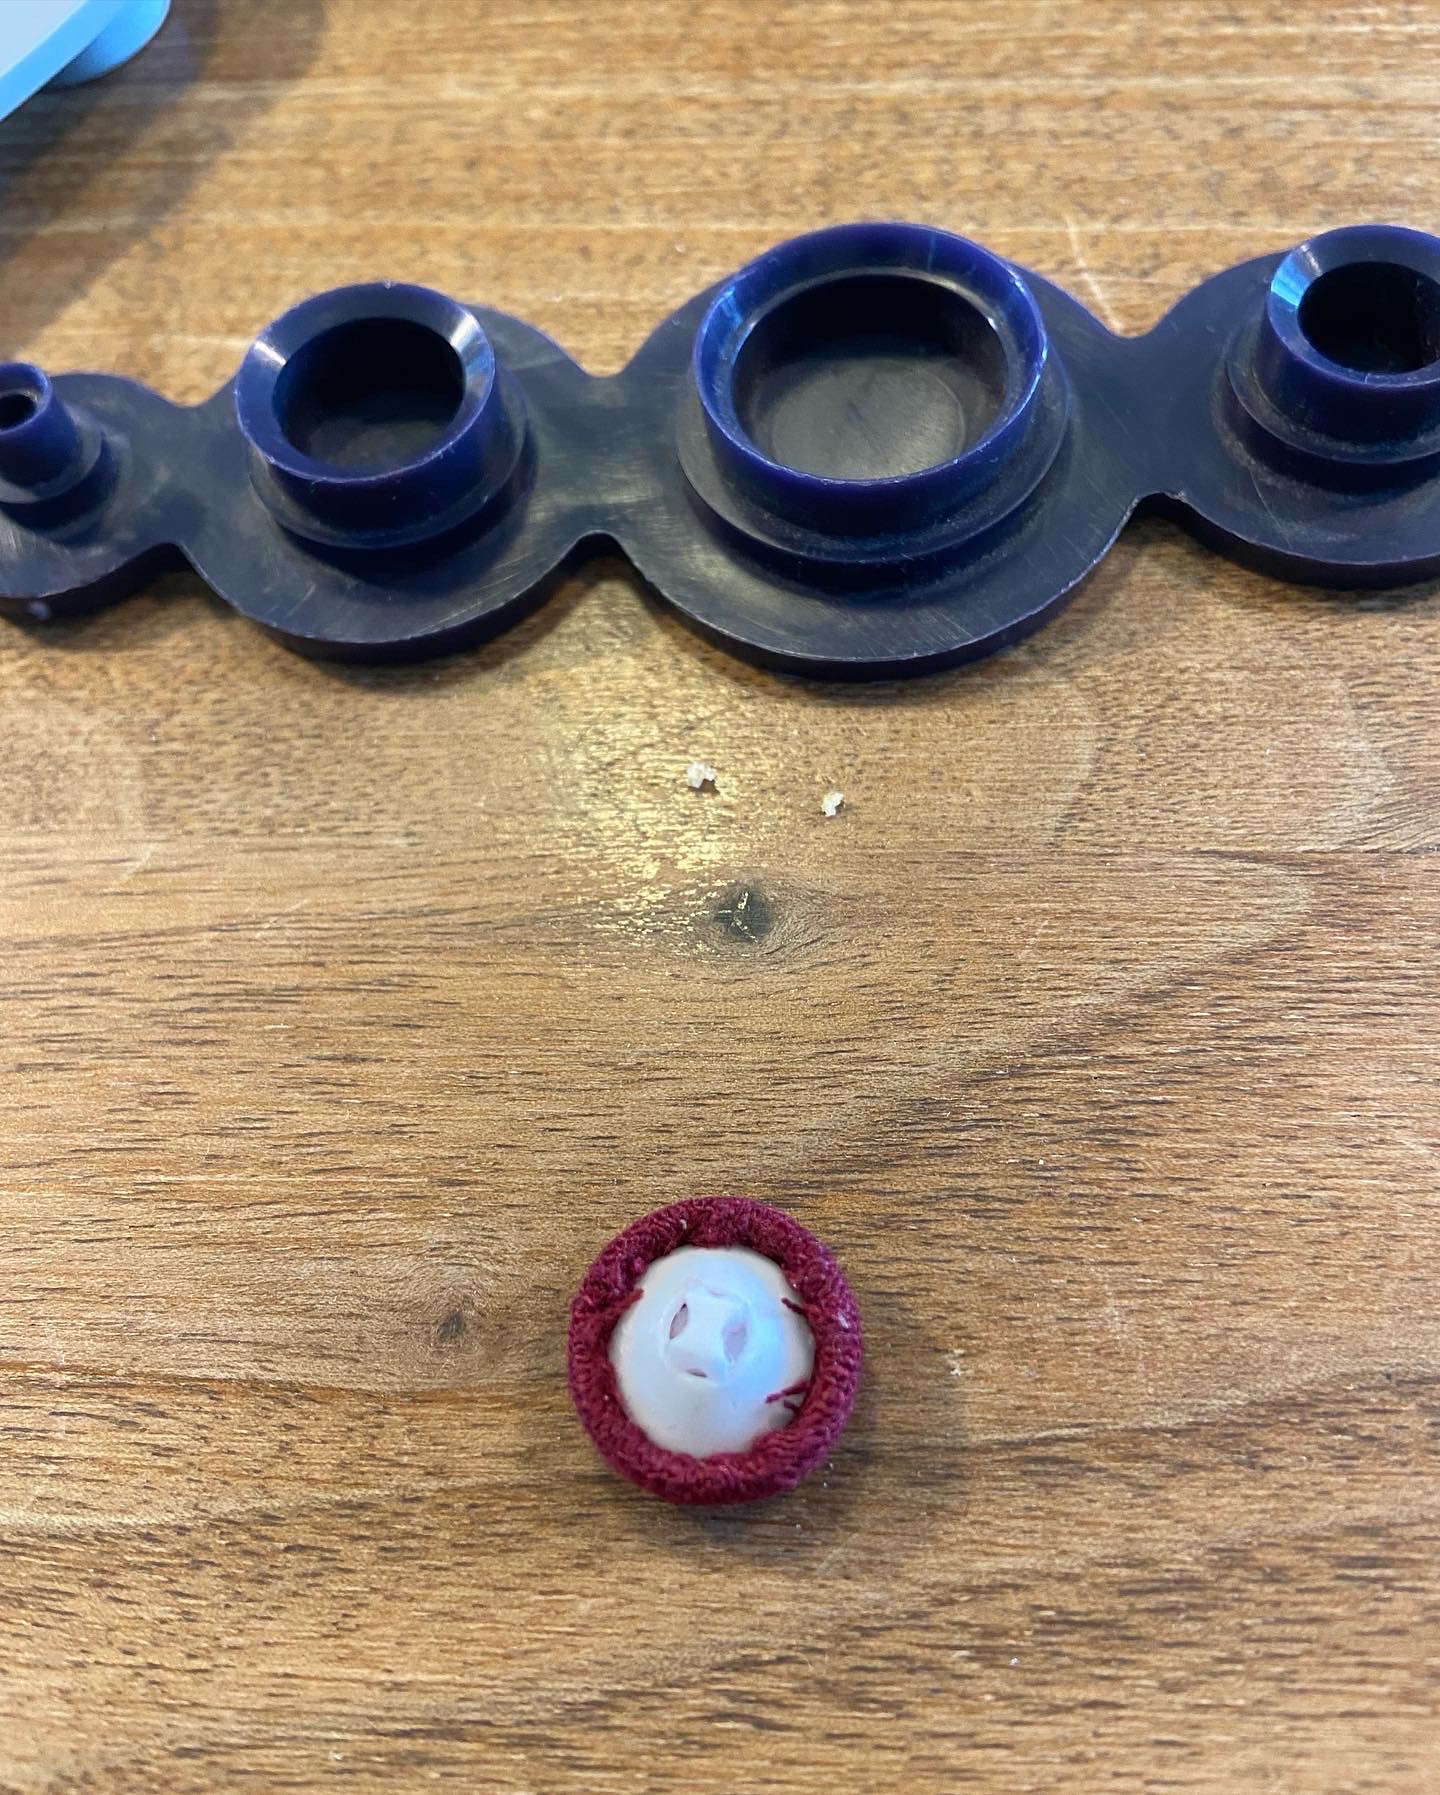
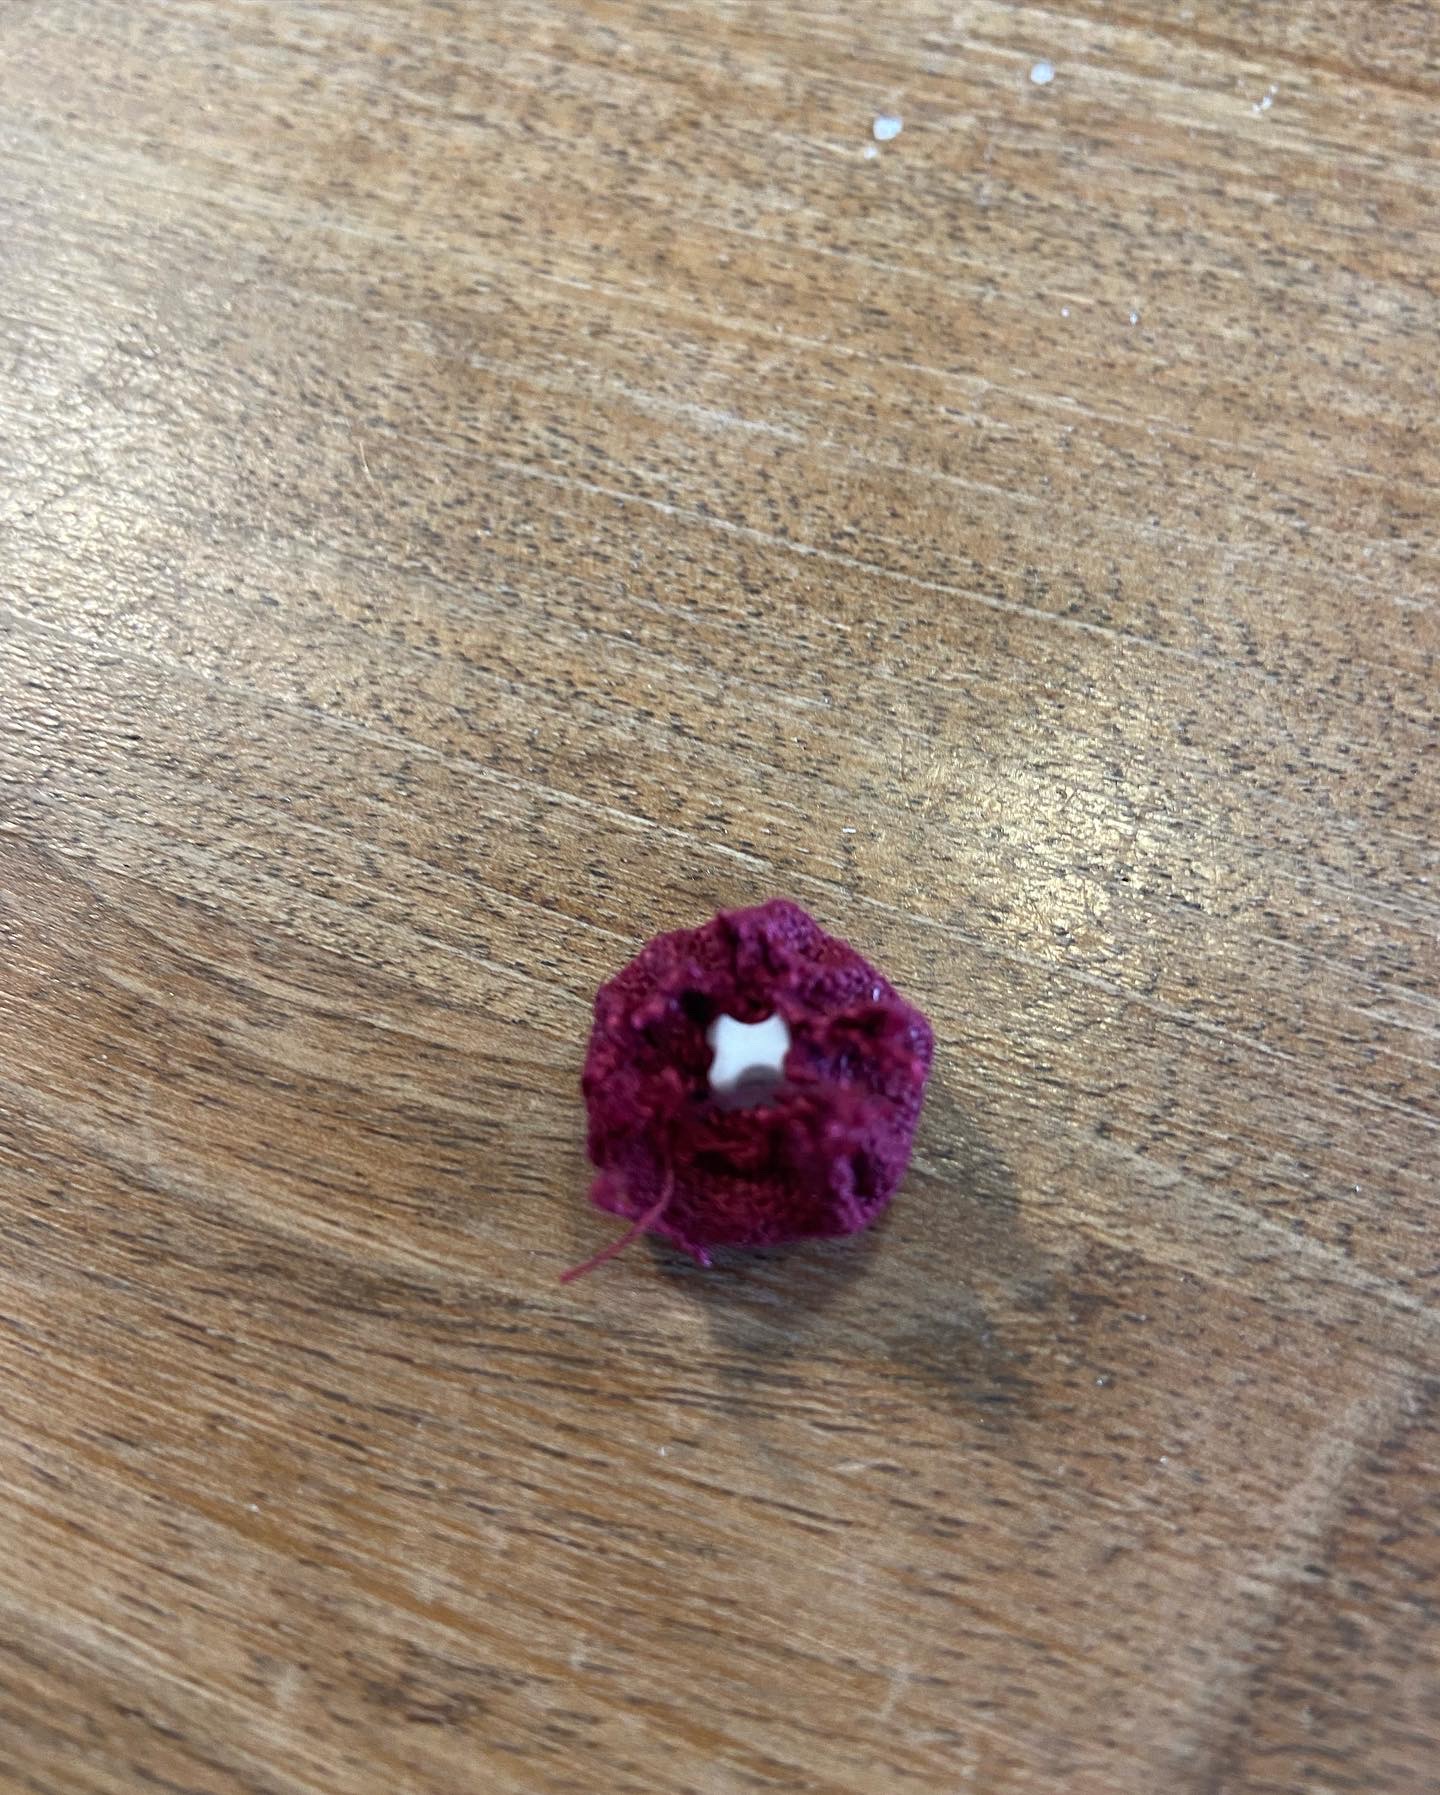
I made covered buttons using 15mm blanks. Covering adds a surprising amount to their size. I tested the buttonholes for sizing and made them 18mm. They are still a bit snug but I can just about get the button through – they will soften up.
For the binding, I cut 1.5” strips on the bias. I serged them on right side to right side, folded them over and stitched in the ditch on the right side. To avoid bulk, where there were seams (rather than just hem edges), I trimmed back the seam allowances after stitching in the ditch.
A note if you are using the older version of the Waikerie when it first came out. It used a different sizing numbering system to the current one and I totally got muddled up. But when I sent pictures to Leila and Jess in M&B they sorted me out.


A very satisfying sew.
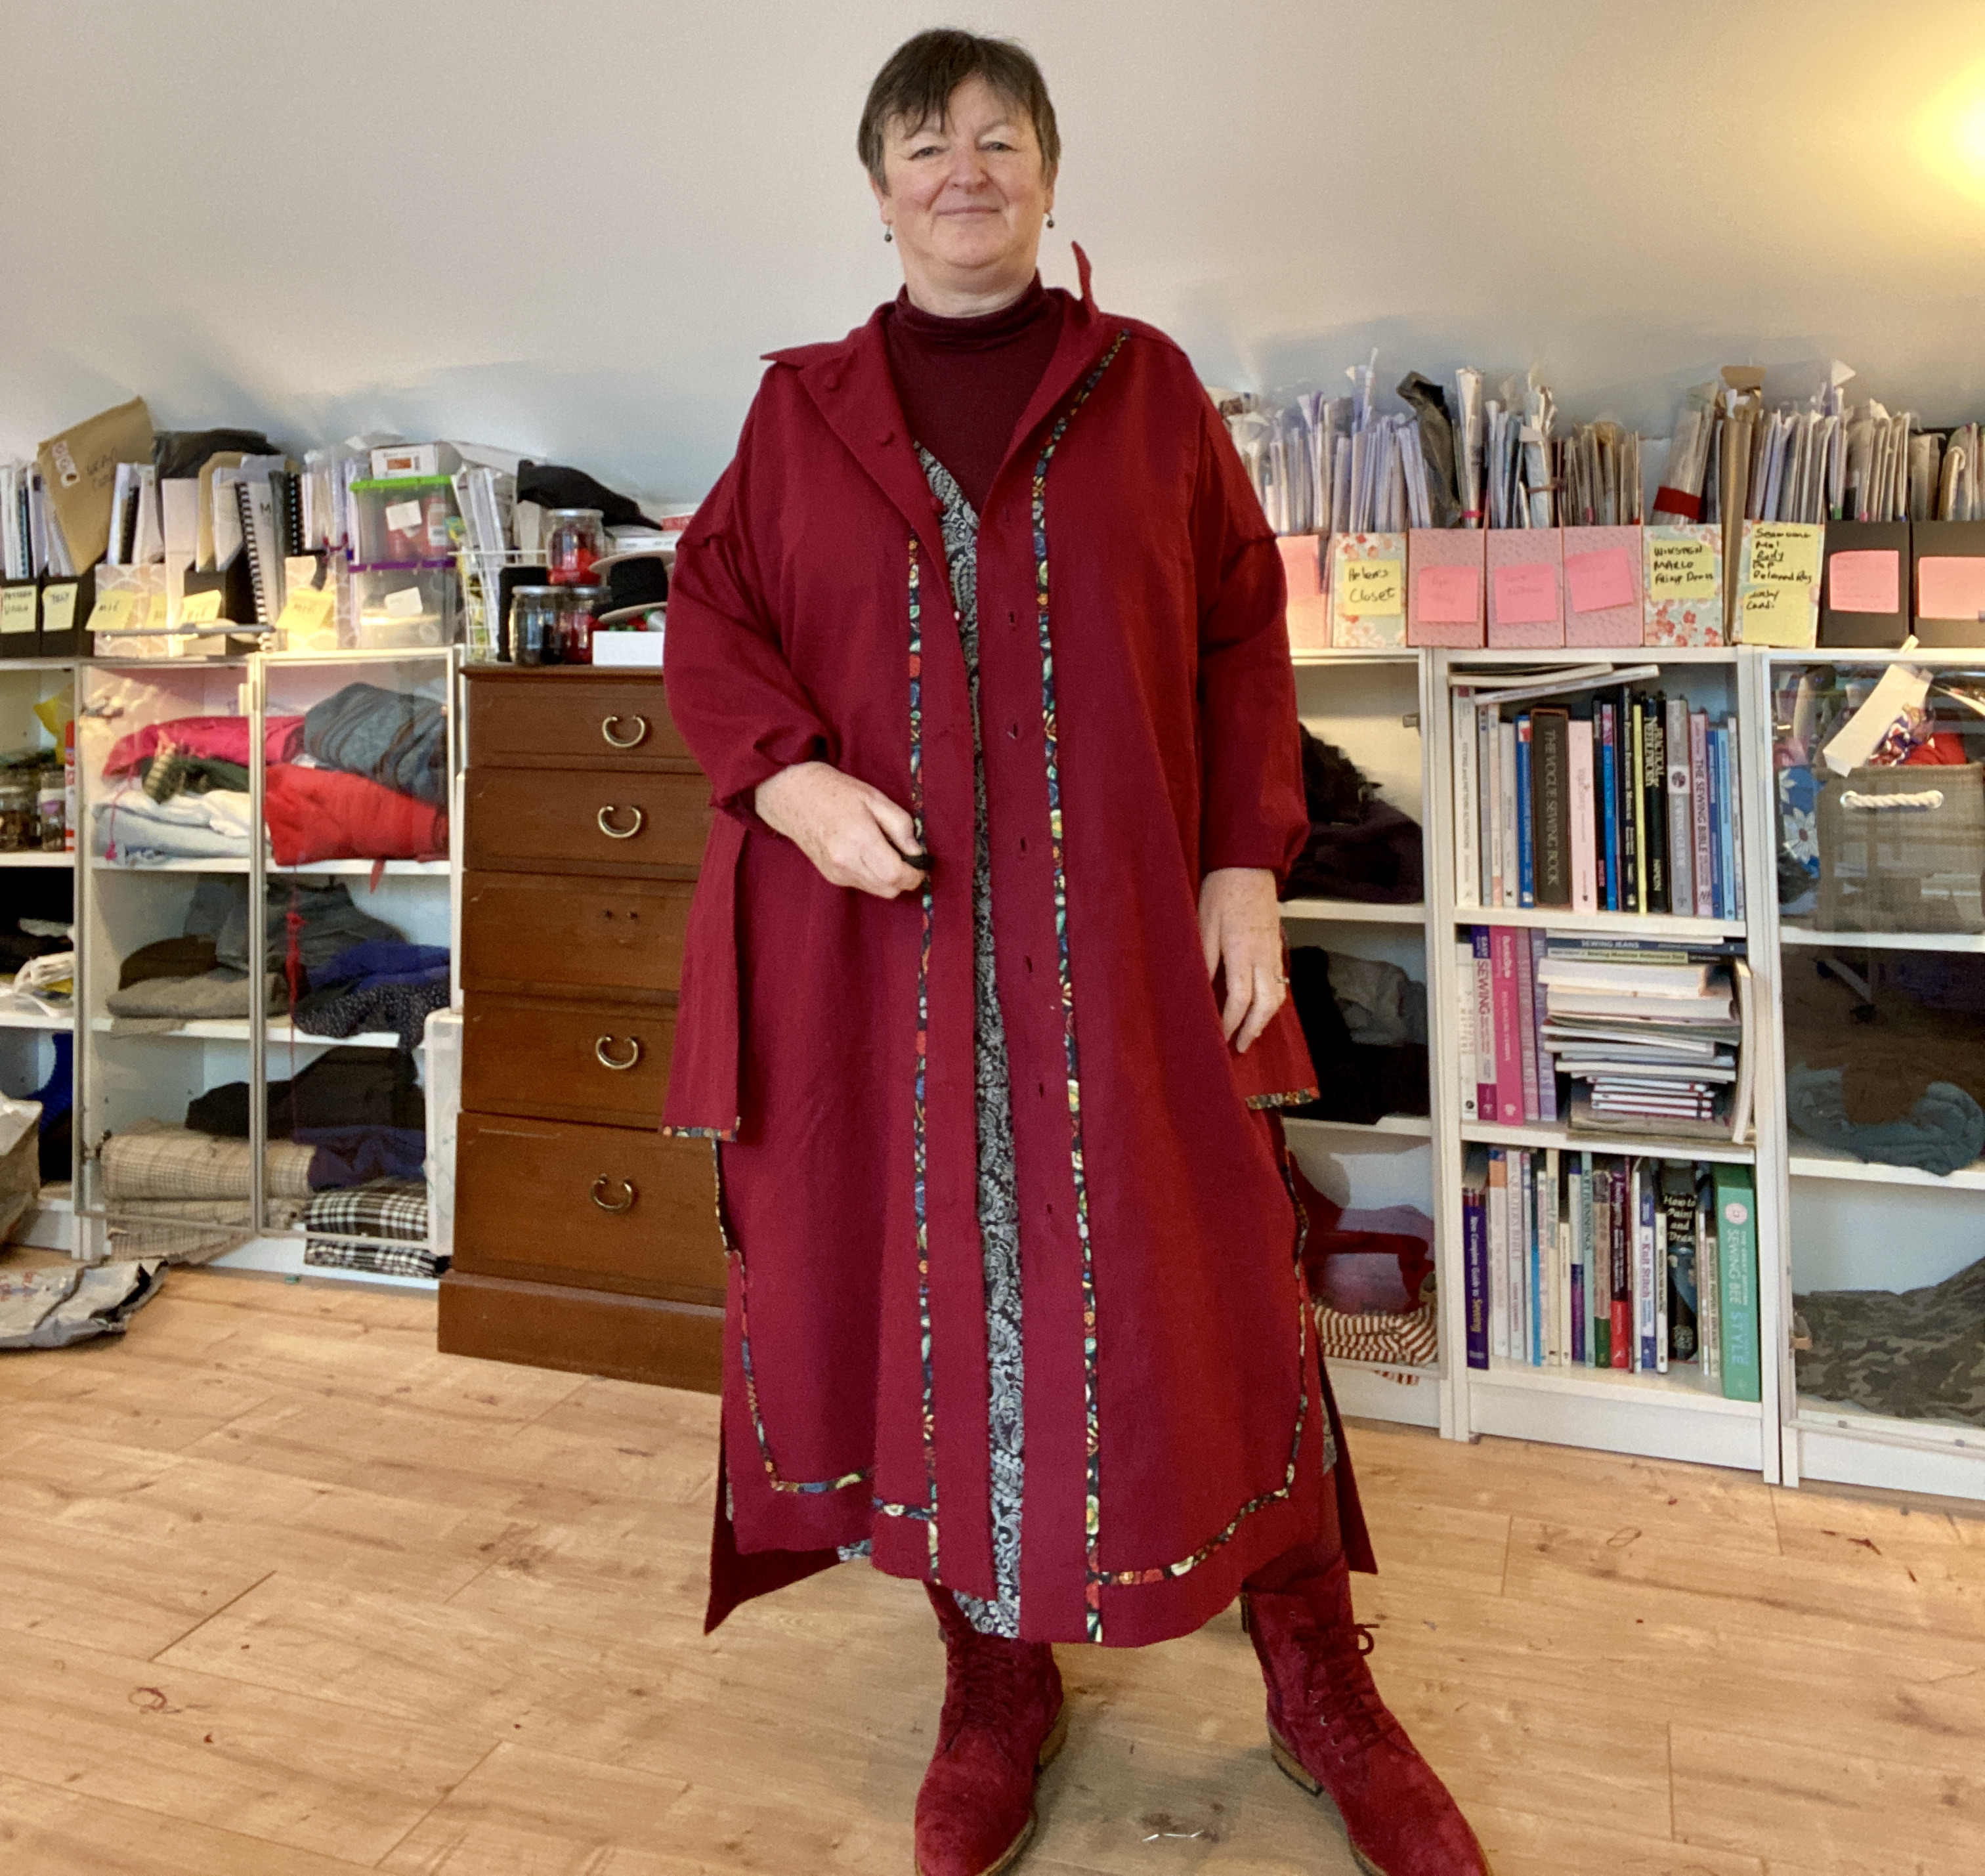
Underneath I’m wearing wearing the Tarlee Tshirt from MunaAndBroad in a wool-viscose mix; and the Caladium Jumpsuit by Caramiyamaui
The Muna and Broad Tarlee and Waikerie go up to B64”; W60; H71.5 (but they will grade up from that to any size you need).
The Caladium goes up to B58; W50; H60

[…] can also see how I made covered buttons for the @MunaAndBroad #Waikerie, which I made as a duster. Muna and Broad Waikerie DusterI love the look of covered buttons and it makes it easy to match or contrast with the garment. They […]
LikeLike