A couple of people have asked me about the waistband finished with bias binding.
So here is how I do it. Major caveat – I’m completely self-taught so this is just how I like to do it. It’s not an official method!
Pics below, but here is a quick slideshow
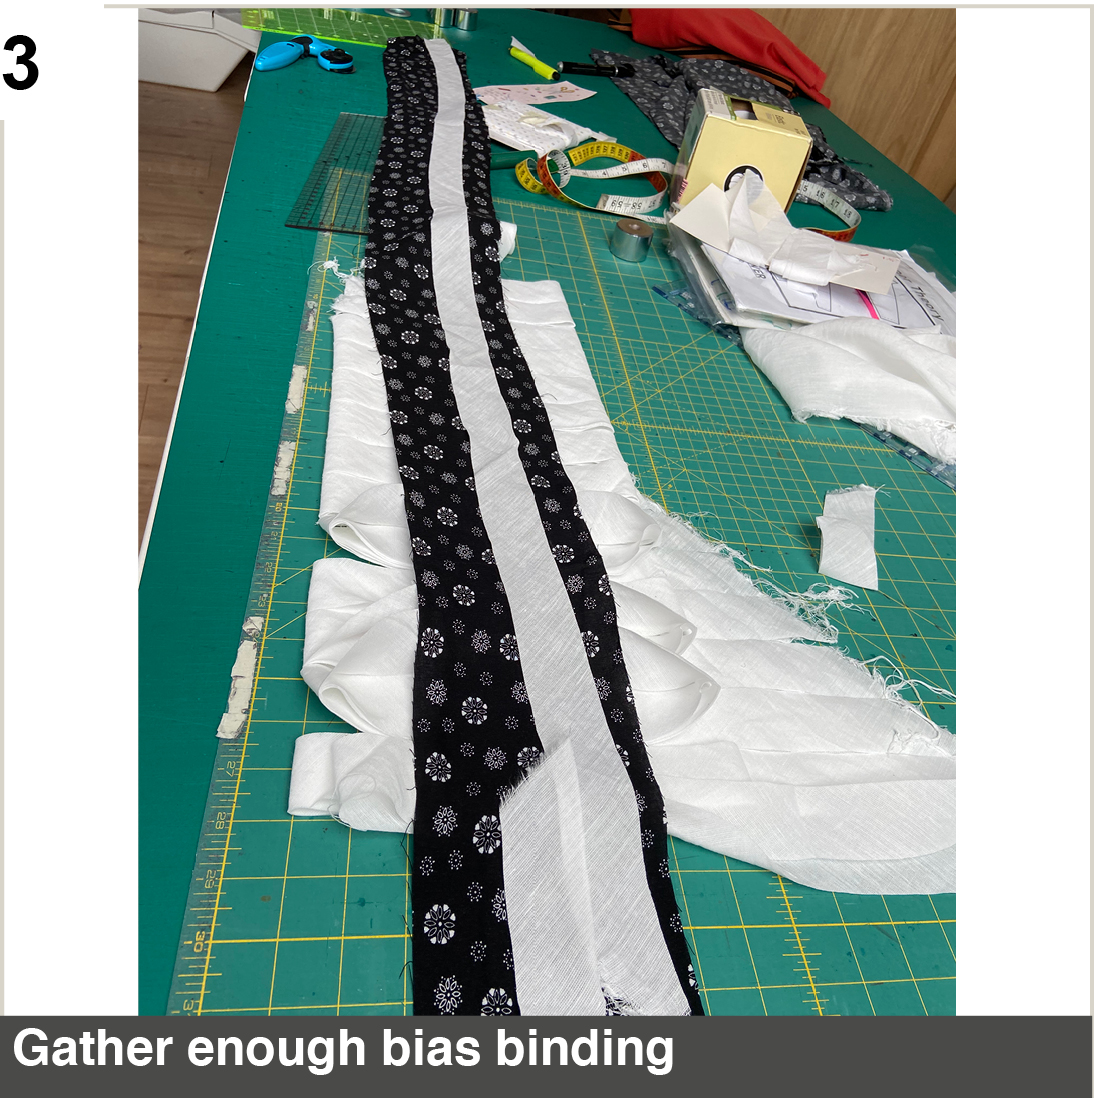
I cut the waistband longer than the pattern piece because experience has taught me that different fabrics behave in different ways and may stretch.
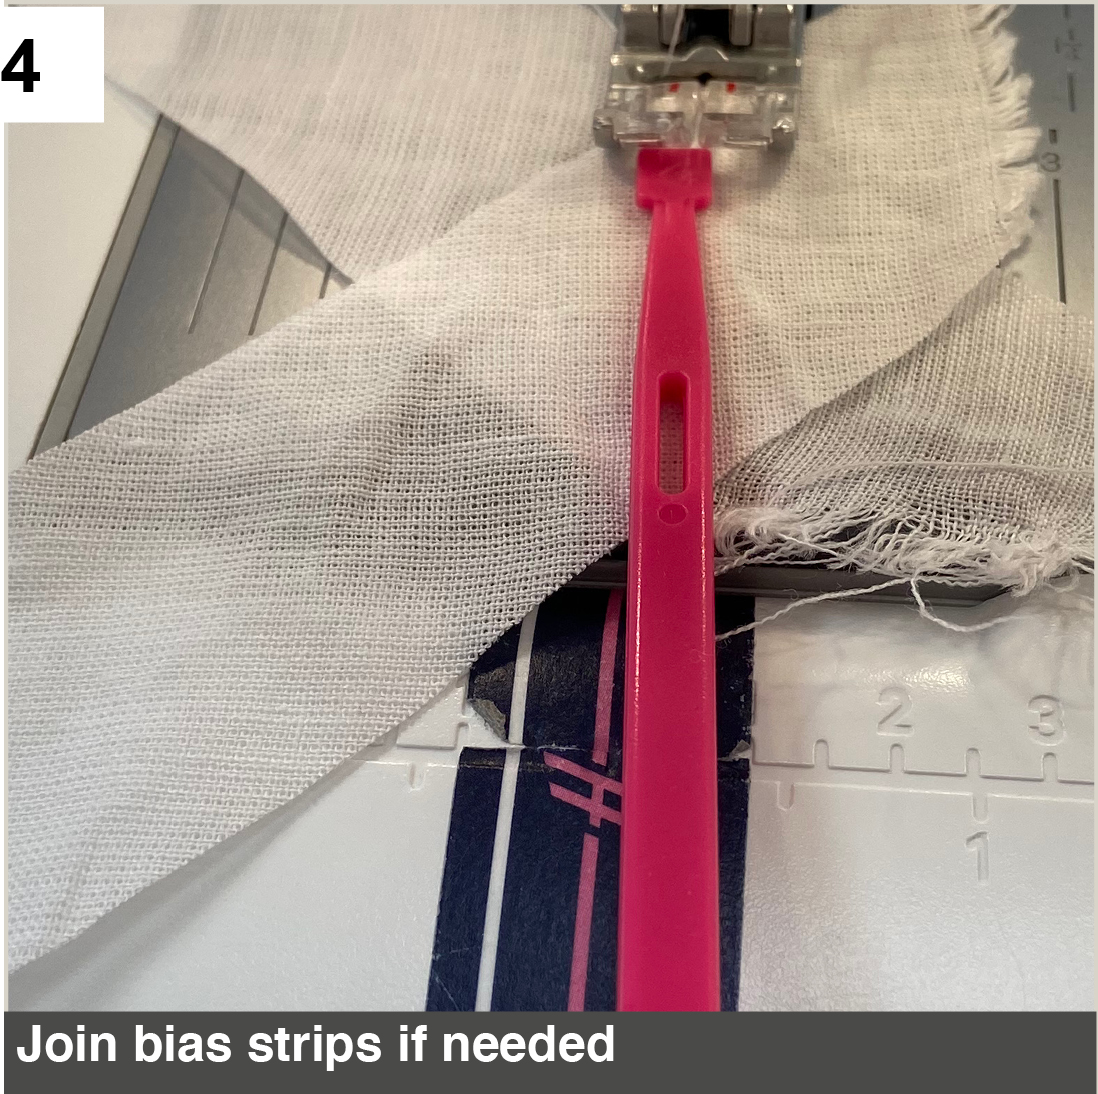
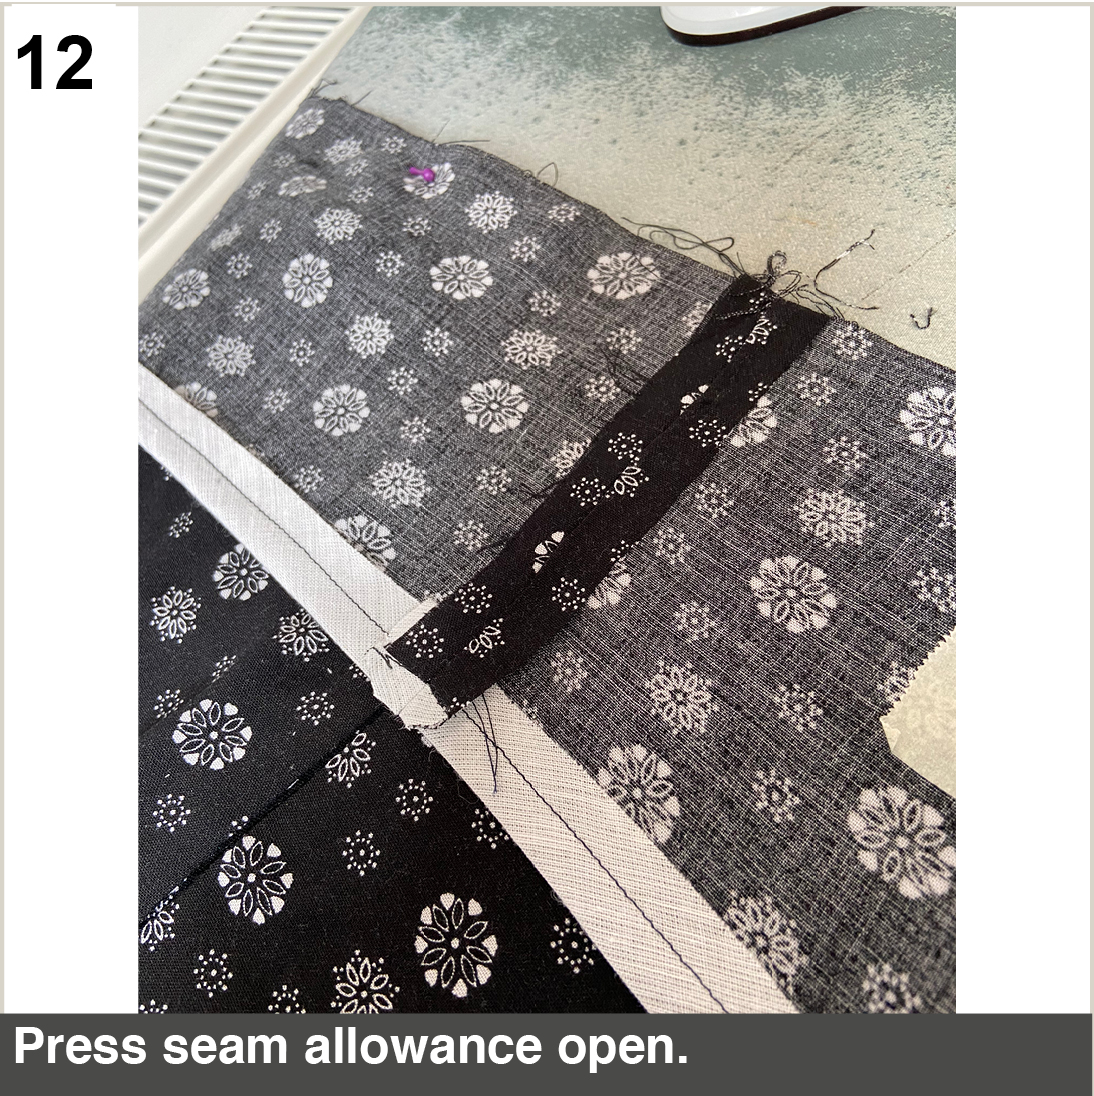
I sew the front and back waistband together at one short side.
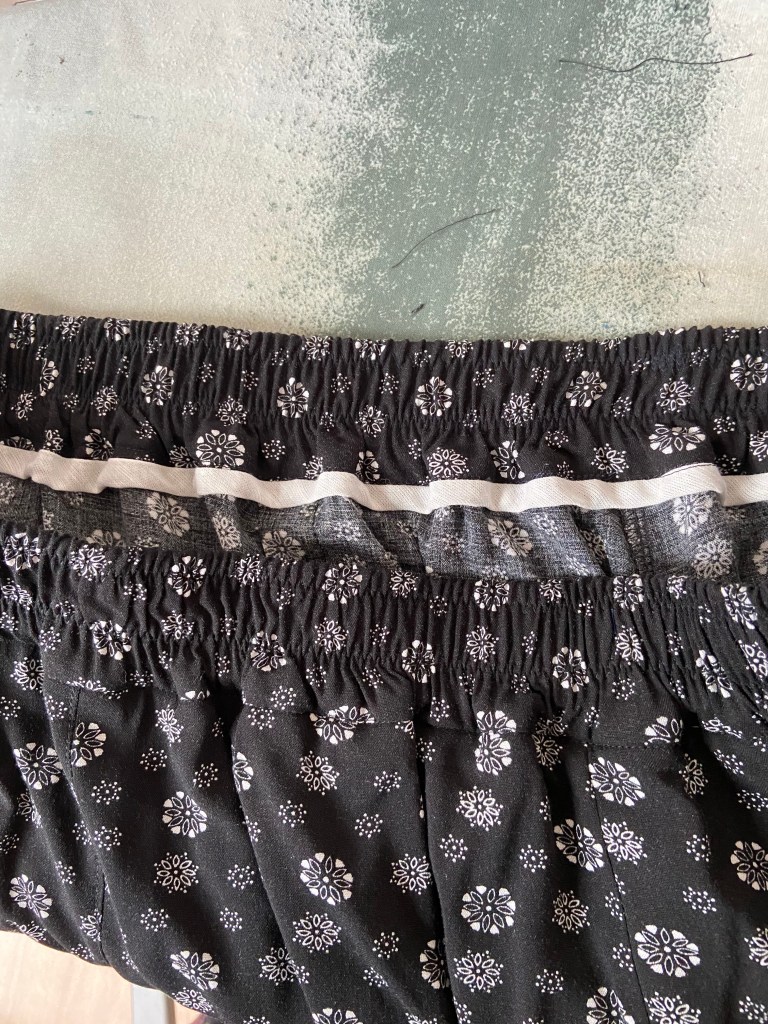
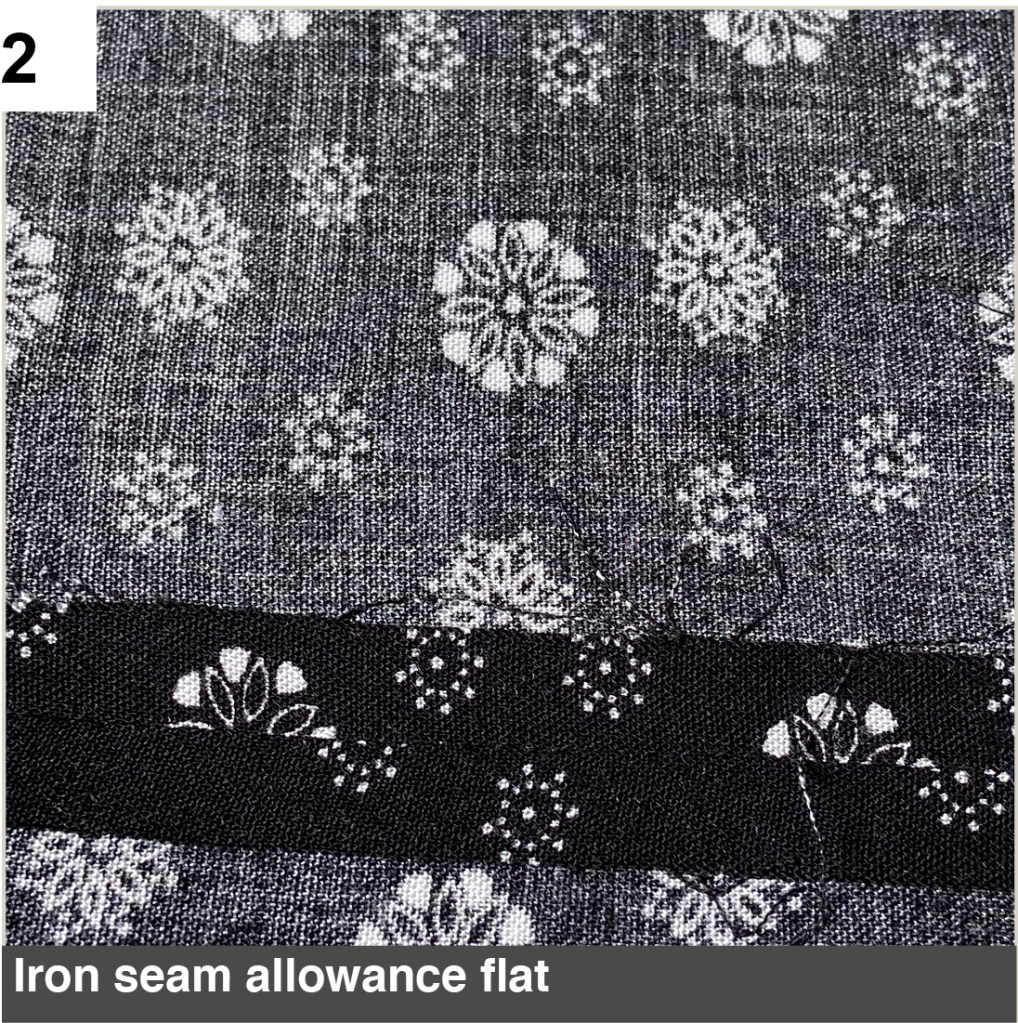
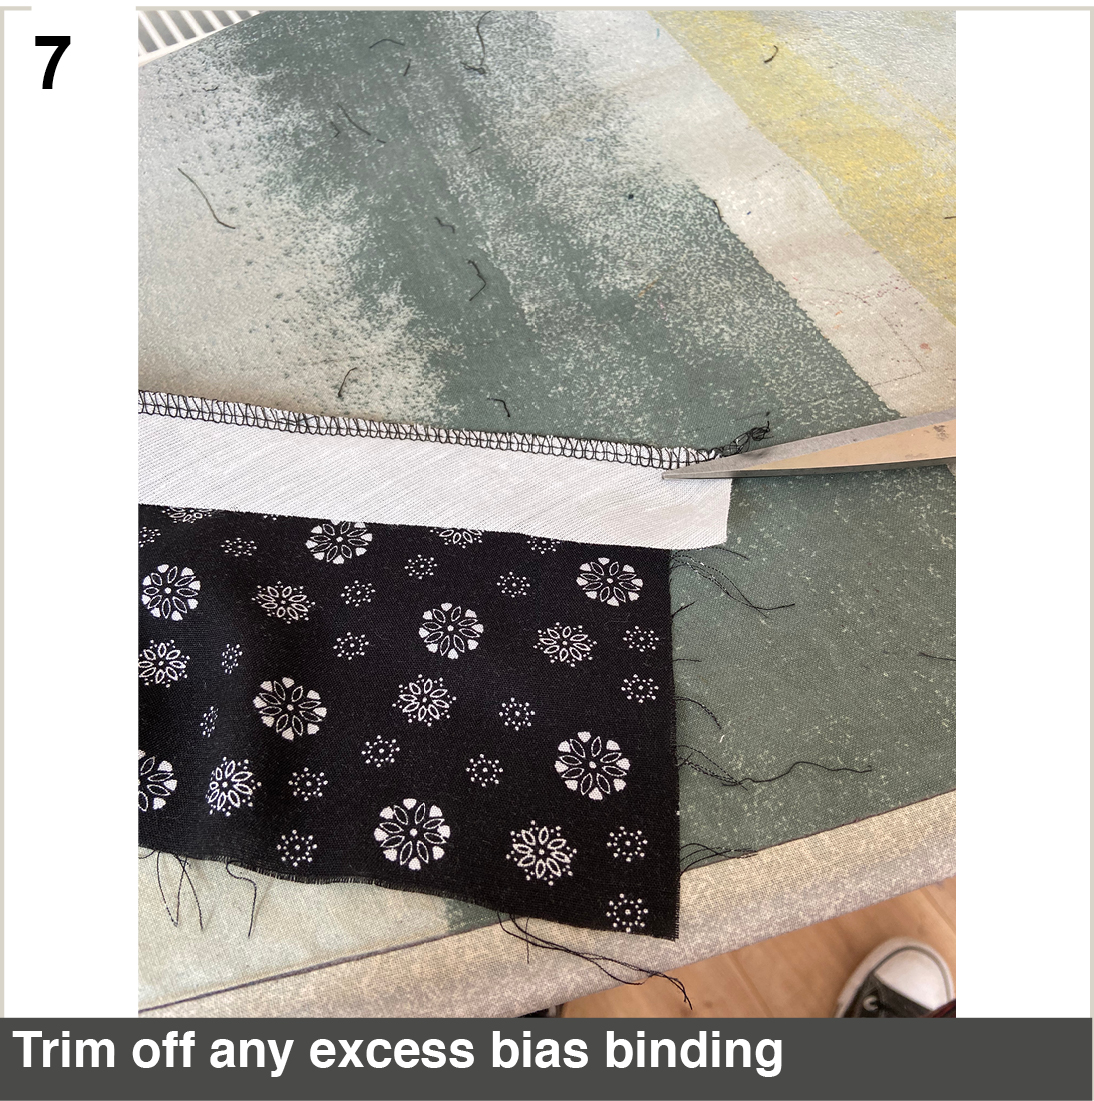
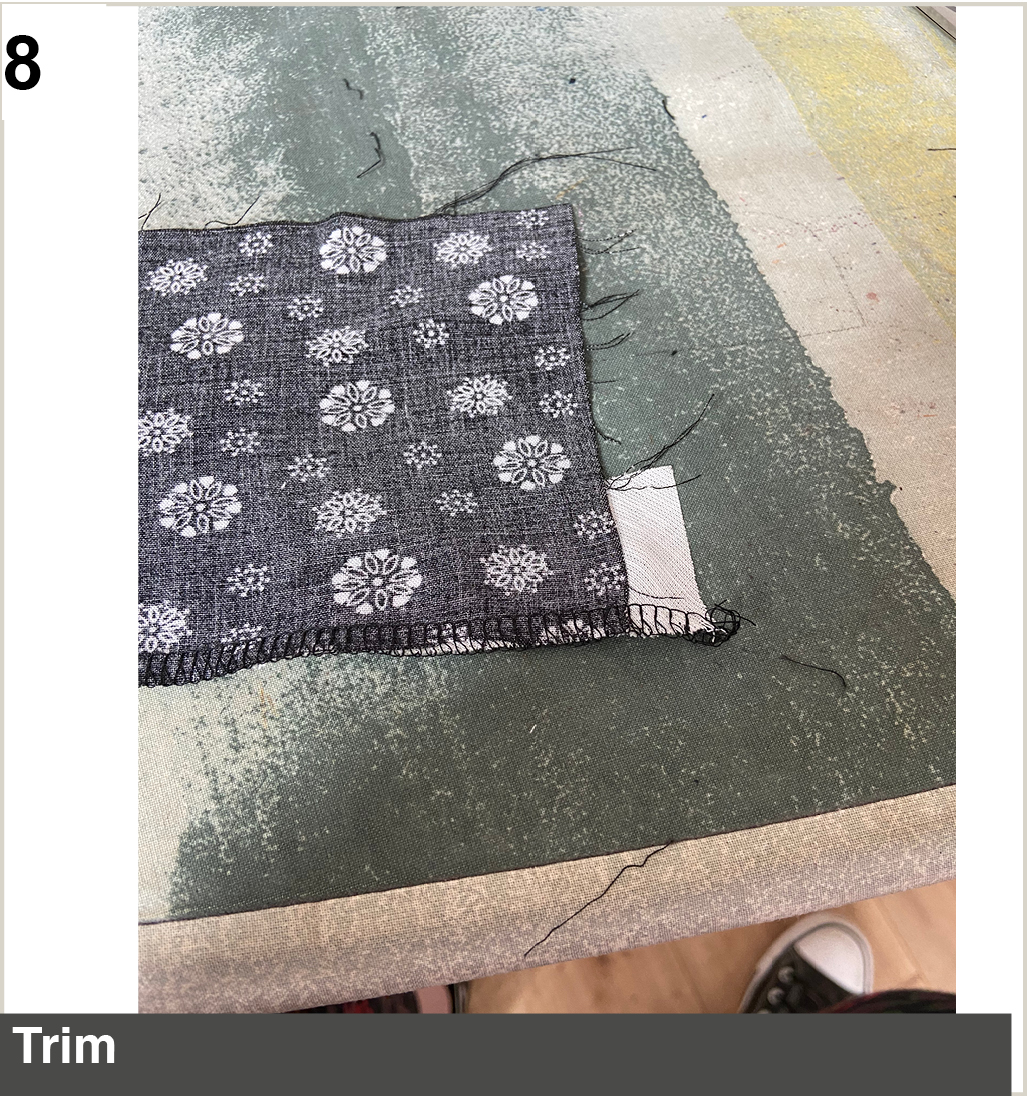
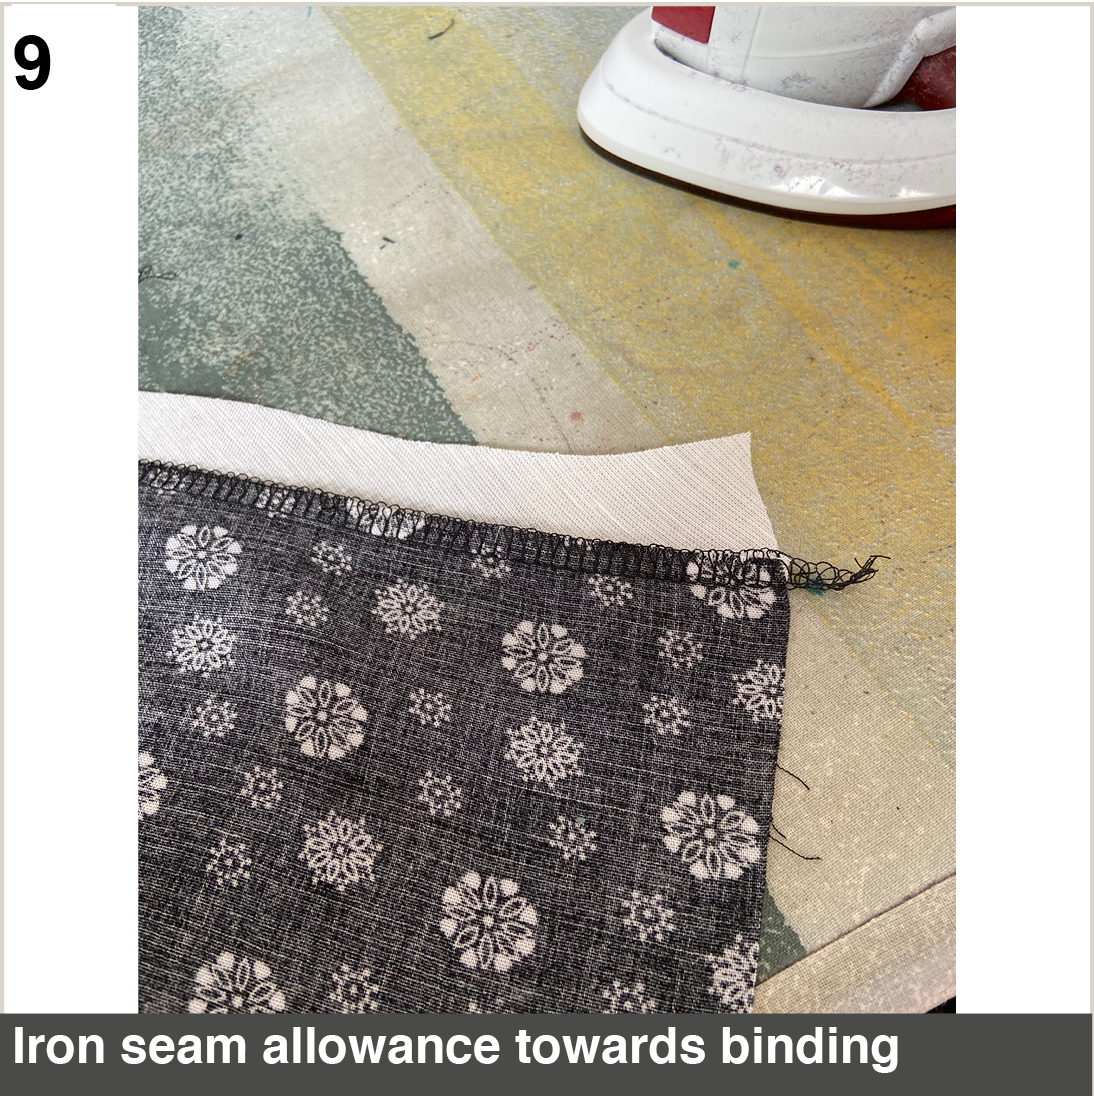
I then use bias binding to neaten the one long edge. Right sides together, I serge the bias binding on without using pins. I iron bias to the back around the seam allowance and stitch in the ditch from the front.
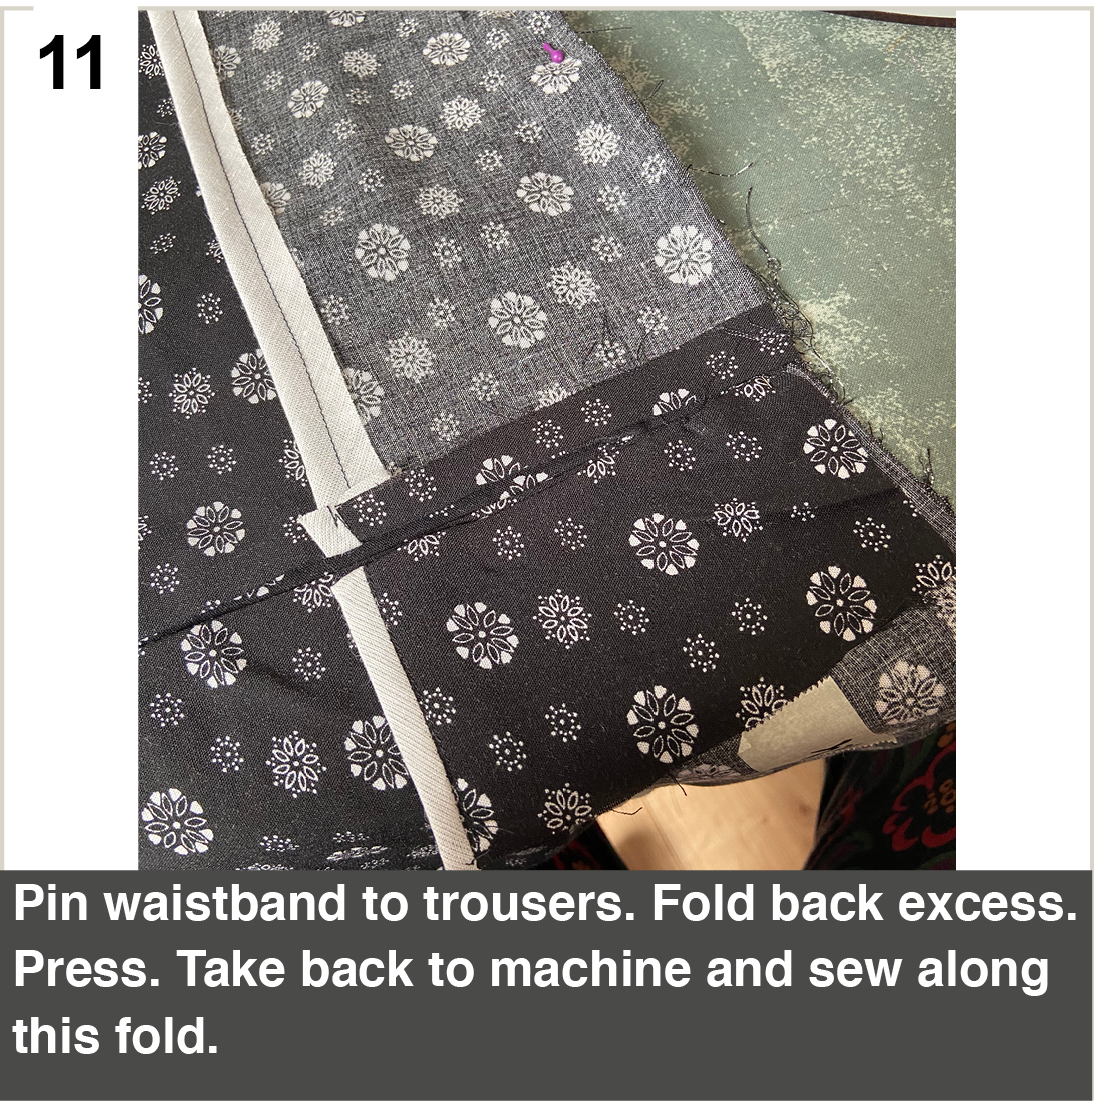
Then I pin the waistband onto the trousers, iron down the excess where I want the second join and take it back to the sewing machine, undoing a few pins. And sew the second two short sides together.
Then I sew the waistband on to the trousers. This viscose frays easily, so I neatened it on the overlocker/serger. If this were a different fabric I might, grade, and under stitch.
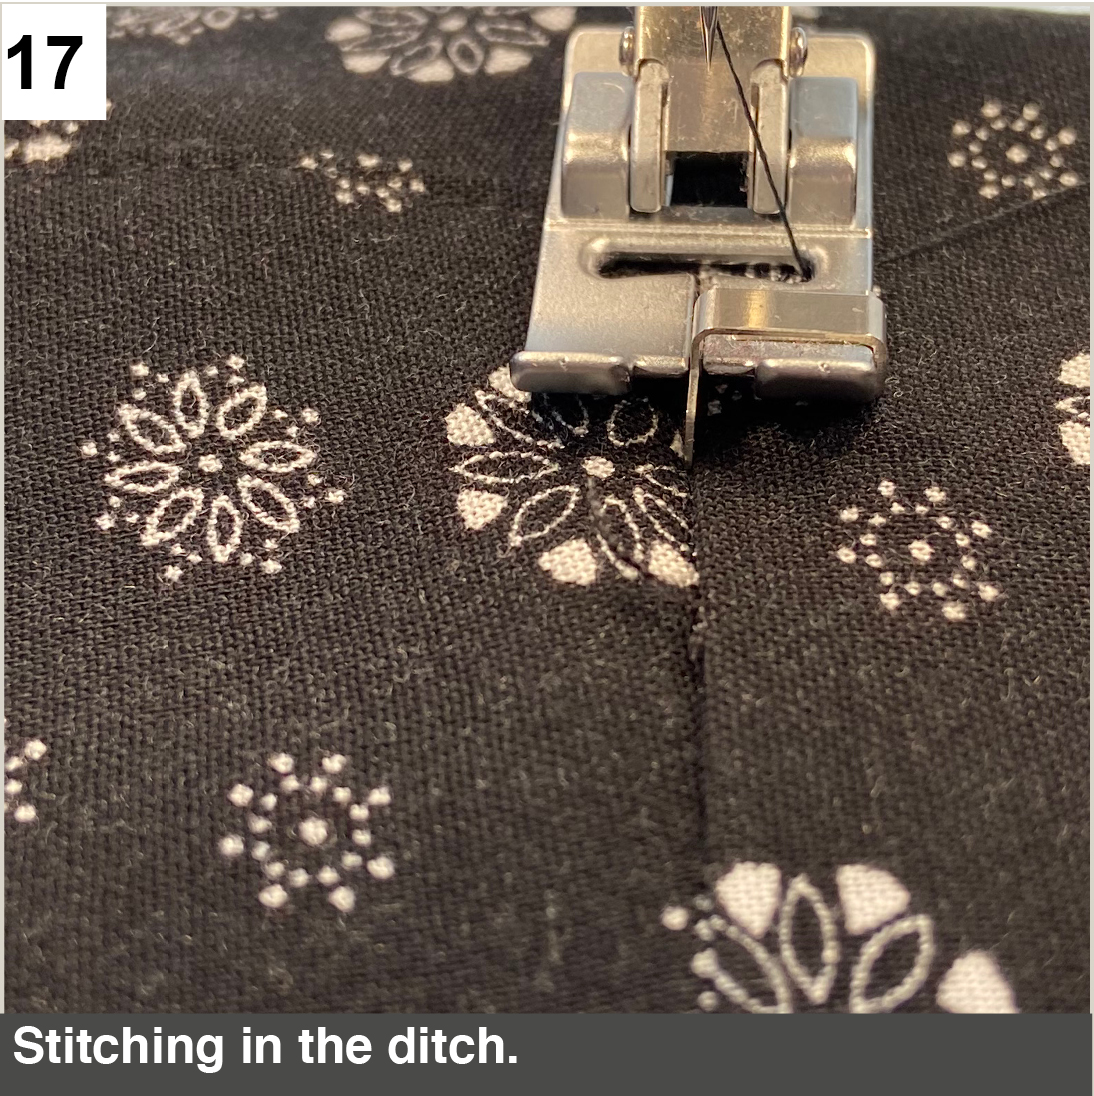
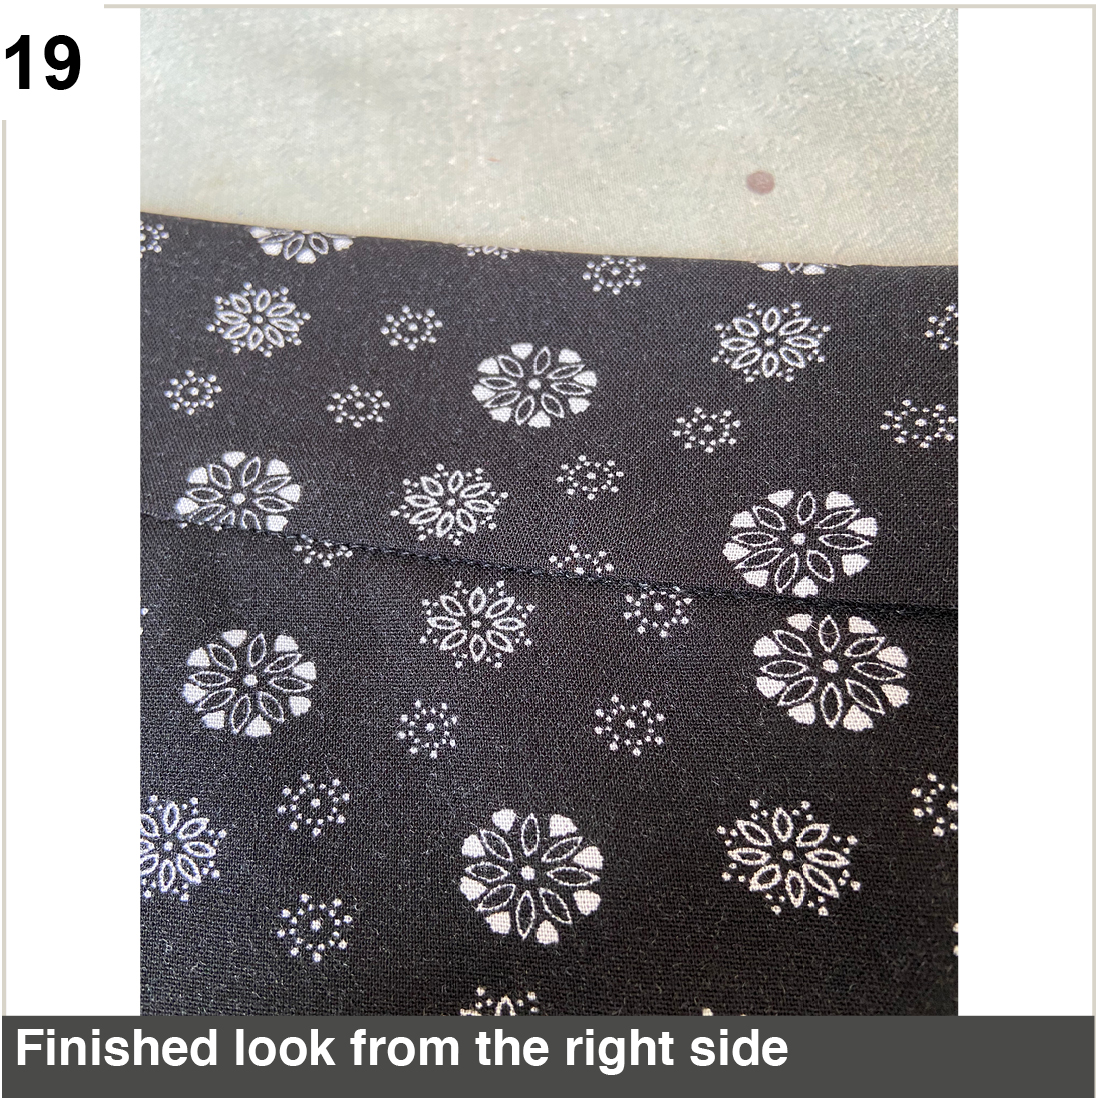
Then I fold the waistband over and pin it from the right side in the ditch, checking on the inside that it is catching in the ditch there too. But it doesn’t matter too much on the inside as long as it catches the waistband because the bias-bound edge will stay neat and won’t unfold. And you can see I had a bit of a wobble on mine. You can also choose to match your bobbin thread to the binding and stitch straight onto it.
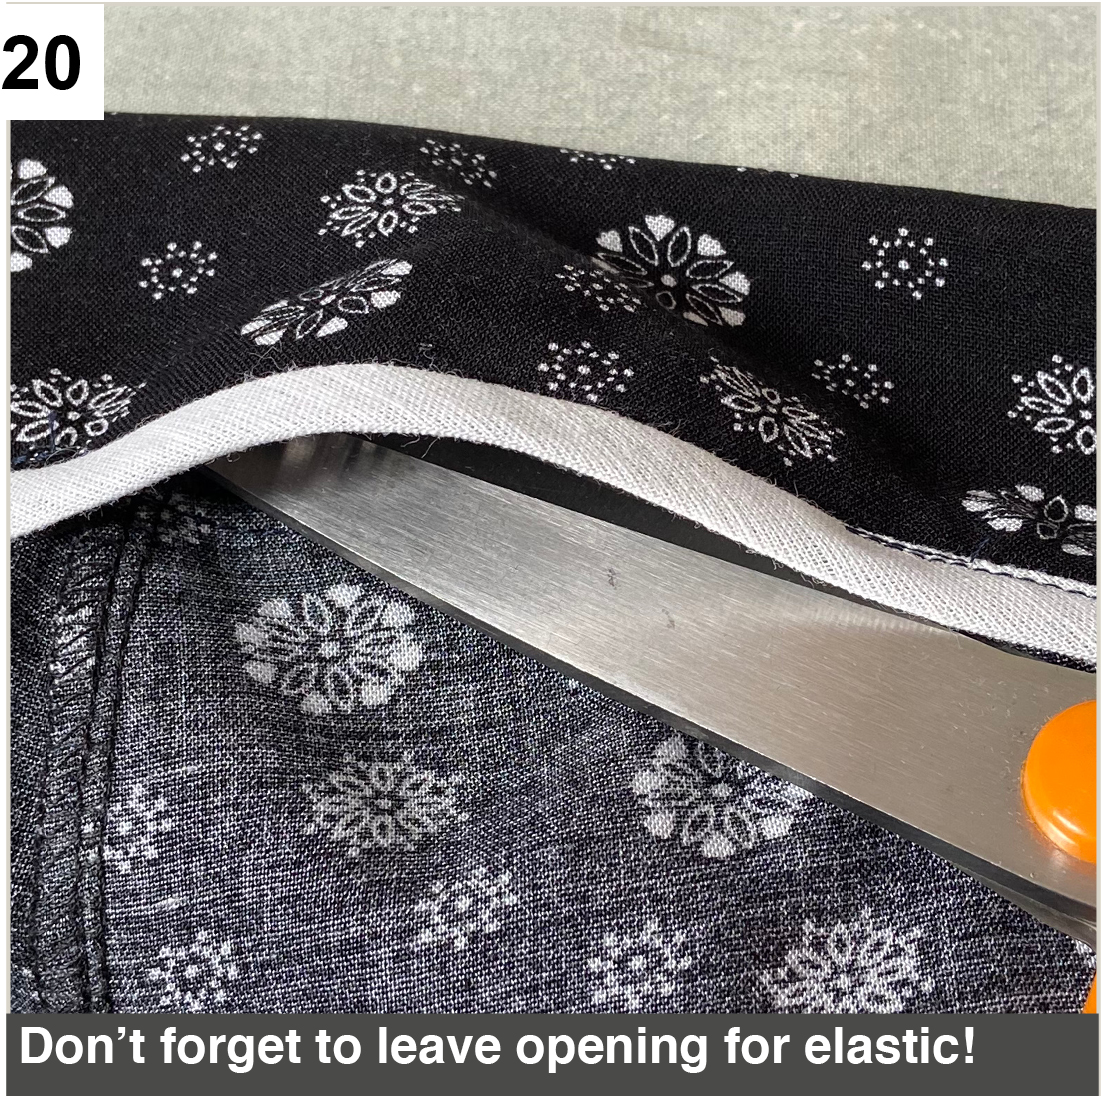
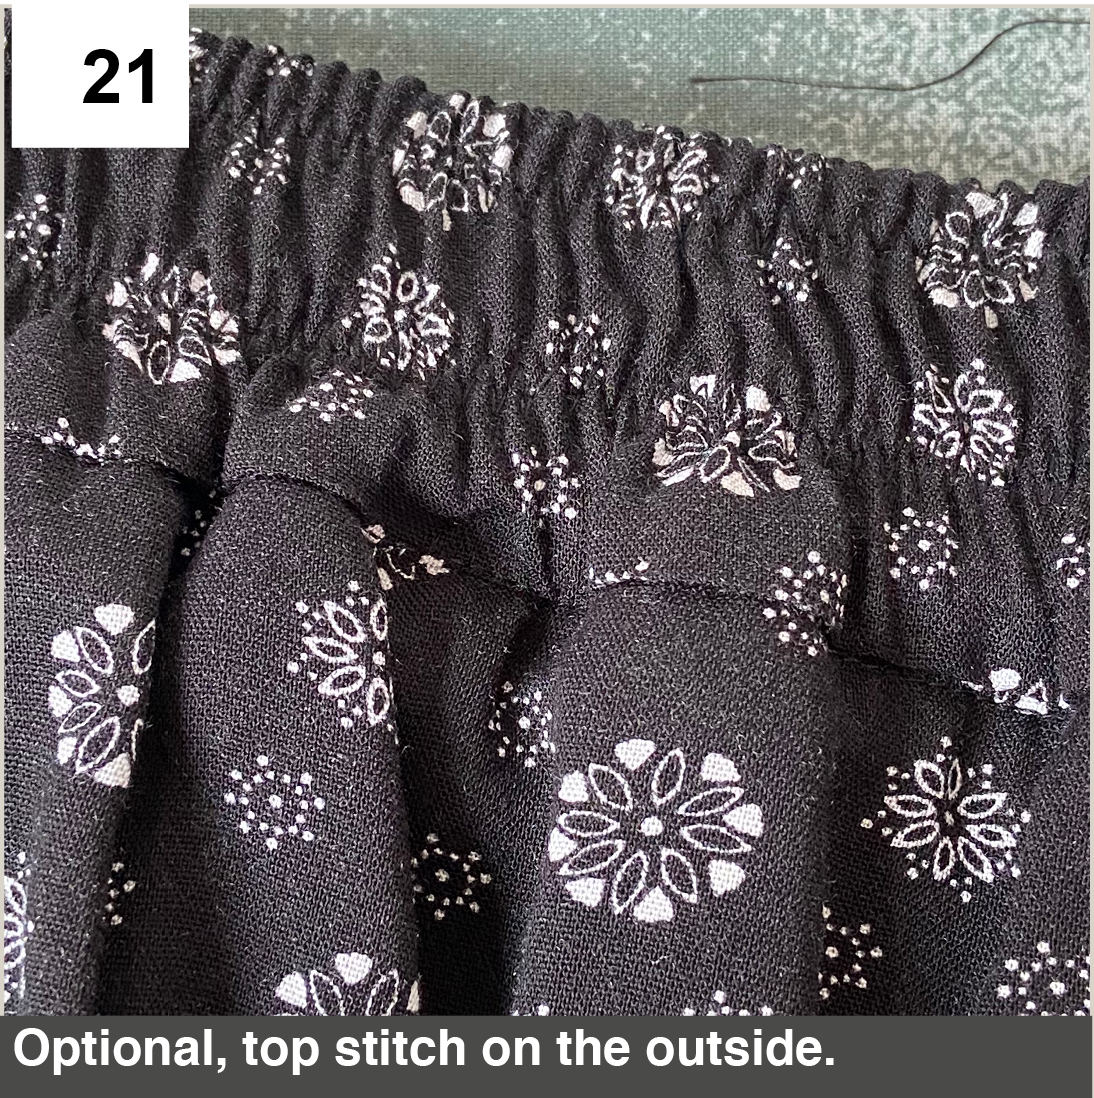
Stitch almost all the way around in the ditch, but leave a gap to thread your elastic.
I sometimes to two rows of ‘elastic’ stitch as I did here. I stretch the elastic to get the fabric flat and then topstitch.
And that’s it.
Hope that’s helpful.


Thankyou so much for going to the trouble of these individual photos by step. I’m a very visual learner and I understand this process now. Off to try it now. 😁Sent from my Galaxy
LikeLiked by 1 person
I’m so glad you found it useful. Thank you.
LikeLike