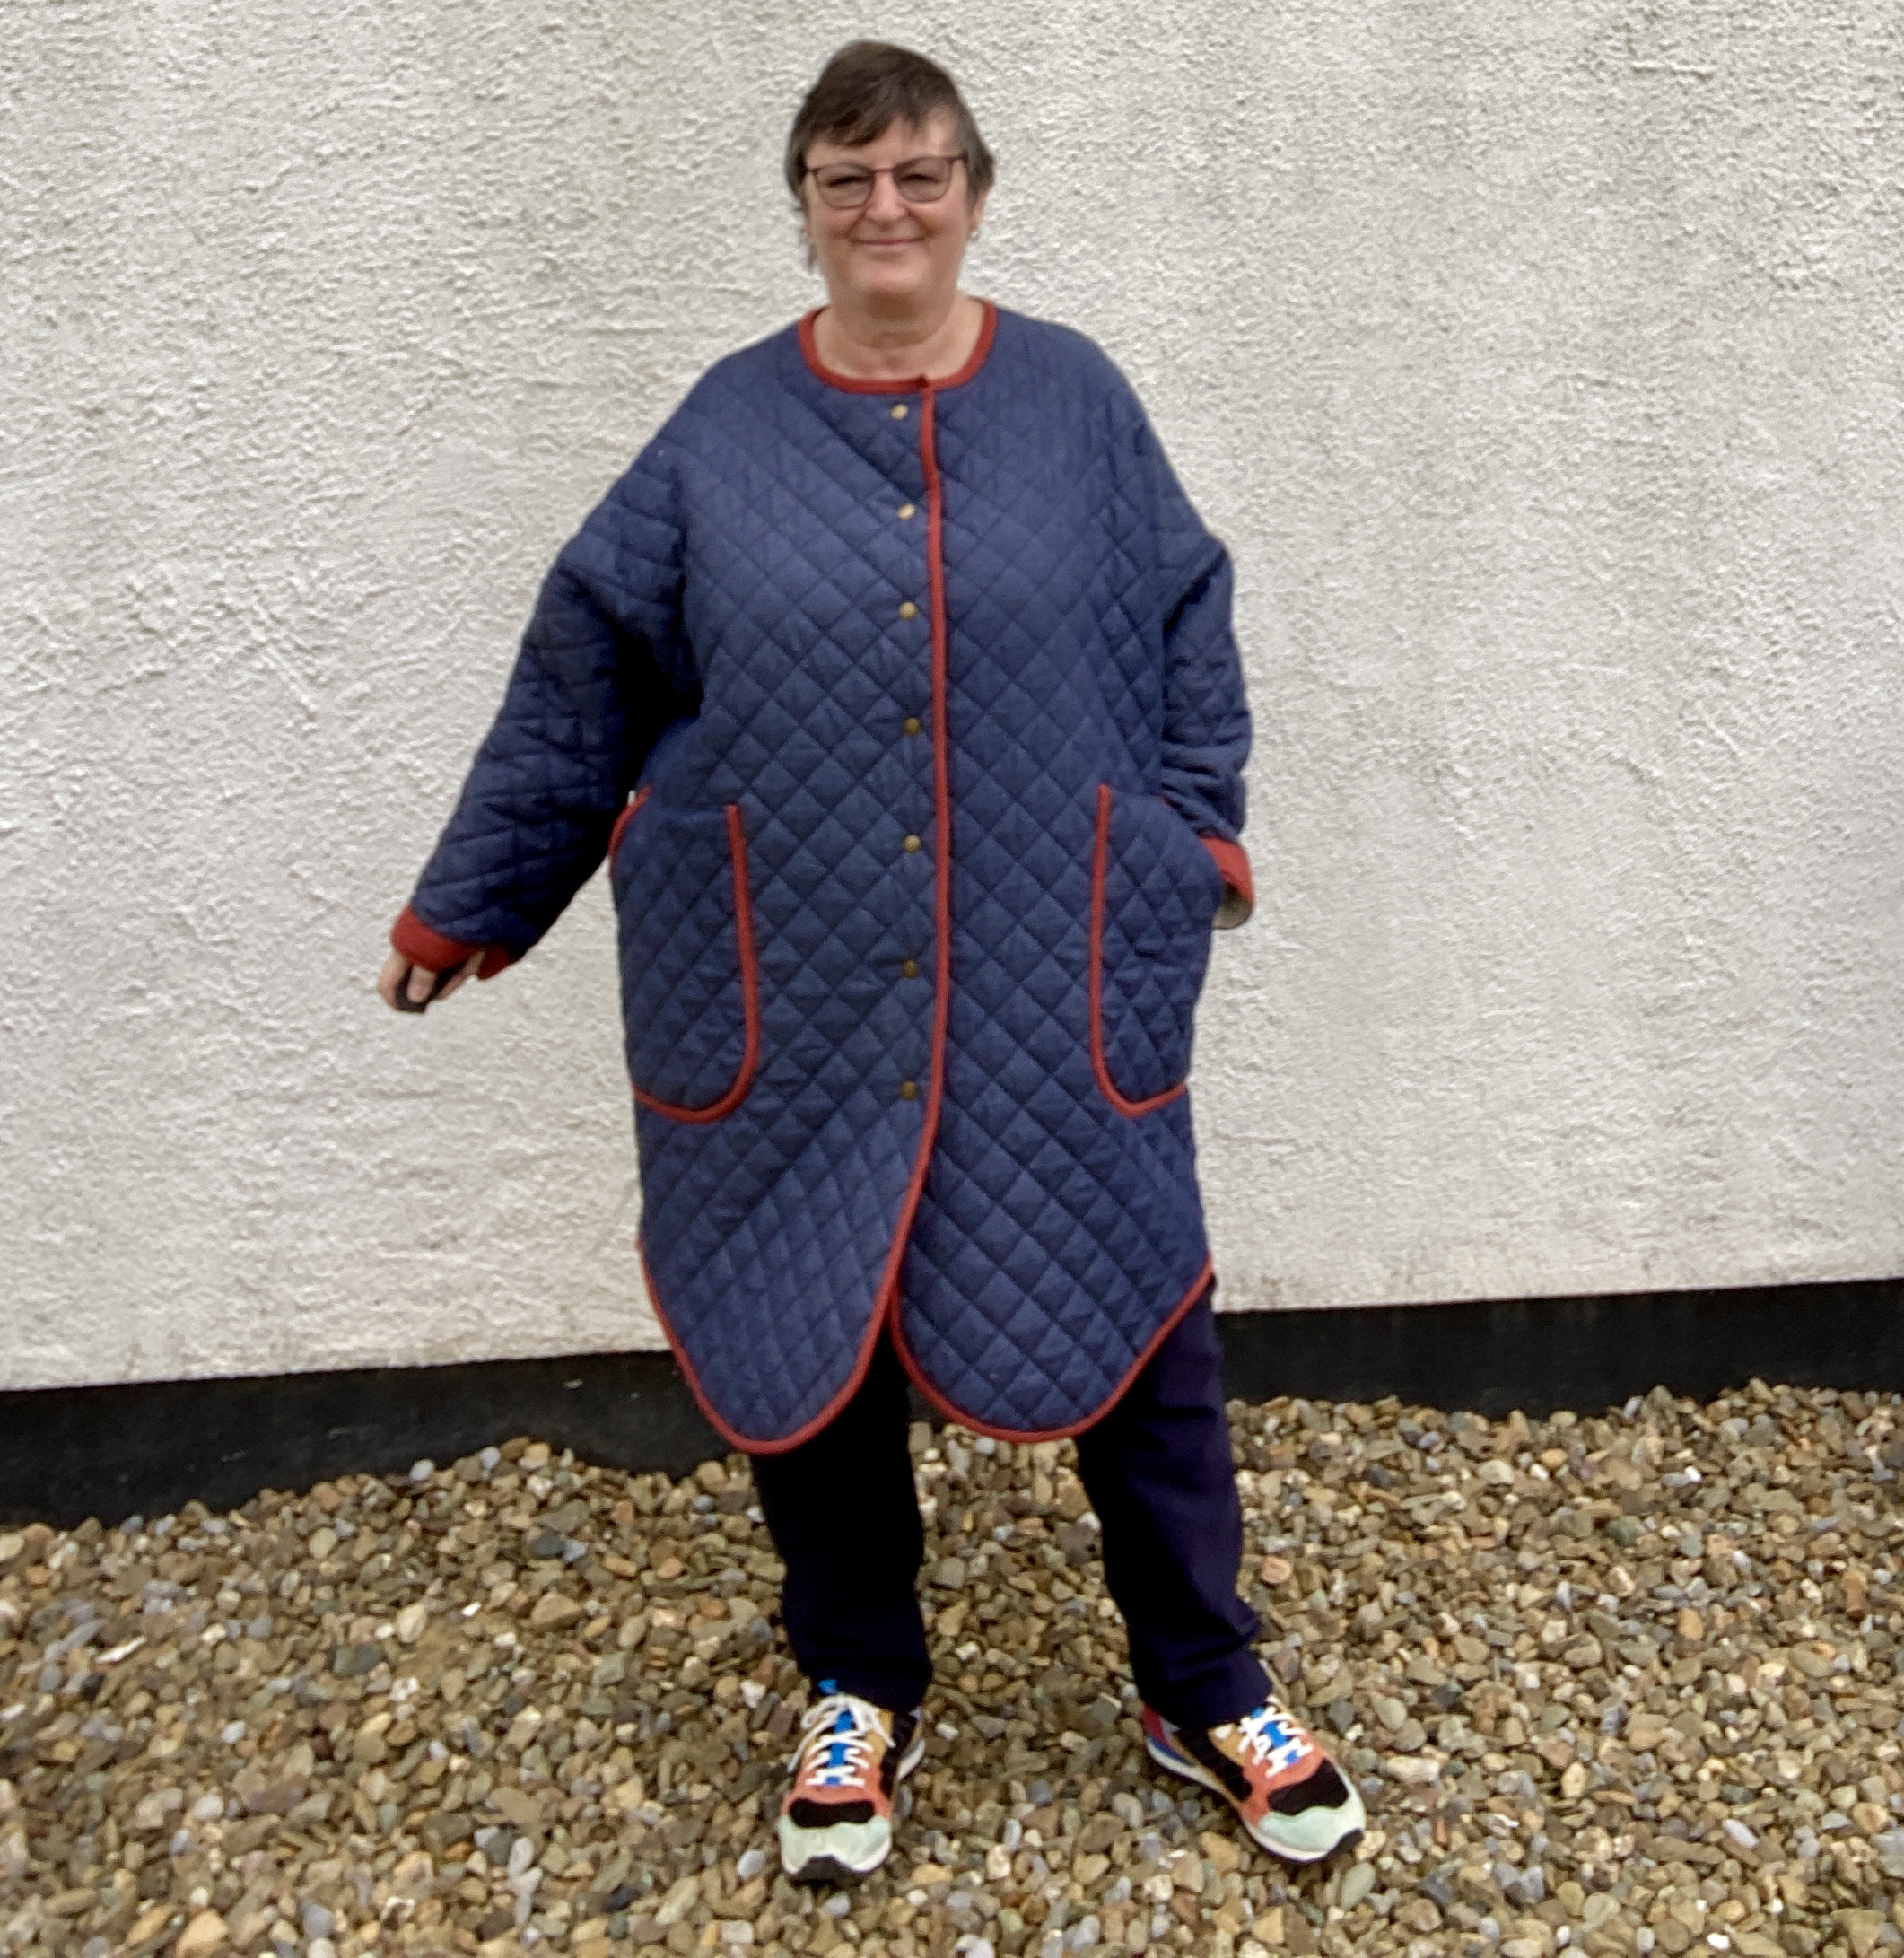
I’m relieved and delighted that this Muna and Broad Grainger Coat turned out so well. The pattern posed no problems at all, but this treble layer fabric was challenging.
I’m between D and E on M&B patterns but I wanted to be able to wear multiple layers so went with straight size E. I lengthened the sleeves by 1”. In these pics, I’m wearing just a thin T underneath.


https://www.munaandbroad.com/collections/frontpage/products/grainger-coat-sewing-pattern-pdf
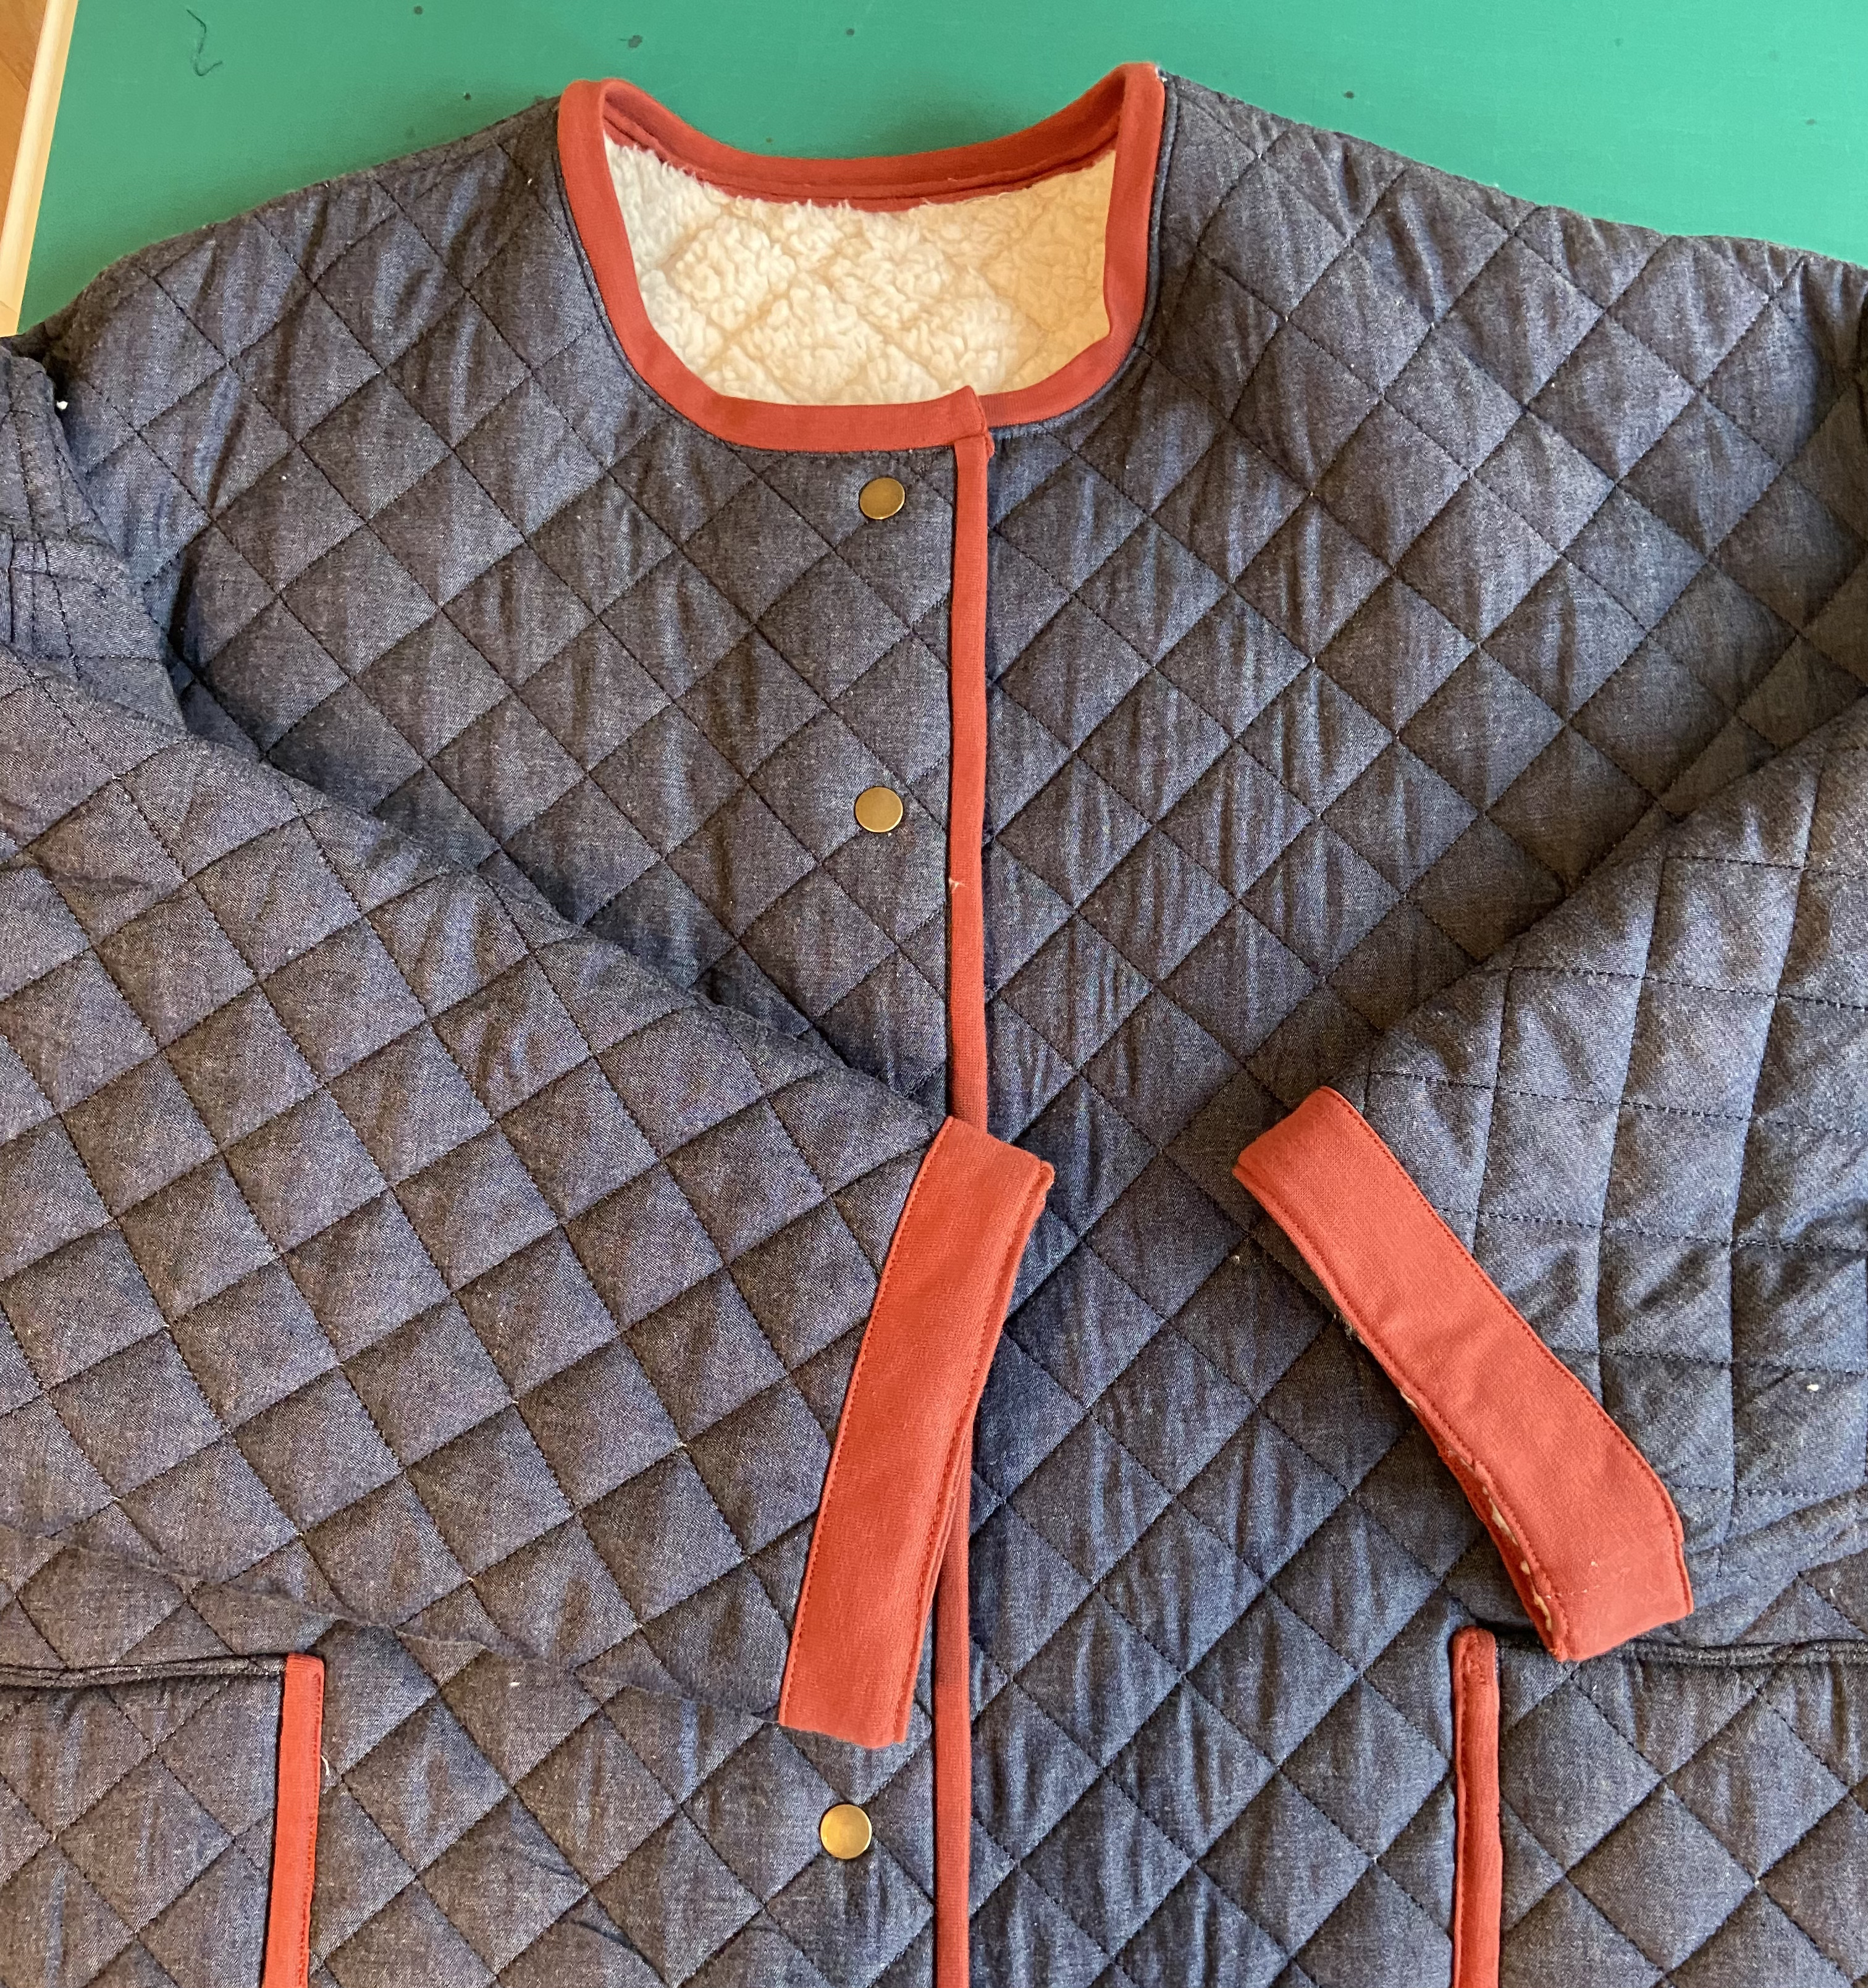
I changed the neckline from V to a crew neck just because I feel the cold. And I lengthened the coat by adding curved hems. I think there’s always a danger a quilted coat will look like a dressing gown, and I think the shirttails and dark brass snaps help it move away from that.
This coat is incredibly warm. The outer is a lightweight denim; the middle is foam padding; and the interior is a really soft, quite thick, cuddle fleece. I was a bit nervous because I think at £25 it was one of the most expensive fabrics I’ve ever bought. I got it from http://www.FabricGodmother.co.uk, who did remove the VAT, but I had to pay customs and postage too.
This fabric was tricky. I’ve made dressing gowns from cuddle fleece before and I swore I’d never use it again. But because this fleece is quilted it seems to be holding together. But even on my machine with the built-in walking foot I have to give it a helping hand through the presser foot. I phoned John at the Singer Sewing Centre in Waterford, where I bought my Pfaff 710, and he suggested going up to a stitch length of 4 to 4.5. This did help a lot. I had increased to 3, but that wasn’t enough.

I did a kind of faux flat-felled seam to deal with the bulk. Before sewing the seam I serged one edge. Then sewed the seam, cutting back the unserged edge, laying the serged edge over that and then topstitching from the right side.
For the top horizontal bit on the pocket, I just turned it under and topstitched. I did tests on right angles and they were a holy mess! I need more practise with that before I could use it on a garment.
I used a jersey ribbing to make the binding and that worked well.

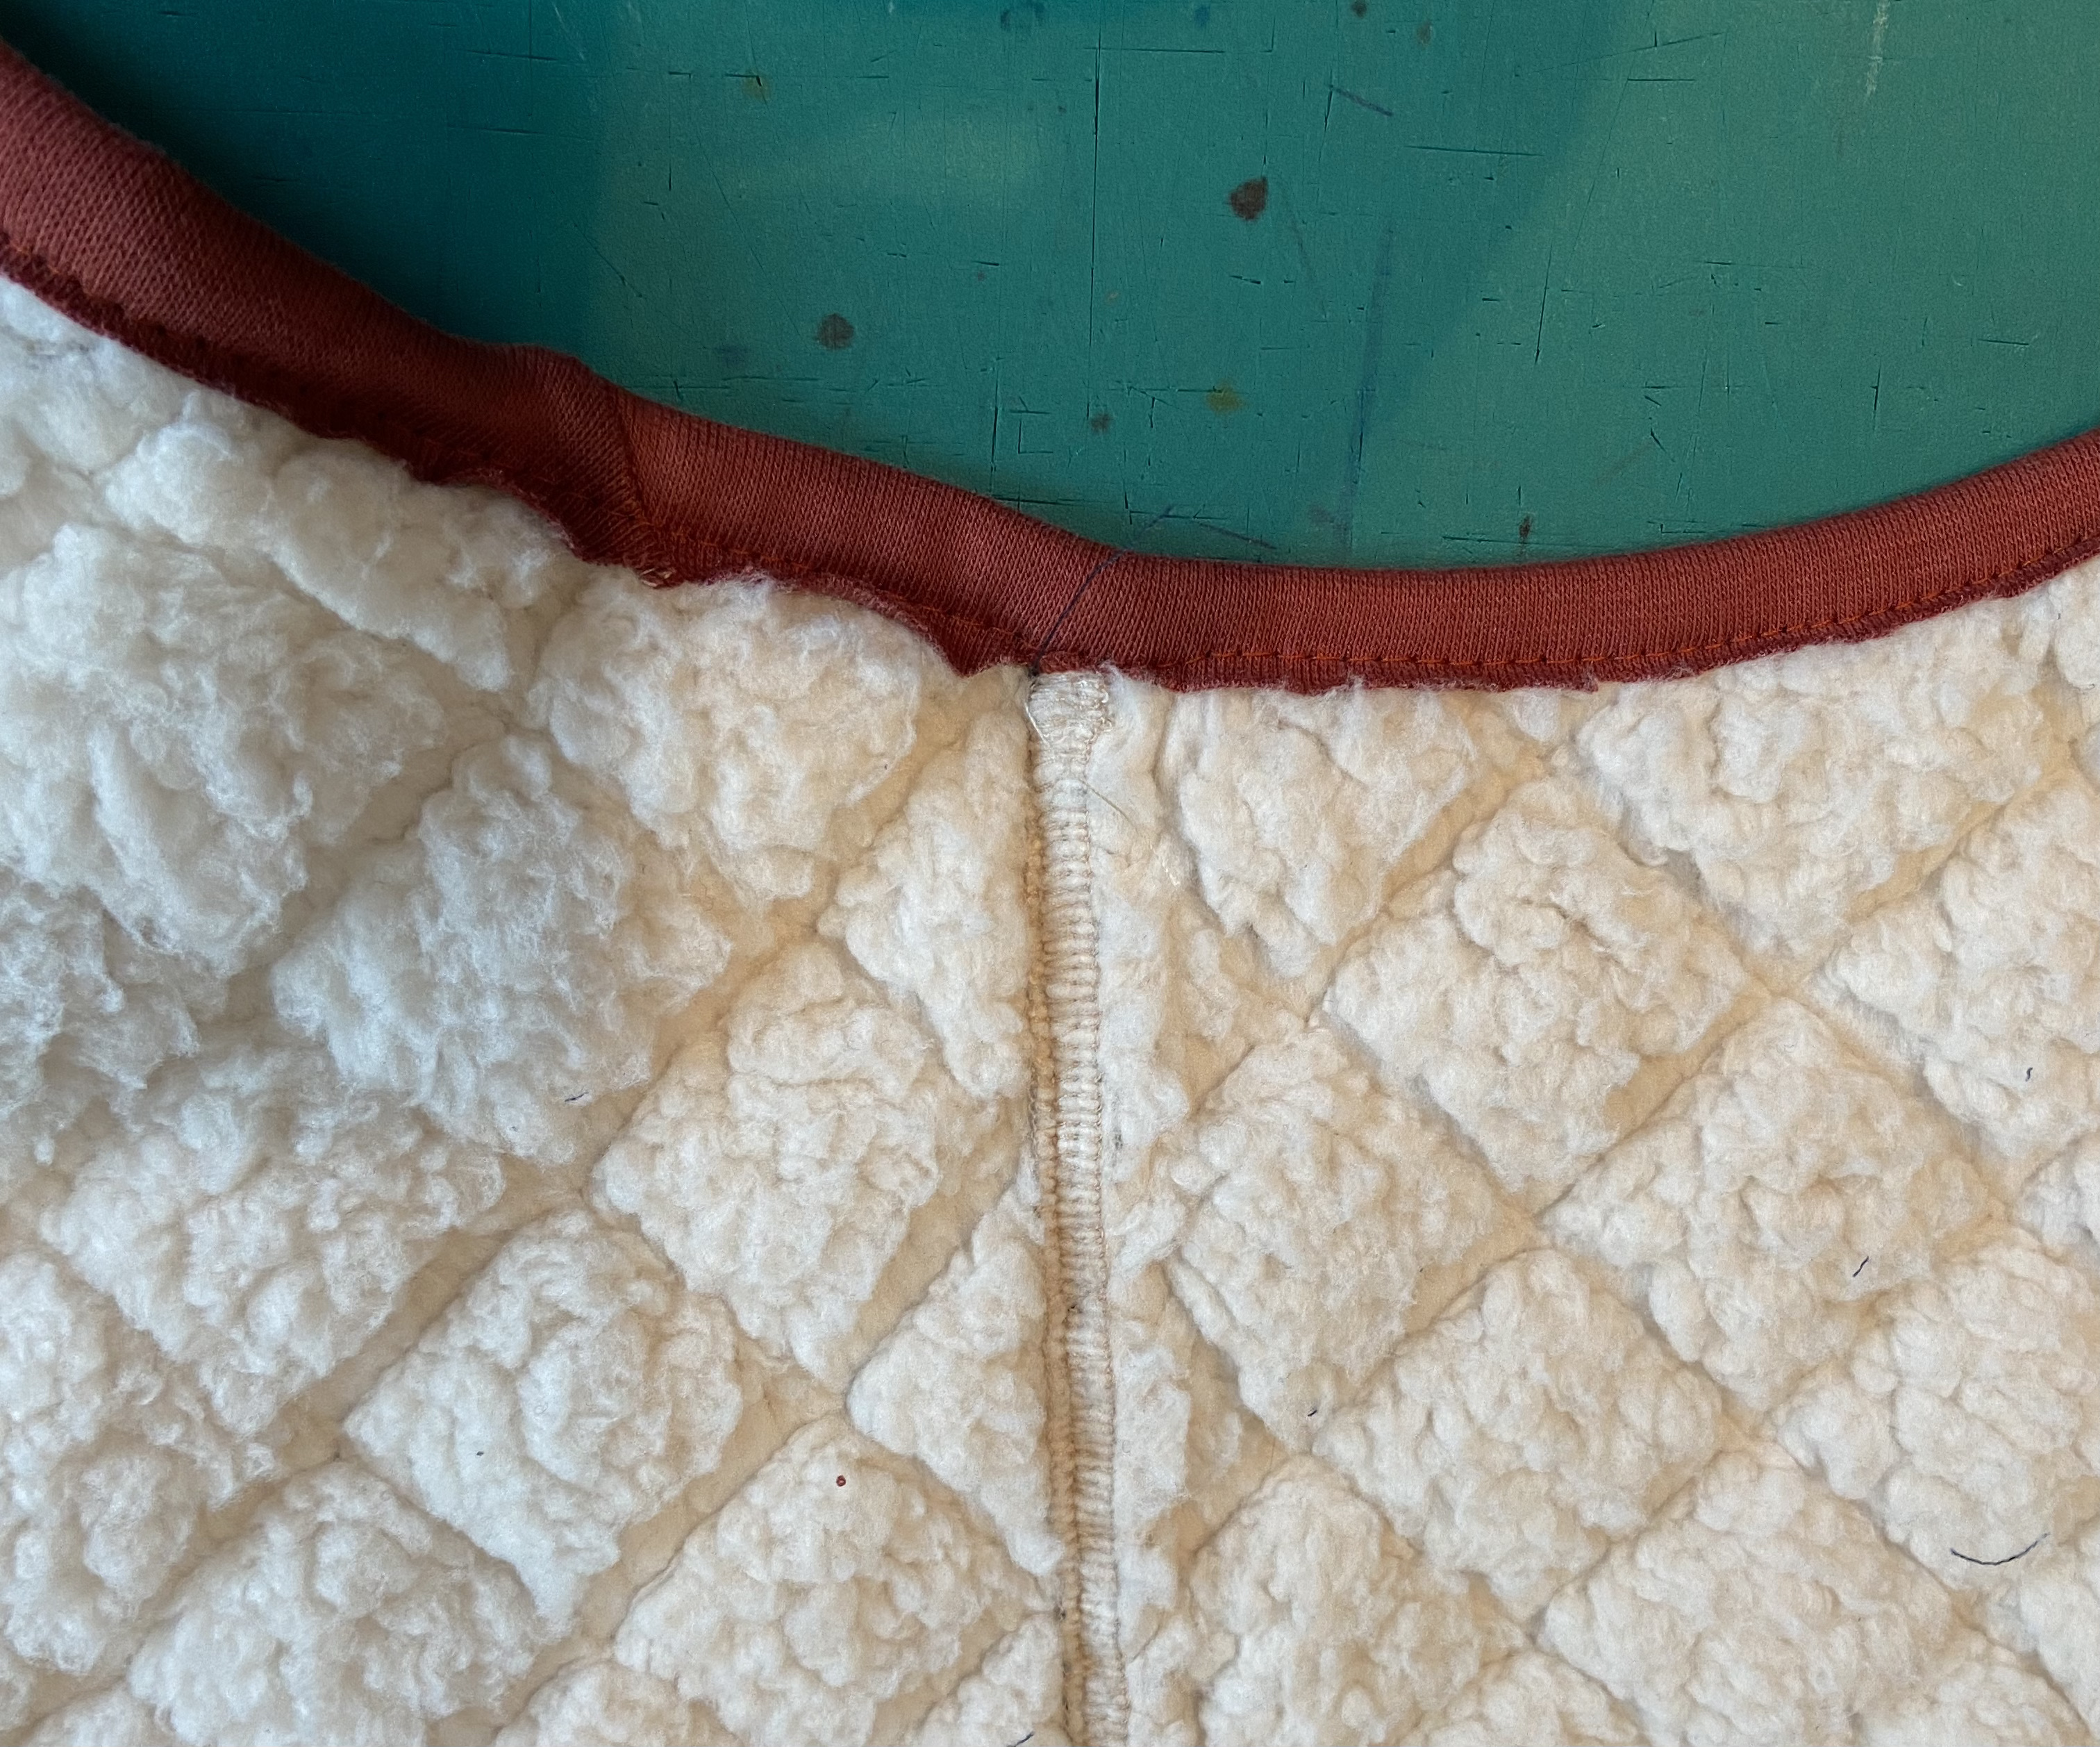
I was going to do a neckline facing to get over the right angle to the front, but I wanted to continue the colour around the neck. So I did the neck separately. I got a 2” strip of ribbing slightly shorter than the neckline; folded it in half and sewed the short seam at either end, right sides together. Then I turned it right way out and sewed it on much like you would on a t-shirt. I used a 5/8” seam allowance to sew it on, then graded the fabric (but not the ribbing). Then I top-stitched the seam allowance down to cover the join. It’s not quite as clean cut on the inside as I would like, but it’s grand.
Normally, when I make a mistake, I will rip and redo. But I learnt with this fabric that it was almost impossible to pick out stitches, so I just had to improvise. And occasionally where I missed a bit, I just had to sew over it again so you can see two rows of stitching. But the quilting lines kind of make this disappear.
This coat is incredibly warm and I look forward to wearing later in the winter and when I go to visit my daughter in Scotland in January (Covid allowing).
My next project is to clean up the mess from testing binding and seams and all that white fluff!