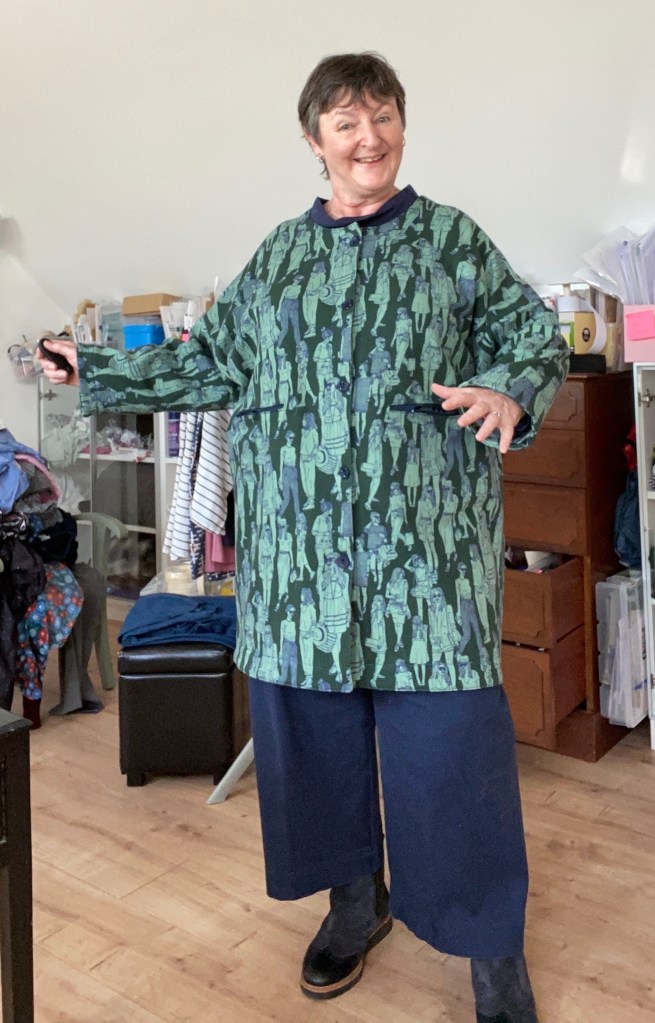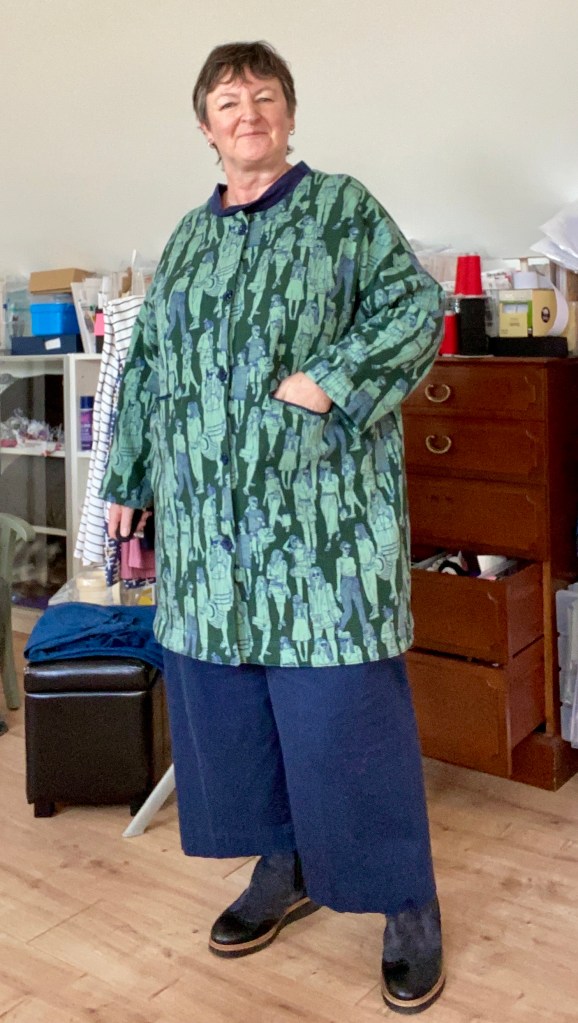
I think this might be my favourite coat/jacket I’ve made so far. It’s the Muna and Broad Mallee jacket and I cut a straight size D lengthening it 10” at the marked lines and on the facing.
https://www.munaandbroad.com/products/mallee-jacket-sewing-pattern-pdf
Pattern is for boiled wool so I needed to change construction
I did have to change the construction method a good bit because this pattern is specifically for boiled wool but I made it in a fleece-backed, mainly cotton, Ponte. I didn’t want the white of the fleece showing through. For the boiled wool version the patter suggests the facing is topstitched onto the inside so the edges are technically raw. I used the same facing pieces but I sewed the continuous facing loop right sides together first, then under stitched then top stitched at the outer edge and along the inner edge (of the facing on the inside).
Zip pockets
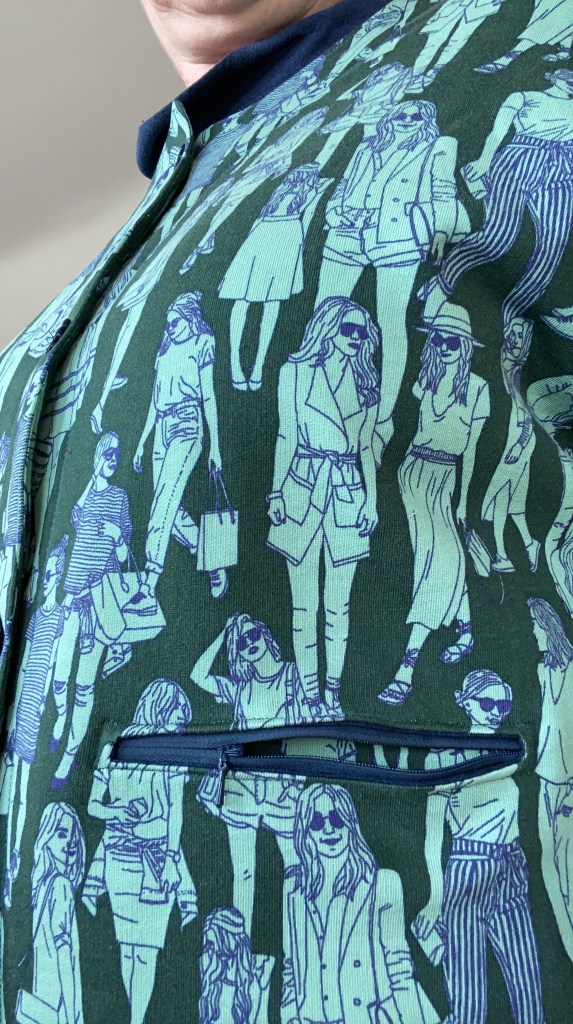
I changed the pockets to zip pockets for the same reason – I didn’t want the white fleece showing through. I only had invisible zippers on hand so used those.
This all worked really well but it does look a bit messy on the inside where you can see the pocket inners; and the seam allowance is 5/8” and they are inclined to roll a bit on the inside. This doesn’t really matter because this is a very soft fabric. In the original pattern, the instructions show a different method for the suggested boiled wool and that takes care of this.
If I were making this again in a non-boiled wool, I would line it to tidy up the inside. I would probably lower the pockets too as I placed them where suggested in the original jacket pattern.
Testing, testing, testing


I went slowly with this and tested the mitred corner facing to see if it would turn in under well. I also tested the pocket and the button holes.
Thread tracing

For the facing corners, I graded and clipped all the layers, but didn’t do this along the straight lines. After I top-stitched the edge of the facing down, I tacked it all down with red thread. I was using two reels of thread for topstitching so I sewed on the outside, but I wanted to make sure I caught all the facing.
Automatic buttonholer and automatic button sewer!

I was lucky enough to get a new Pfaff machine for my birthday in April and for the first time I used the automatic buttonholer and the yoke for actually sewing on the buttons! I kid you not. What a revelation!
The lovely fabric is from Ann Marie at http://www.craftystudio.ie, but I bought it a few months ago so not sure it would be still in stock.
I am also wearing One-seam pants from Cutting Line Designs (https://www.cuttinglinedesigns.com/shop/c/p/One-Seam-Pants-x37619526.htm) and an LB Pullover from Paper Theory (https://papertheorypatterns.com/products/copy-of-lb-pullover-pdf-pattern). These are two of my favourite patterns.