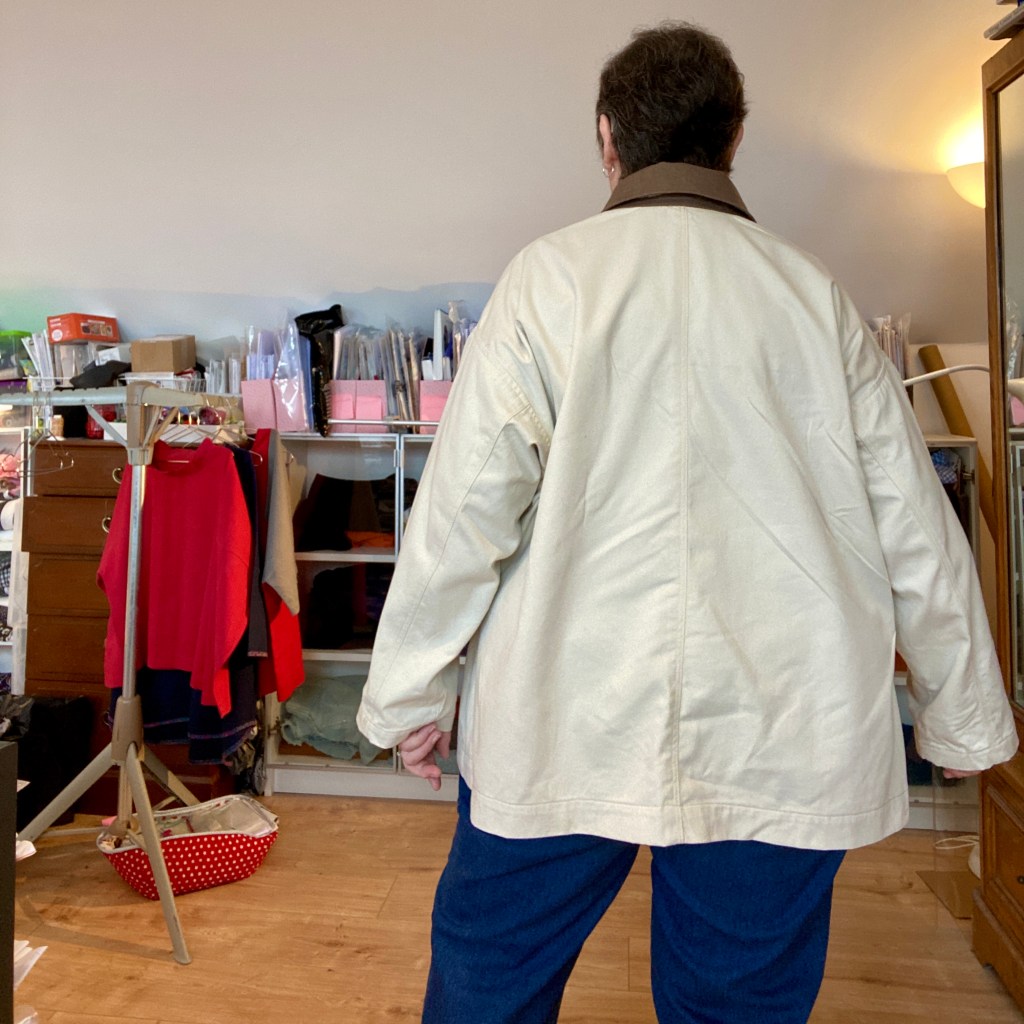
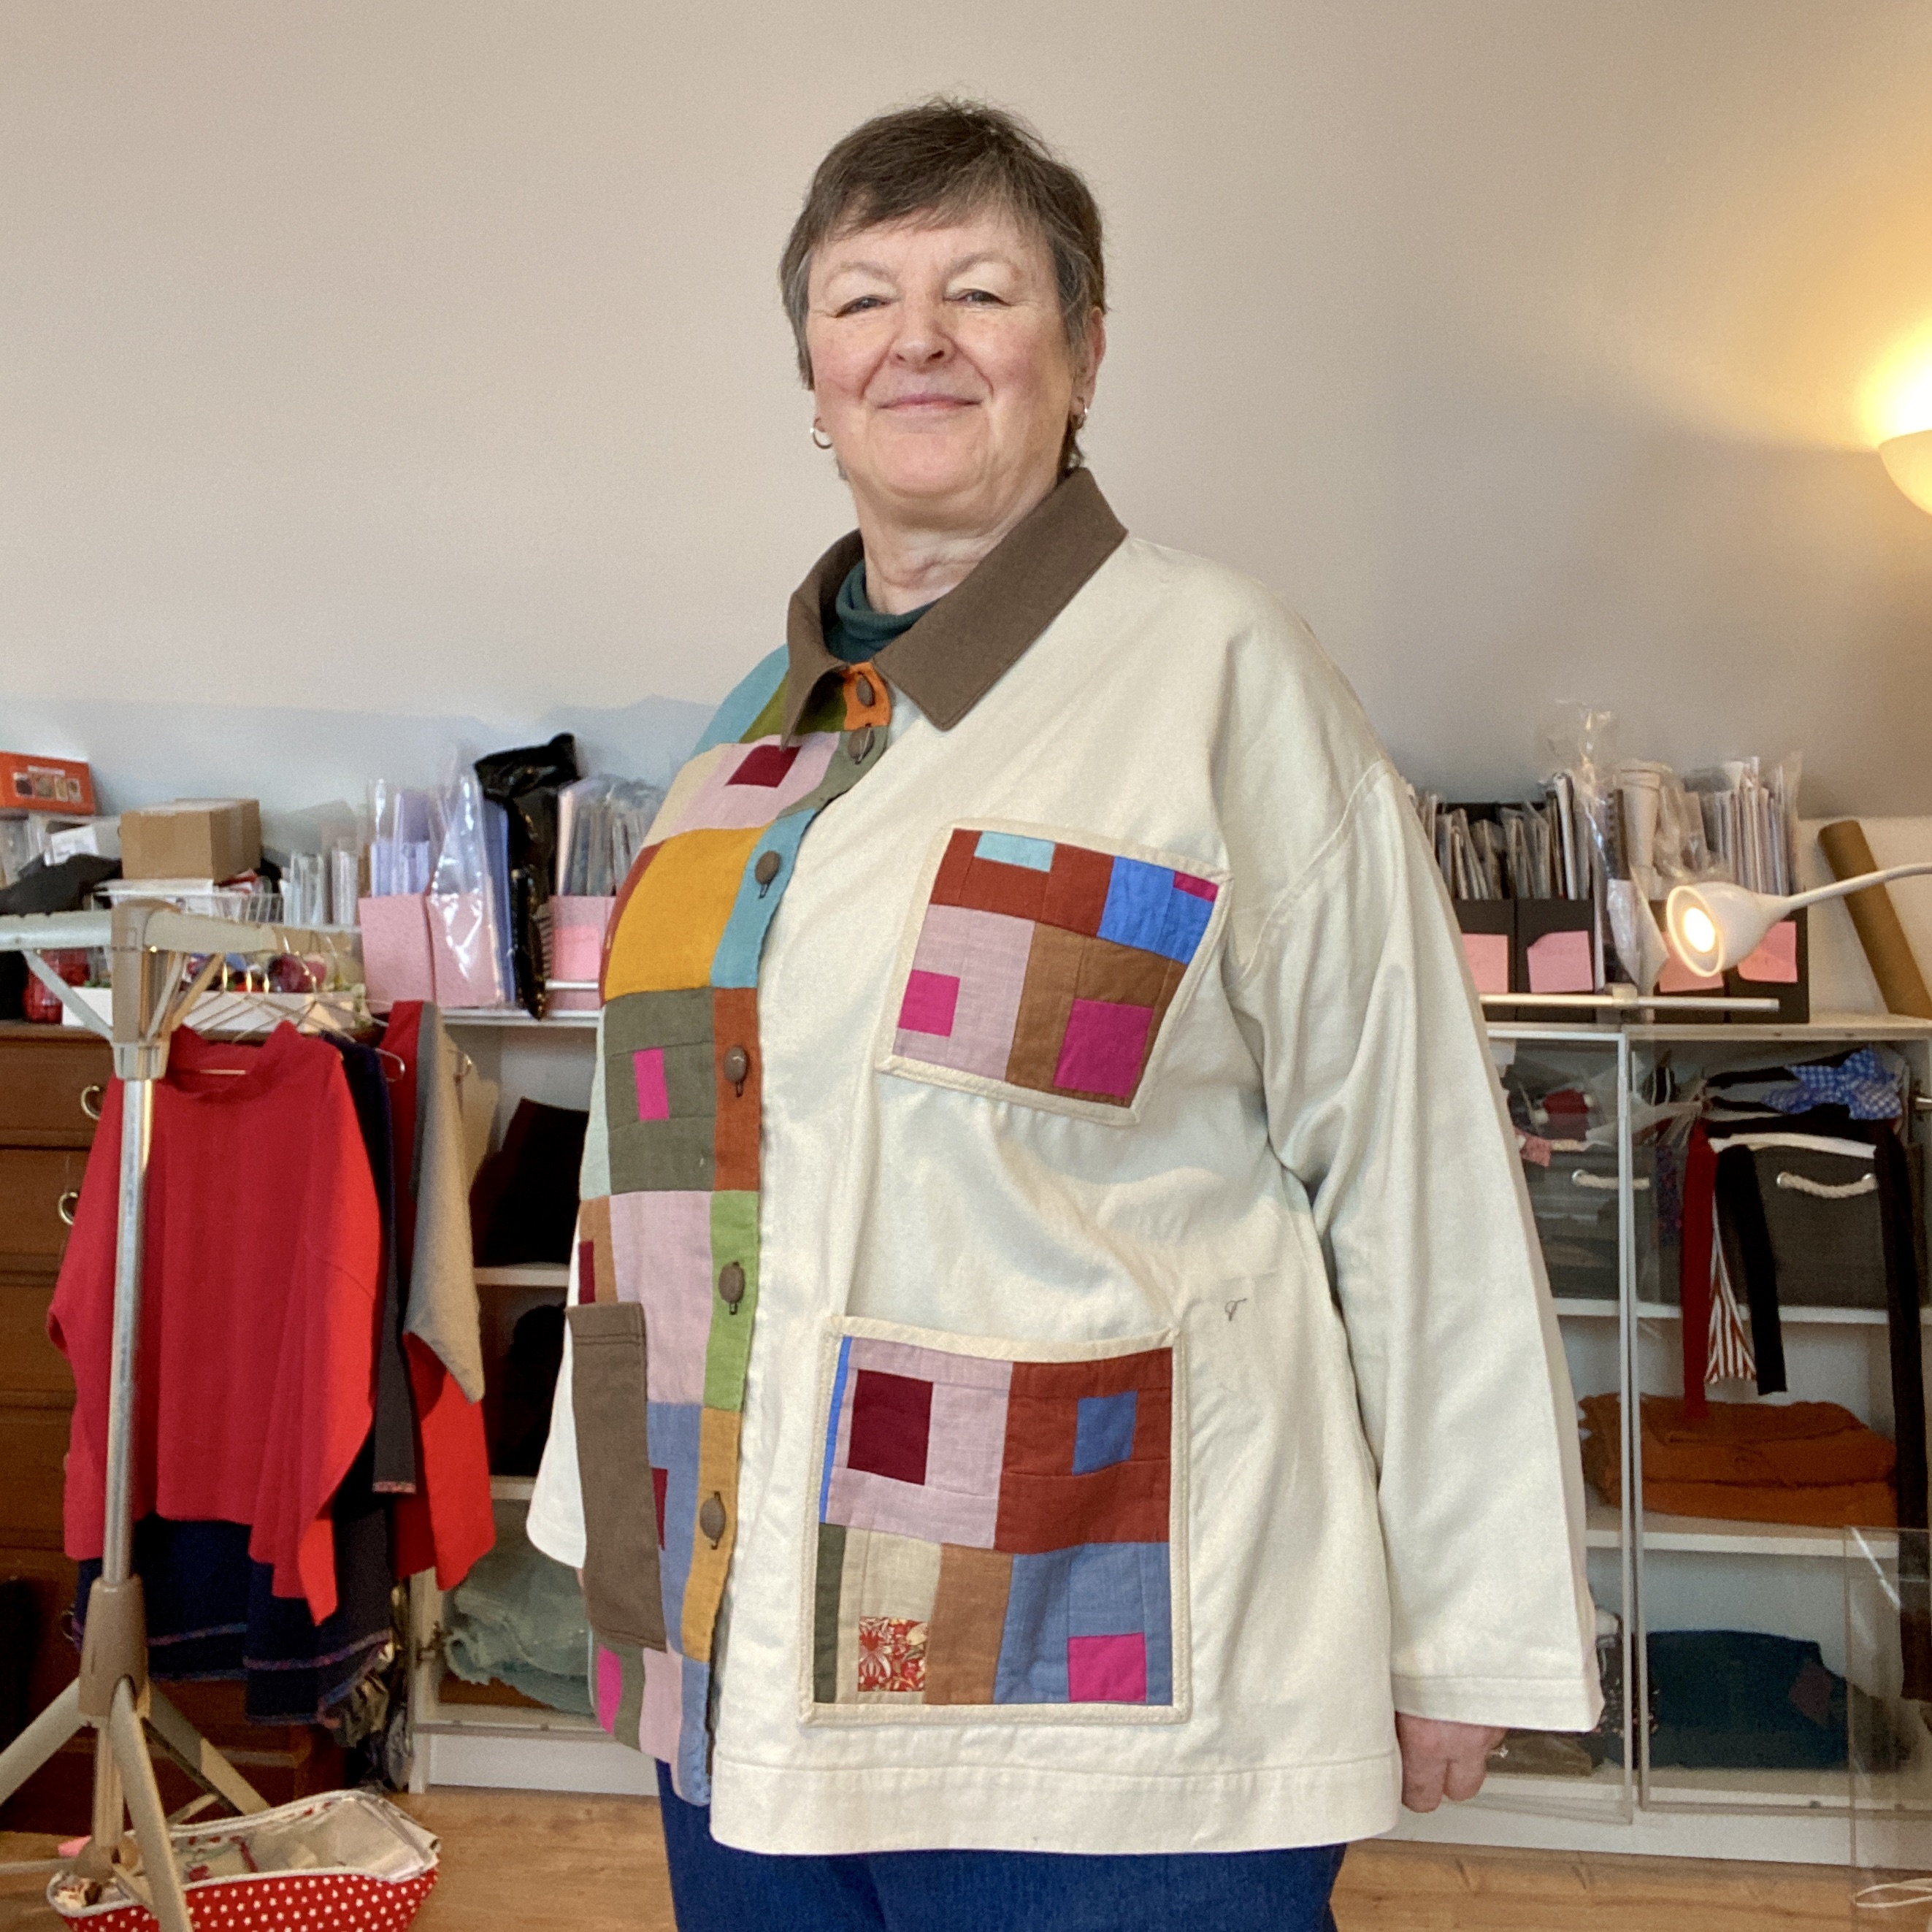
This jacket was quite an adventure and I really enjoyed making it and I love the end result.
I had been making these squares from linen scraps in my stash and I wasn’t quite sure what to do with them. I had been planning to make a Muna and Broad, Cobden Chore Jacket, and thought this simple design would work well in patchwork. I thought though, that might be a bit much for me to wear in all patchwork so teamed it with this lovely, twill, drill in a medium-heavyweight 100% cotton from Minerva. I am a Minerva ambassador and this was gifted to me.
I really love cotton drill; there’s something appealing in its simplicity and it’s very economical too. It’s also really easy to cut, iron and sew. Perfect for a jacket.
To make the patchwork front, I cut some calico/muslin larger than the pattern piece and washed and dried it. I then drew the outline of the pattern piece using a felt pen. I used the quilt-as-you-go method to attach the squares which I had sewn into strips. There are lots of tutorials out there.
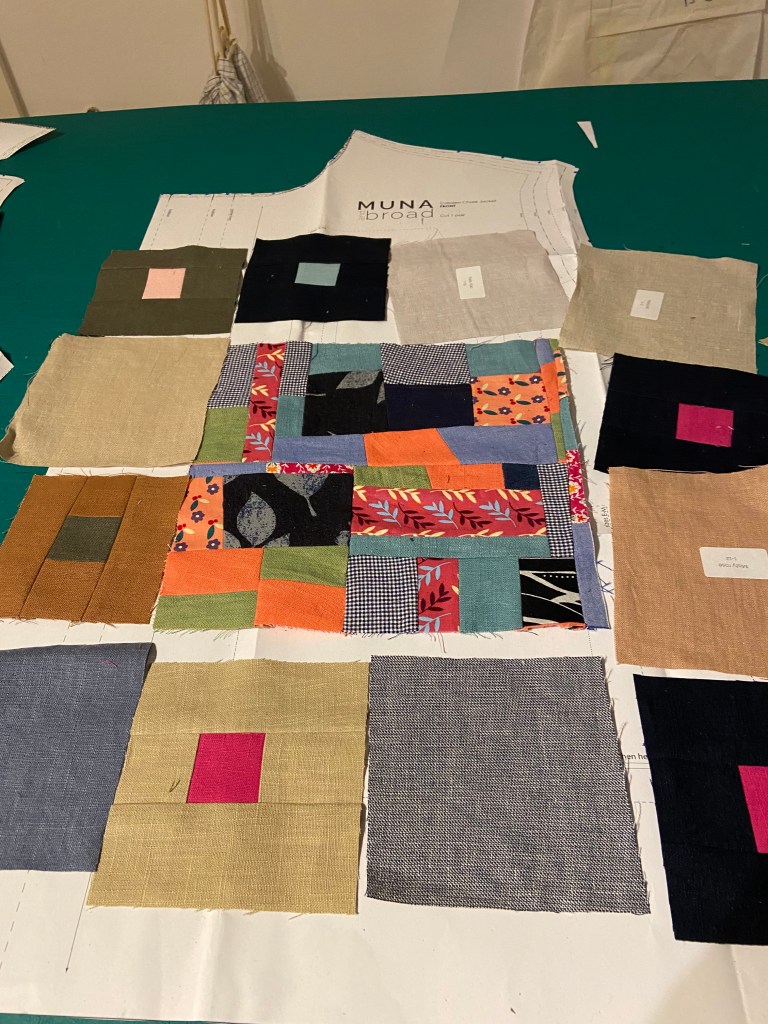


For this jacket, I laid a strip of patchwork, right side up onto the calico, horizontally across the middle front and going over the edges of the marked pattern line.
I then laid the next strip wrong side up onto the first strip. I sewed along the edge using just over 1/4” seam allowance. Then flip over and iron so you can see the right side of both strips. Then keep adding strips until the outline of the pattern is covered. I tried to have too many seam lines where the seams of the jacket would be.
Then I used the actual paper pattern piece to cut the front out. And straightaway I brought the cut-out piece to my machine and using a stitch length of 1.5, stitched right around the perimeter at about 1/8” to stop any seams opening up.
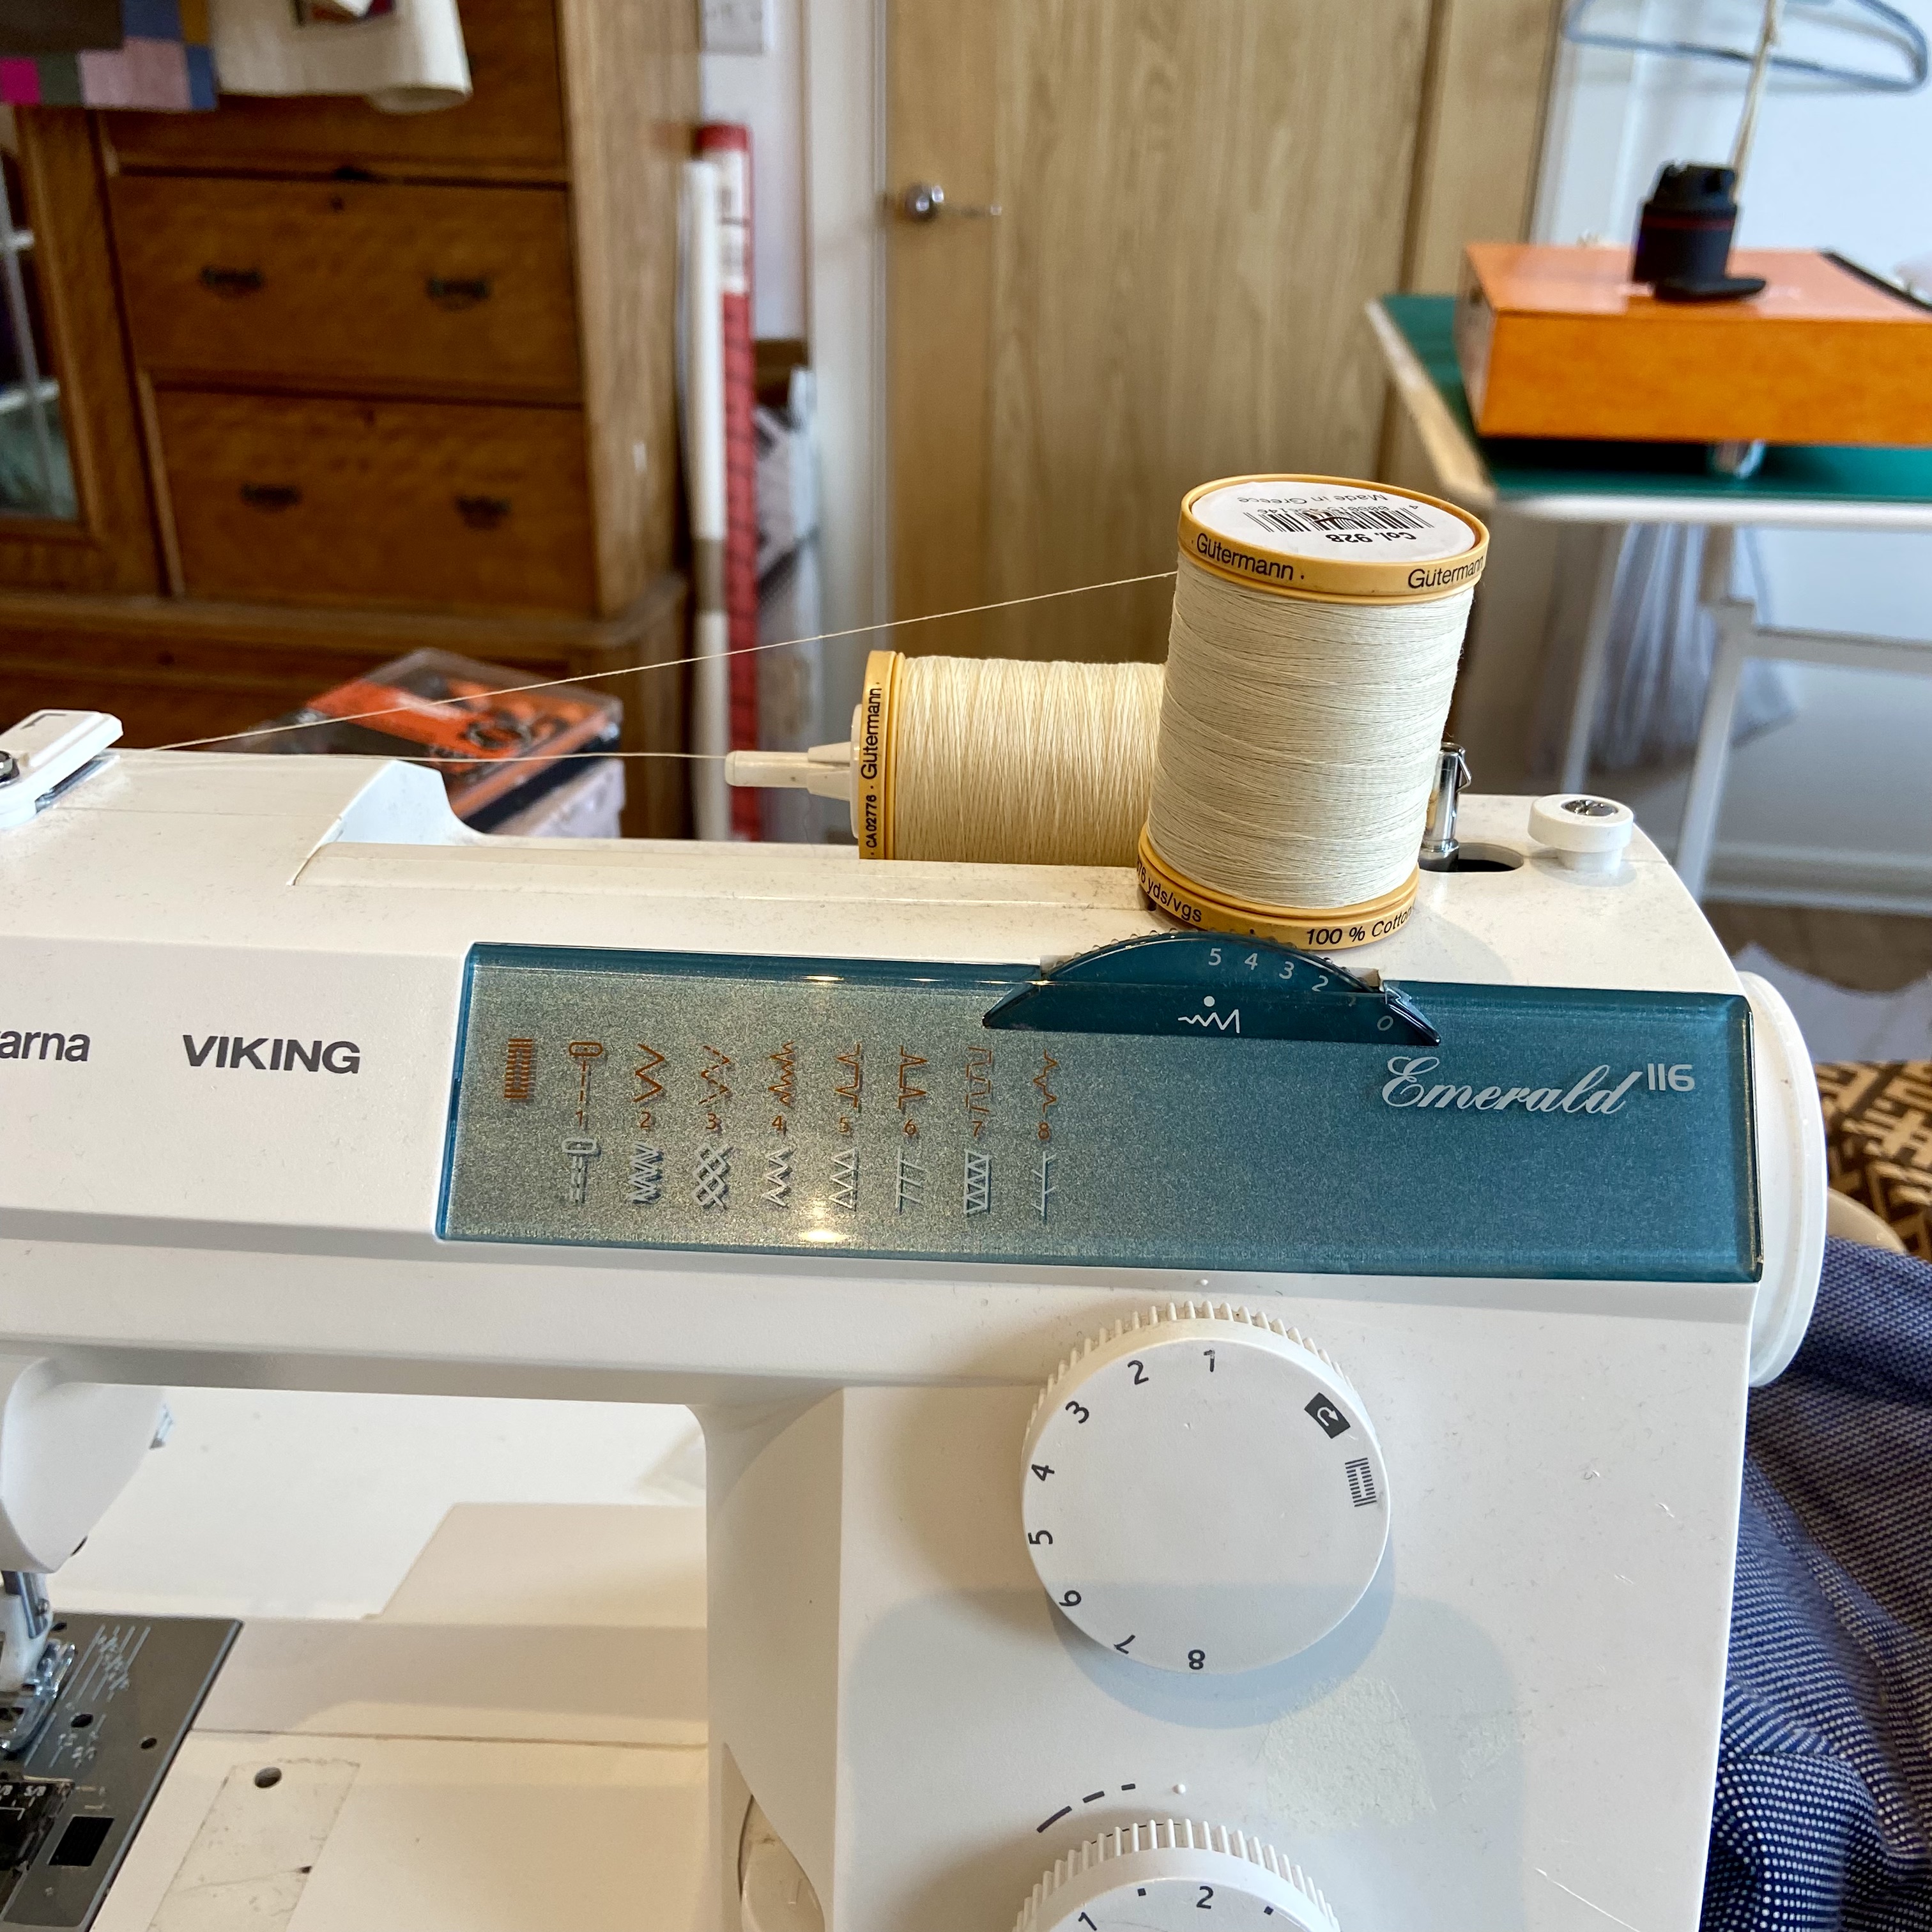
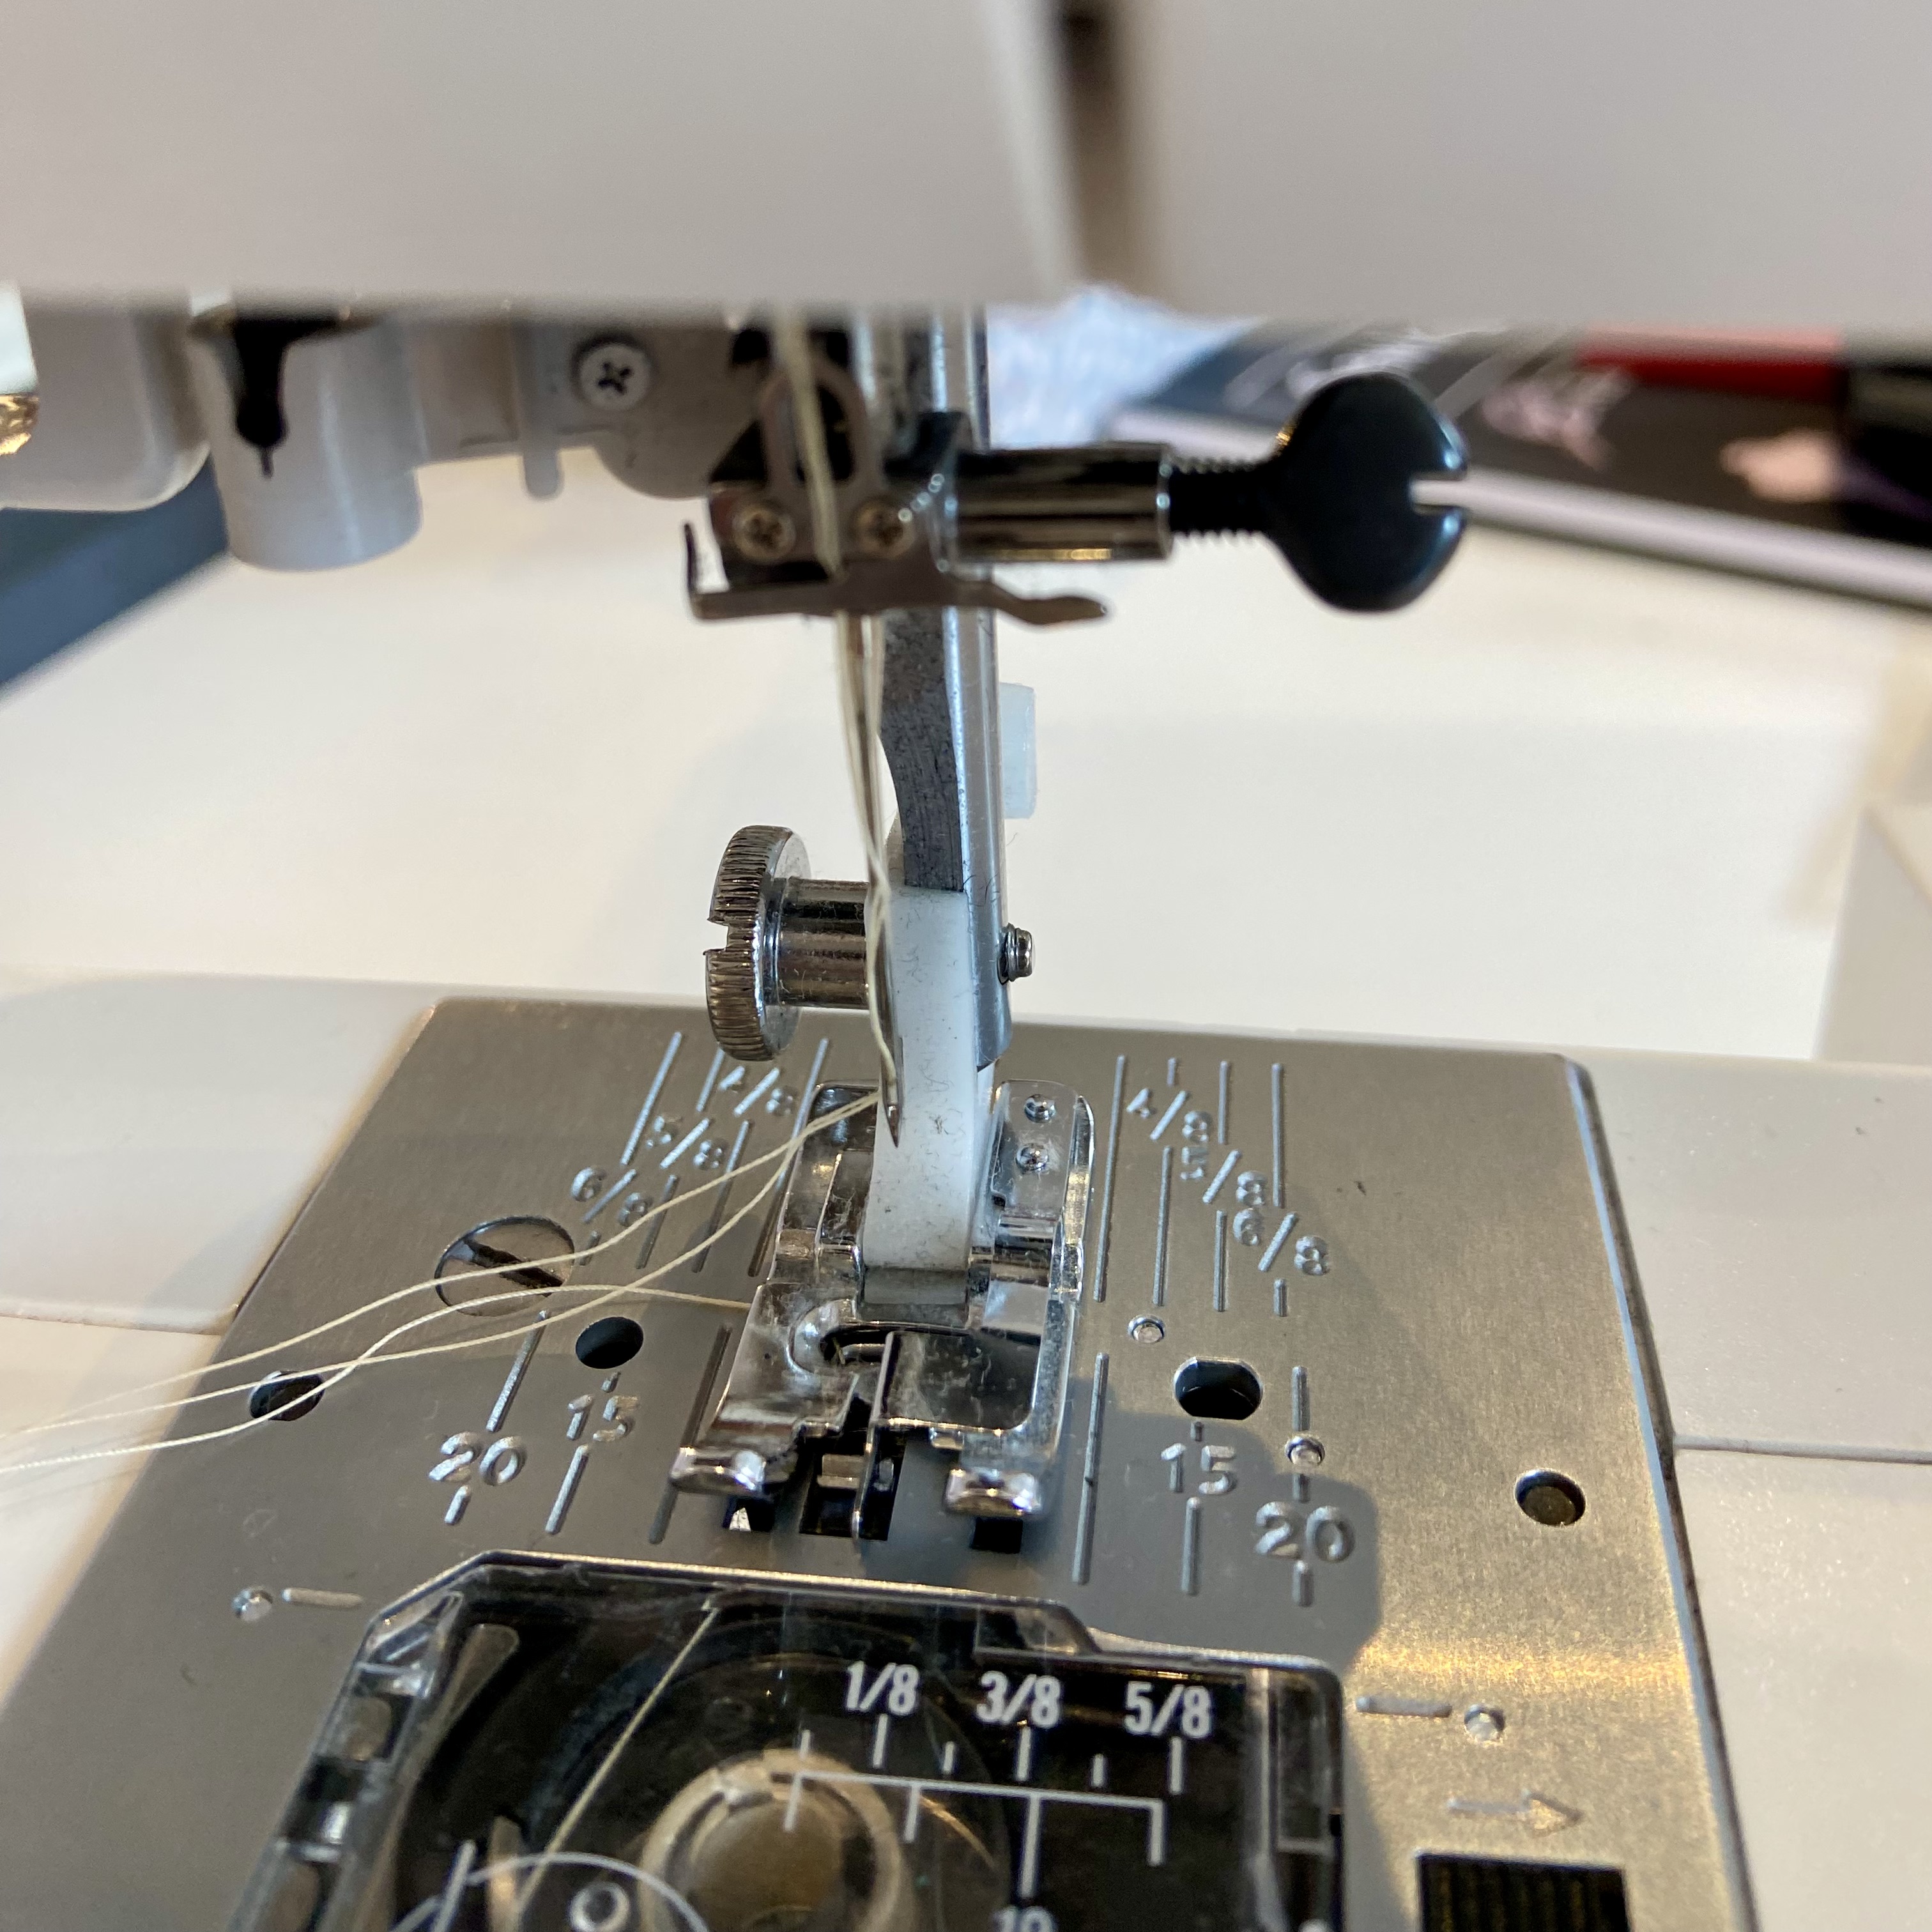
The order of construction in the pattern instructions minimises the number of times you need to change to top-stitching thread, but I am lucky enough to have my old machine still. I set that up with top-stitching needle and two reels of cotton thread feeding through the one needle to act as top-stitching thread.
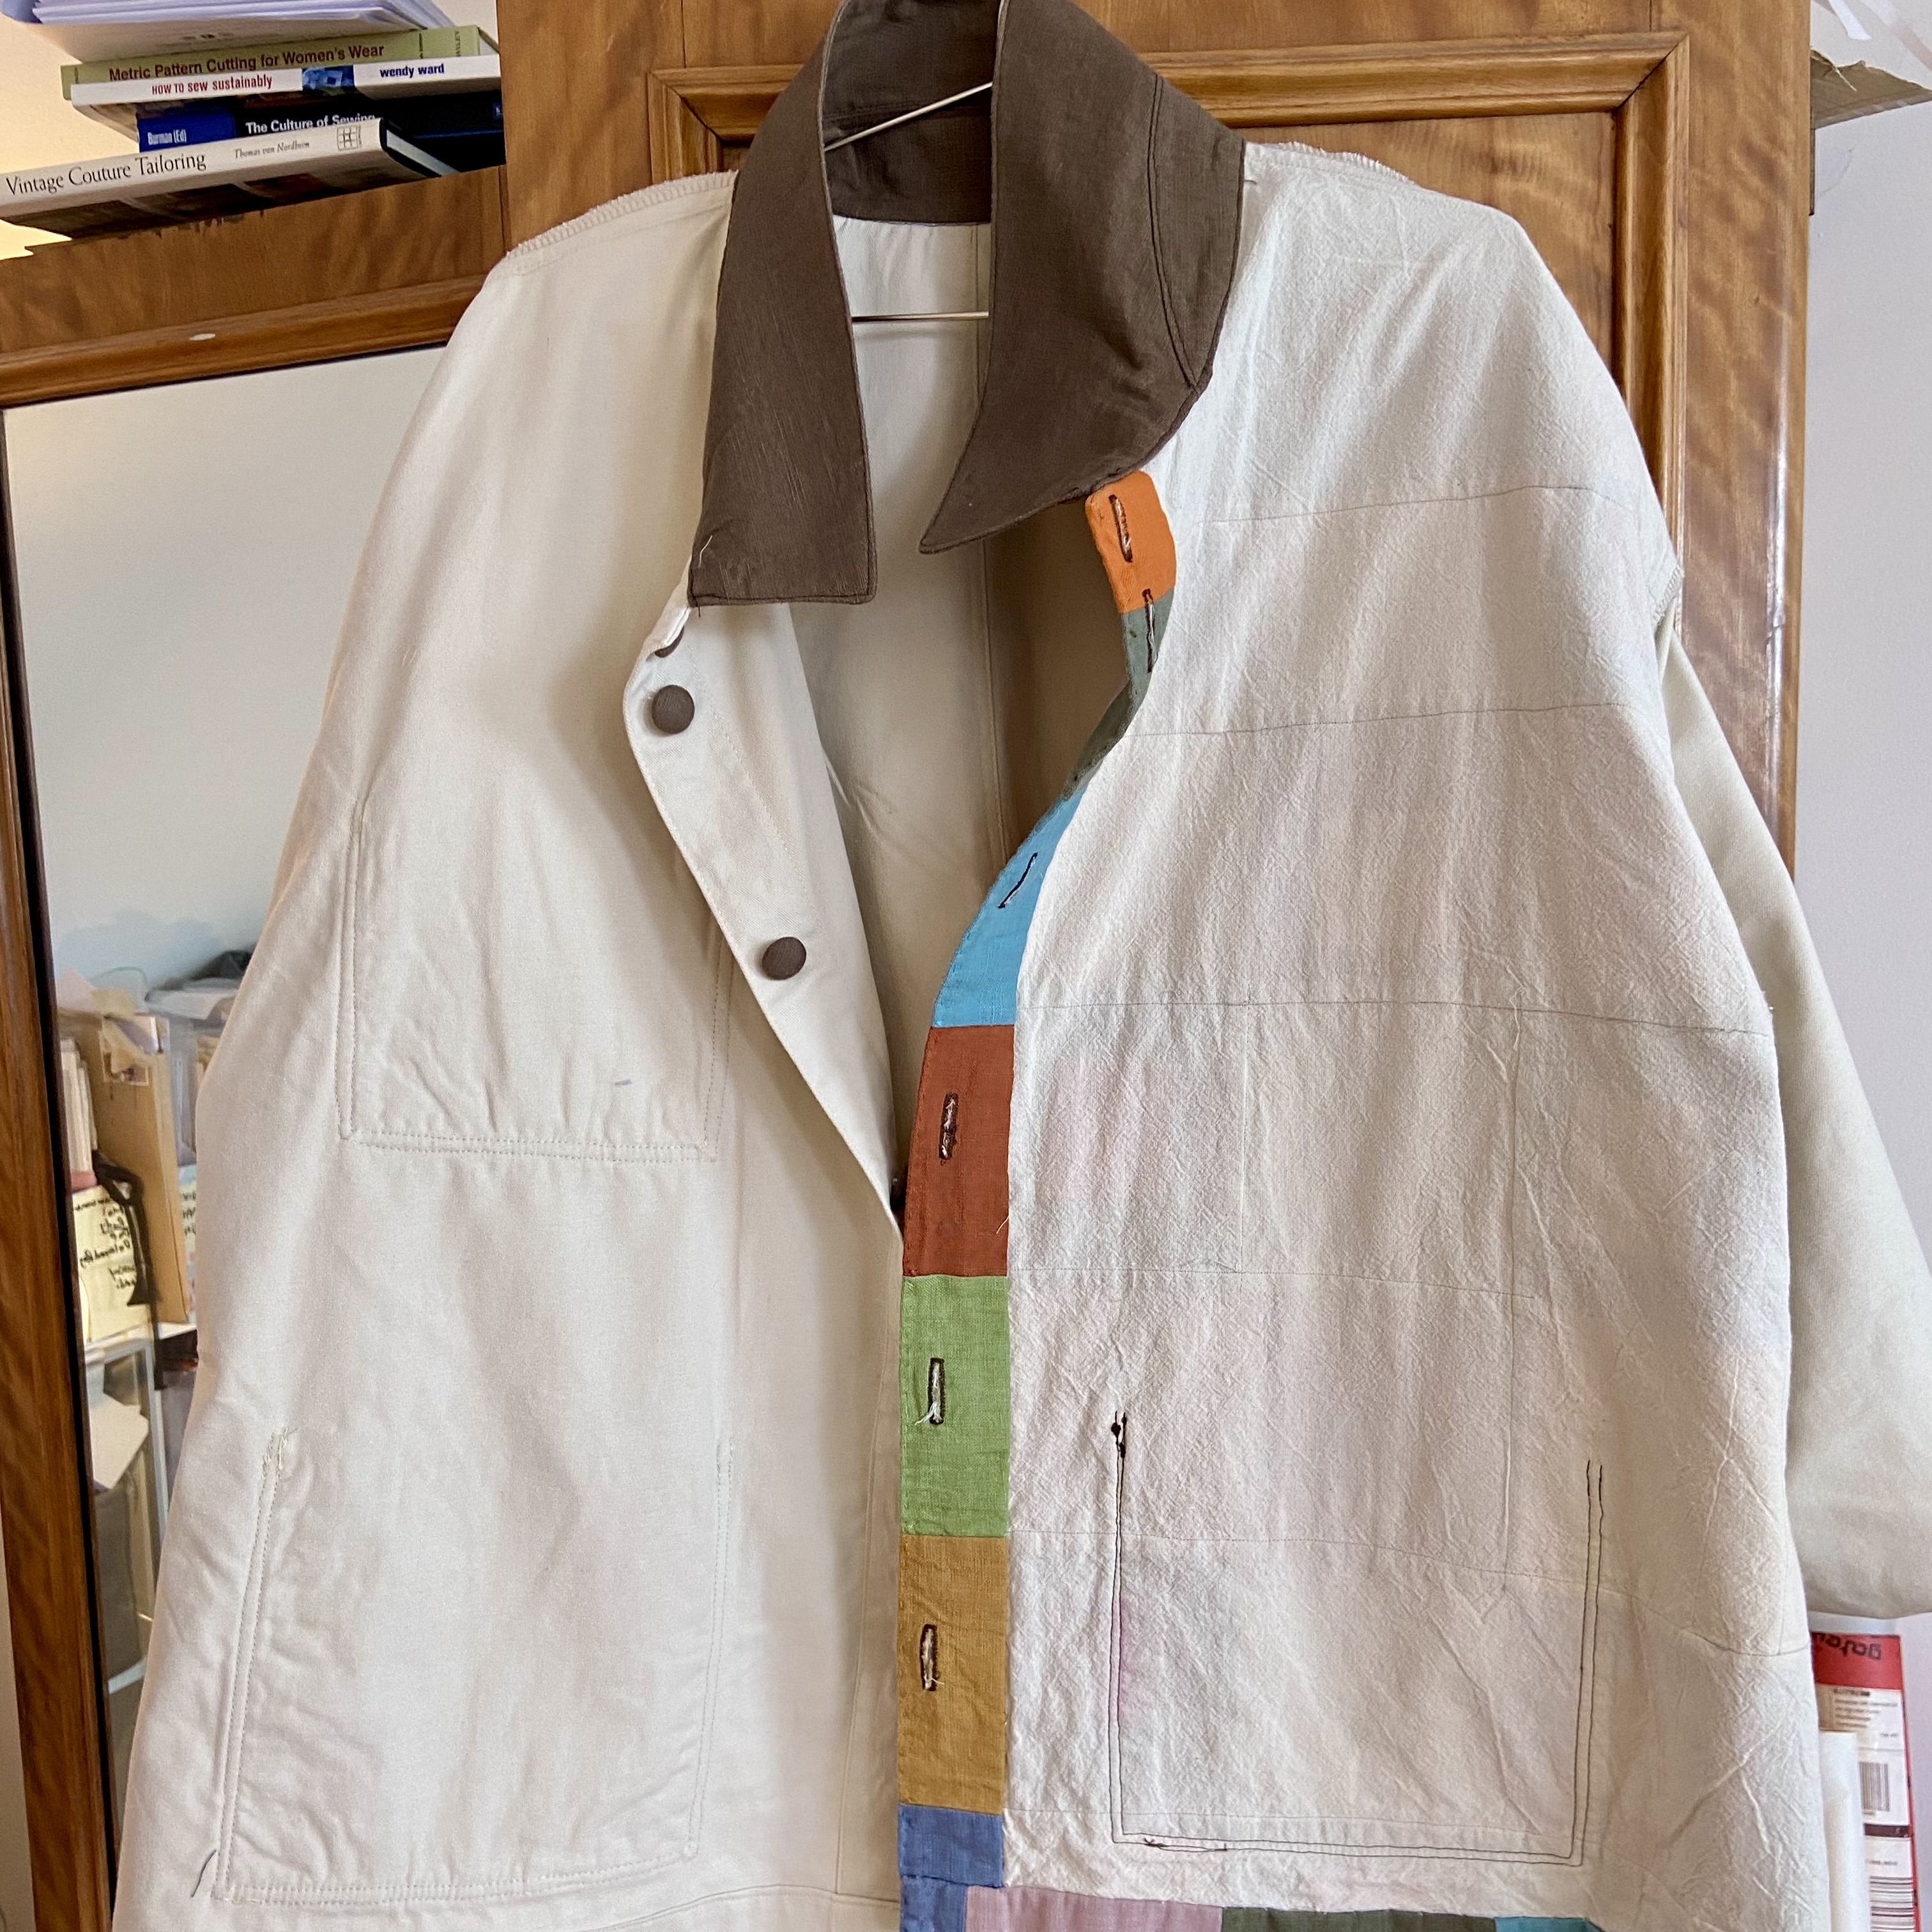
So I changed the order and after I had added the pockets to the two fronts, I did the button holes and sewed on the buttons. I love to come to the end of the project and this is already done. It is also easier as you are not dragging so much fabric through the machine, just one front. The pattern directs horizontal button holes, but vertical button holes were easier with the patchwork. If I had planned it better, I would have made the other side patchwork and made buttonholes on the plain fabric. I did about 10 tests and the buttonholes worked out fine. A horizontal patchwork seam near the neck prevented me from putting the first full-sized buttonhole where it should go, so I added an extra smaller button and buttonhole. I think this looks well.
I used brown linen for one of the pockets, the collar and the buttons.
The construction of the jacket is very straightforward and I have finally done enough collars so that I don’t find them intimidating! I highly recommend the free YouTube tutorials that Muna and Broad offer where Leila provides wonderful teaching.
There are a few extra things I do when making the collar. On most of the seams, I start at the centre and work to the edge, then go back to the centre and do the other side. Or go to the other edge and work into the middle. This is because there is a lot of easing in on collars, and it is easier to do this one half at a time and avoid the risk of more ease on one side than the other.
When attaching the collar to the actual shirt, it is useful to use a zipper foot with the needle a few notches to the left for the first couple of inches. There isn’t much space there at the beginning. I then stop and go back to my regular foot so I can get an accurate seam allowance.
When sewing down the last bit of the collar to the shirt, narrow, double-sided sticky sewing tape is wonderful. This bit of the collar has a 1/4” turned under. I cut the tape into strips of a couple of inches and start from either side and work towards the middle, easing the fabric if necessary. I put the tape first down just at the seam line on the shirt, then stick the collar down to just cover the seam line. I find this really helpful.
I may make a denim Cobden next. I’m addicted to making jackets!