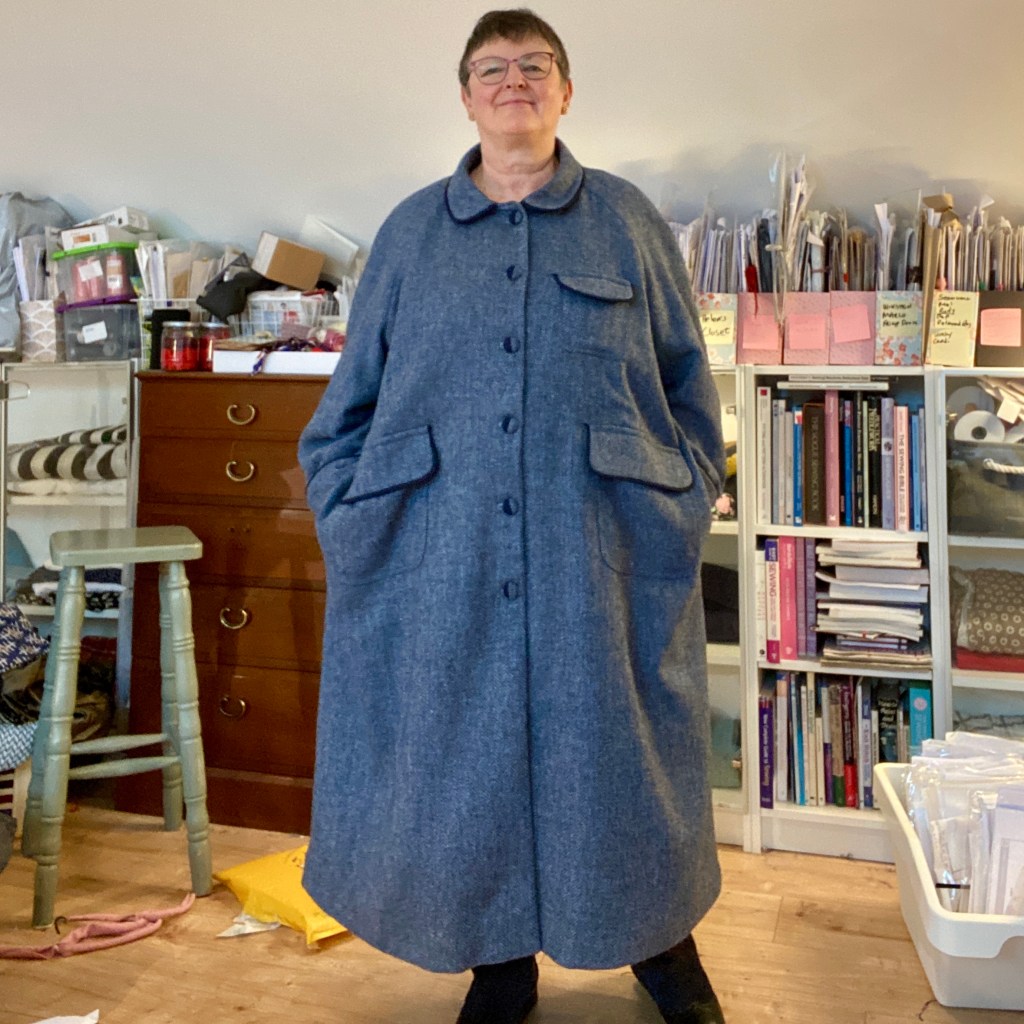

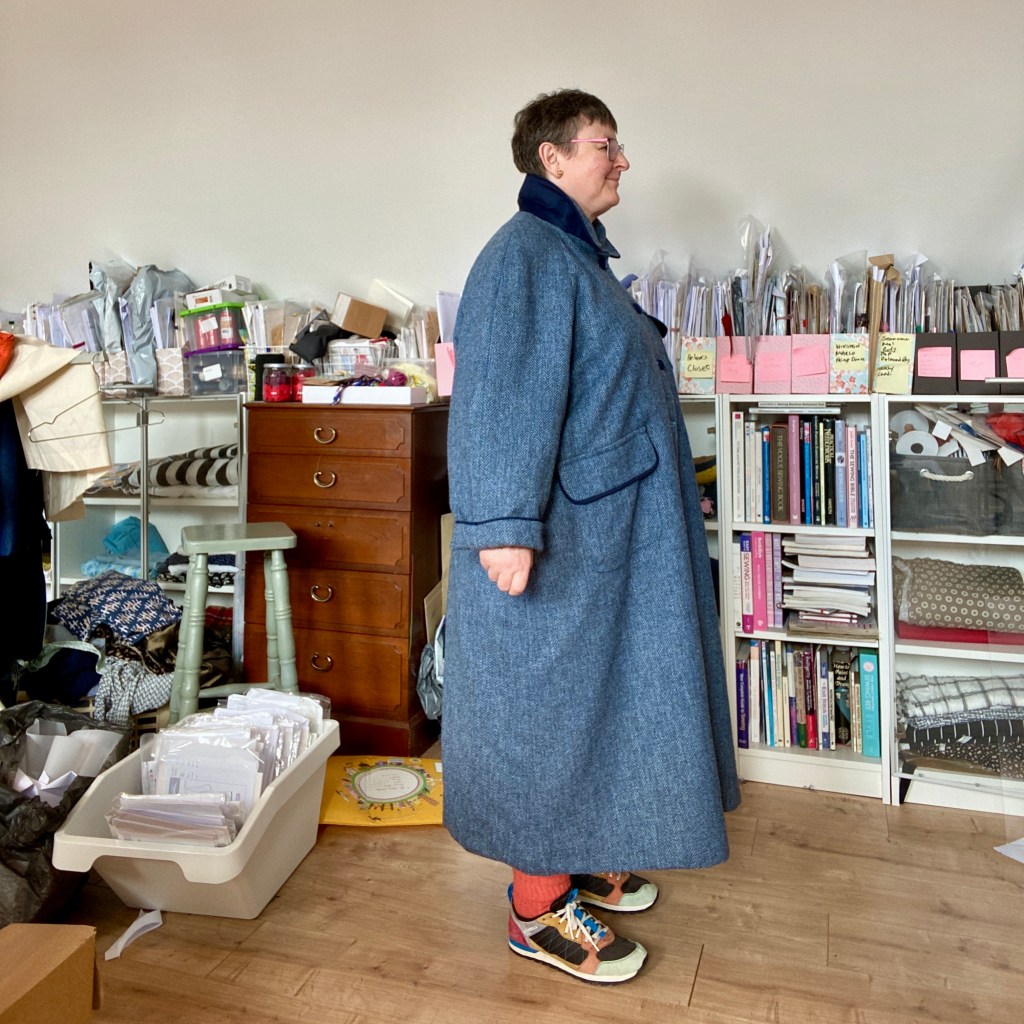


Finally finished the September Coat from Merchant and Mills, https://merchantandmills.com/eu/the-september which appropriately enough I sewed up during the month of September. And for those of you who followed along on Instagram, thanks a million, it was great to have your company.
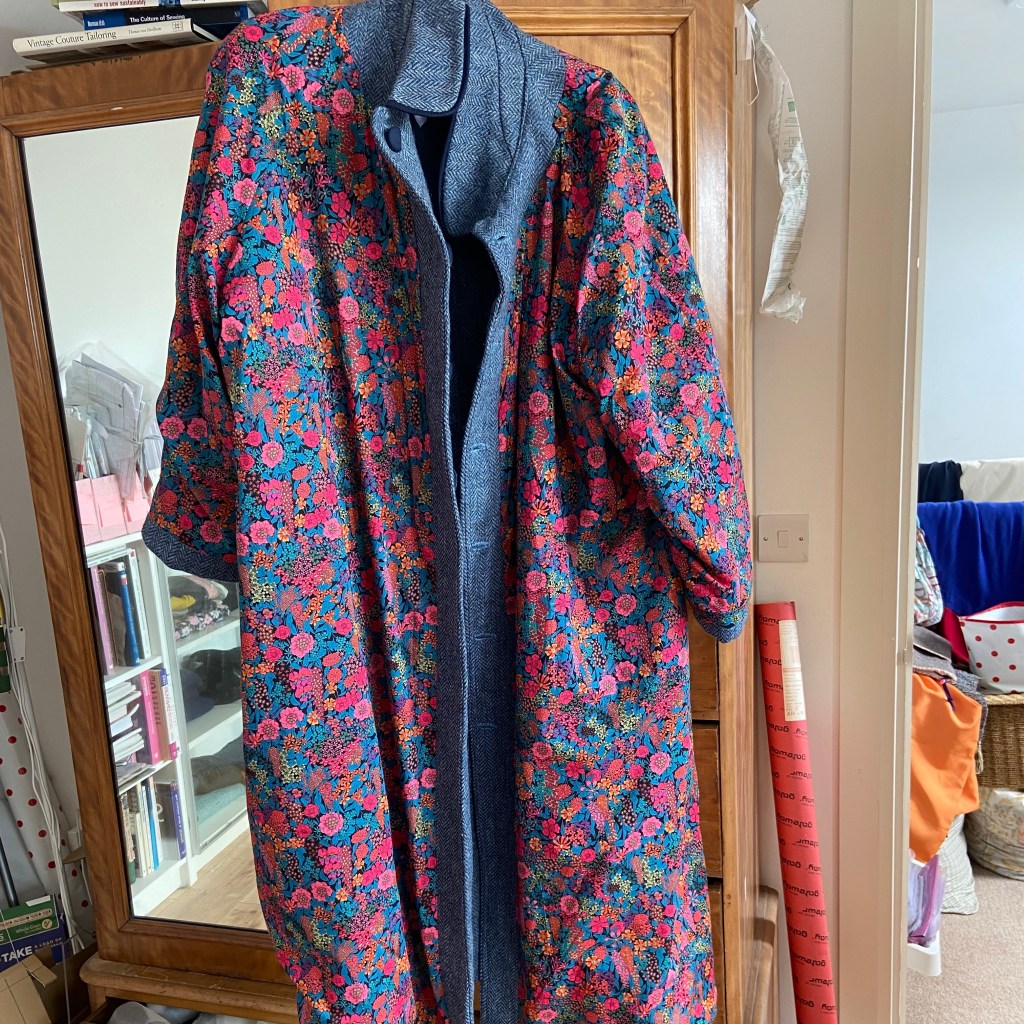
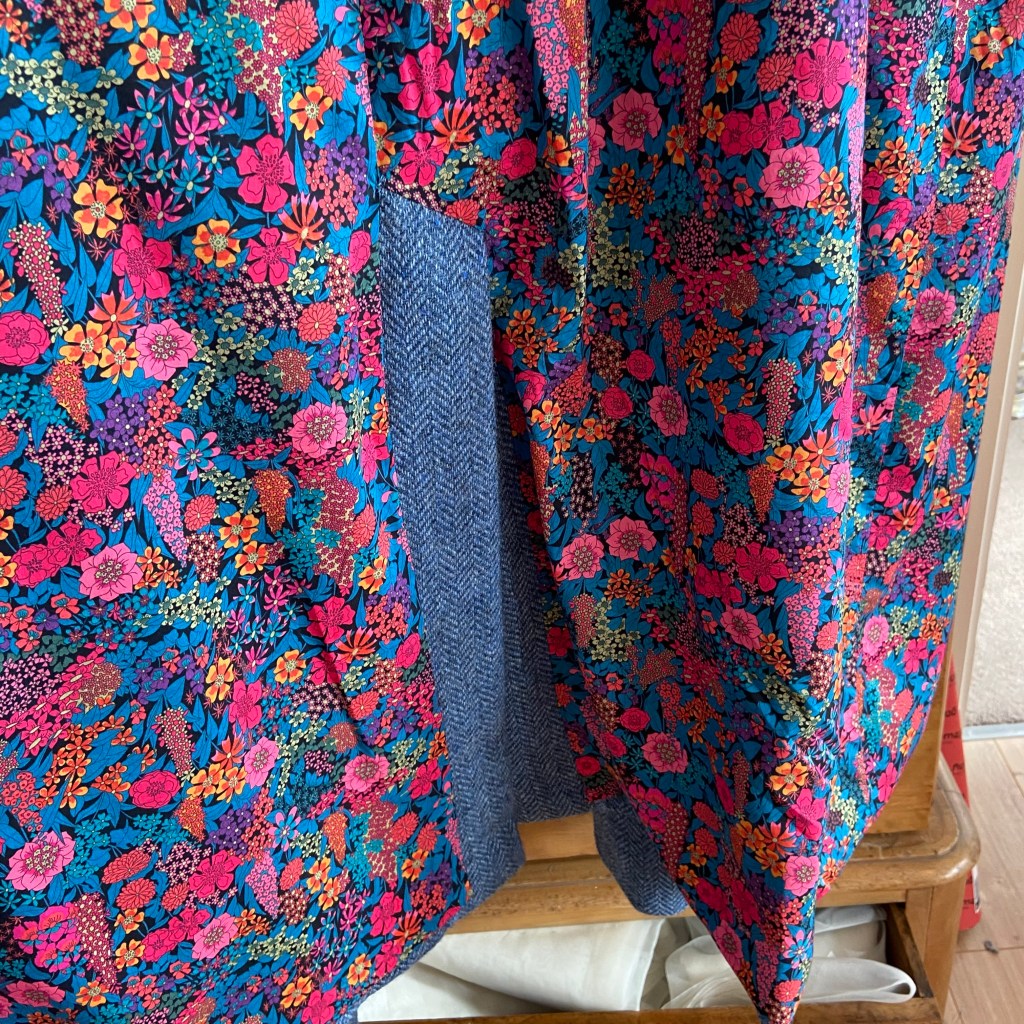
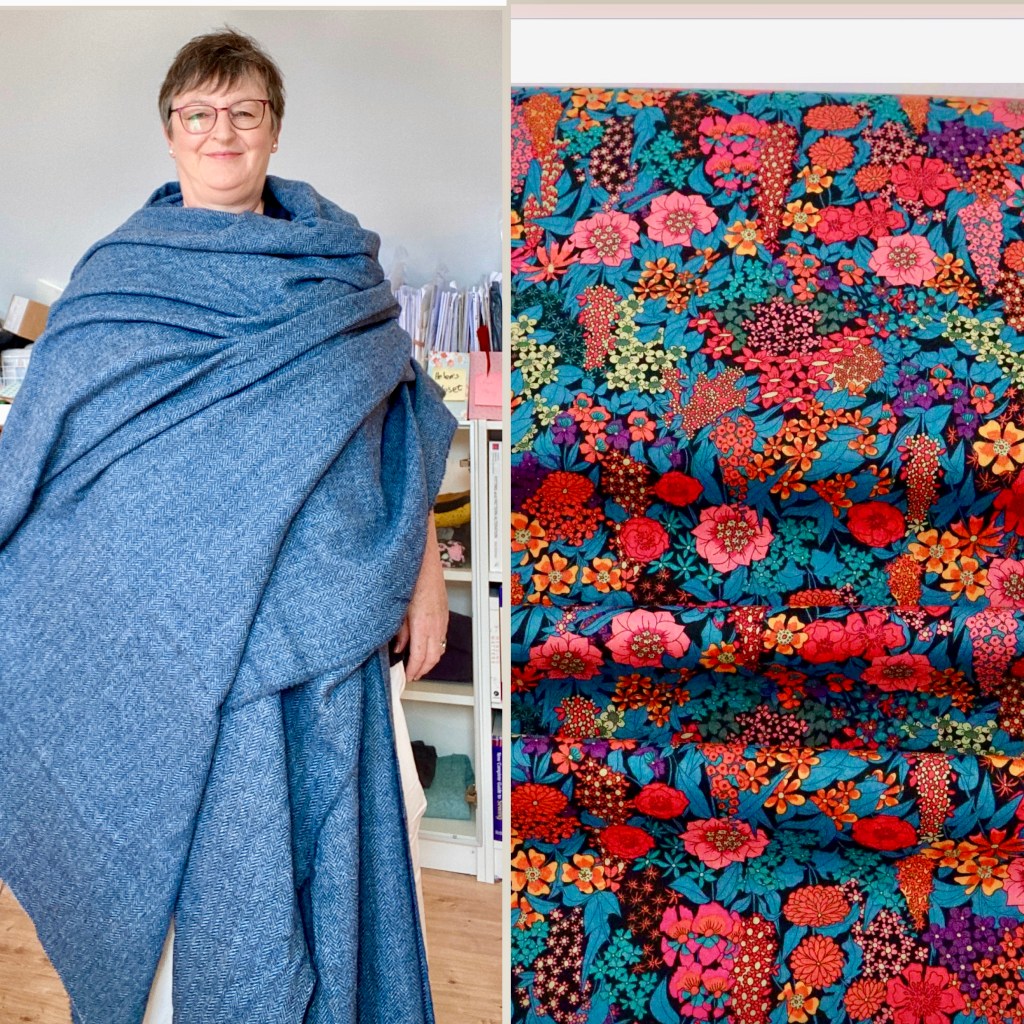
This is a wonderful pattern, extremely well drafted and with very good instructions. For the main fabric, I used pure wool, Irish tweed which I was lucky to get at cost from a friend; and the lining is Liberty Tana Lawn from Beyond the Pink Door. The pattern goes up to size 28: Bust 55; Waist 48.5; Hips 57.5. After making a toile one size bigger than the size indicated for my measurements, I stuck with that. I wanted to be able to wear layers underneath. This worked for me, although I have seen many sewists successfully size down.
I had planned to underline the lining with thinsulate, but when the stuff arrived it was like loft insulation. I think it was meant for manufacturers to quilt between two layers and then use as a lining. I wasn’t going to do that!
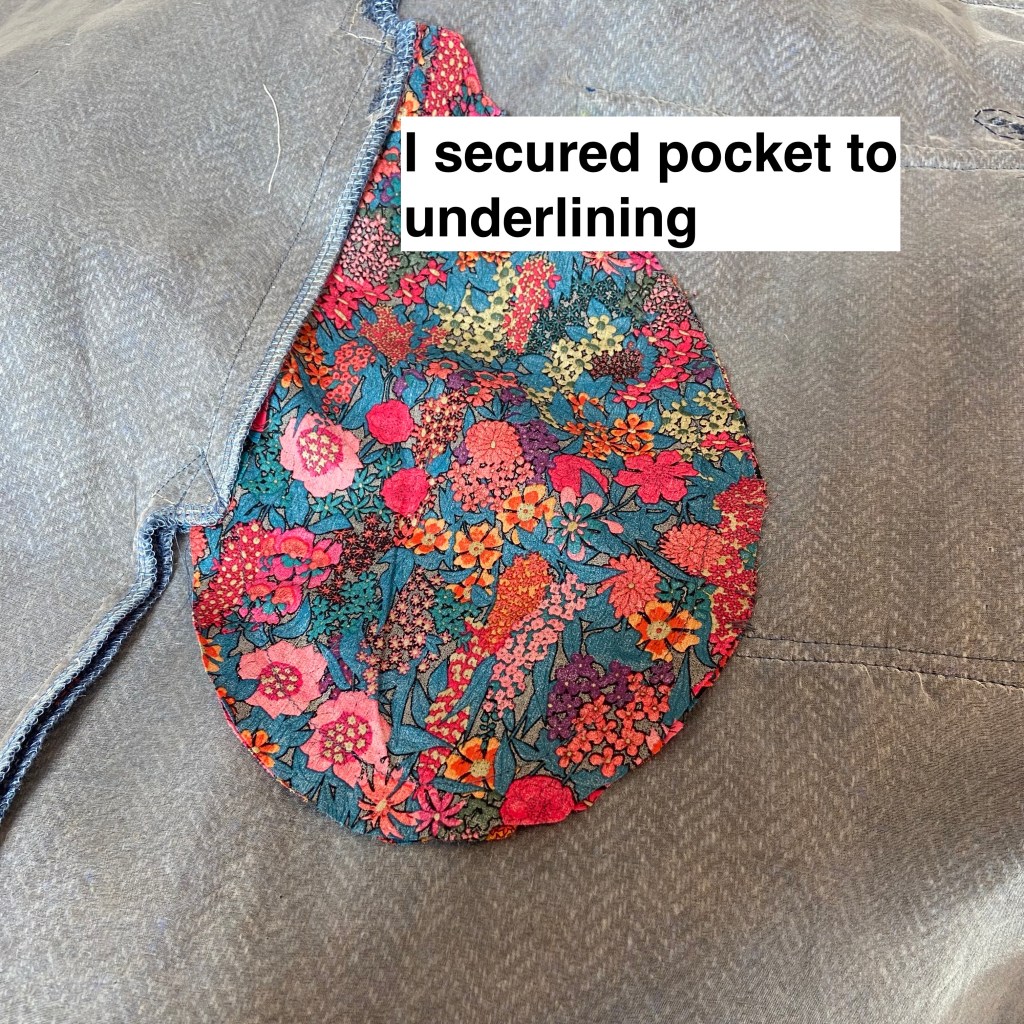
So I got the notion that since the tweed was loosely woven it would be good to stabilise it with underlining and I decided to use silk organza. Reader, don’t do it!!!!
I often use organza as underlining or interfacing on small pieces and it works really well. However, the difference in the weave between the tweed and the organza meant that they didn’t talk nice to each other and it was extremely difficult to join them without puckers. It wasn’t a problem at all in the sleeves, but the main body pieces of the coat were just too large for this type of treatment. I got there in the end, but it was a major pain!
Because the wool was inclined to fray, I overlocked all the edges after I cut out the pieces.
And incidentally, when I now see a tweed or wool coat for £700, I think cheap at the price! But of course, I wouldn’t be able to buy one in my size. The fabrics for this coat came to €300, and I probably spent 60 or 70 hours making it. I’m delighted now I have it and hope to be wearing it for years to come, but I have to be honest, it was not my most enjoyable make. I’m not the most patient of people and it did seem to go on for ever.
There was a day’s hand sewing towards the end, mainly the lining, which was hard on the back. Given the shiftiness of my fabrics, I also hand-sewed the vent to the coat.
The collar
I have been given the equivalent of masterclass YouTube tutorials from @Leila_Sews (Muna and Broad) on collars, grading and understitching. These are provided free by Muna and Broad – you don’t even have to buy the pattern. So I actually found the collar pretty easy. And the drafting is so good, it all came together with no problem. For the undercollar, I used a lightweight wool suiting. This is so light that I interfaced this as well as the top collar. I also piped the collar.
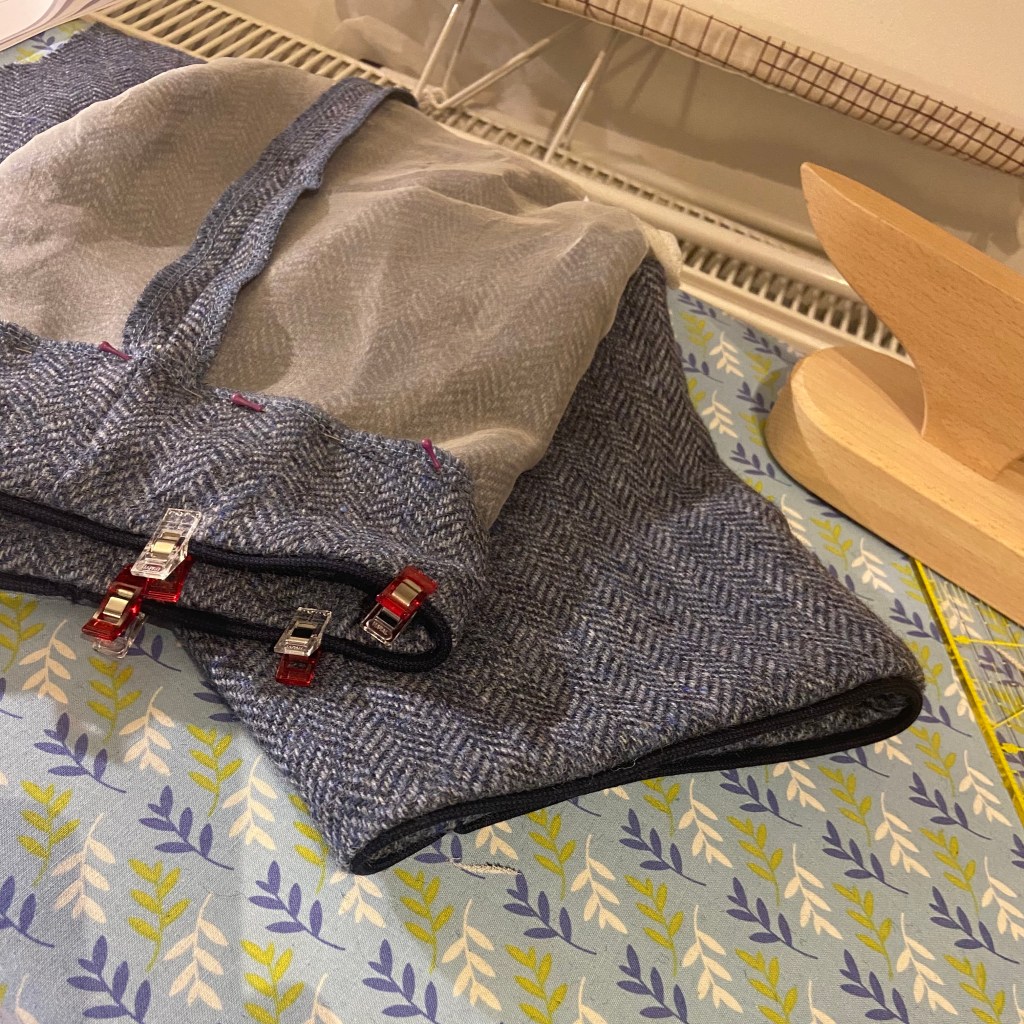
Piping
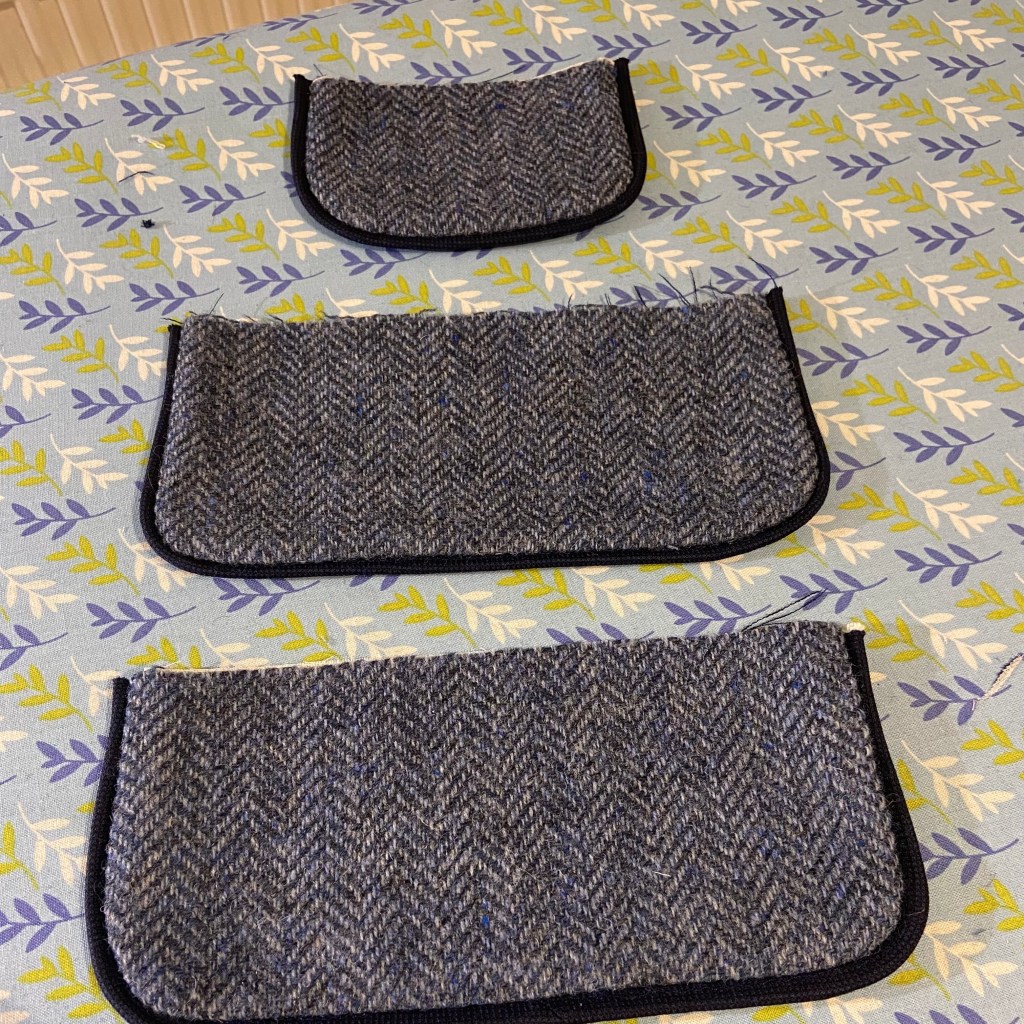
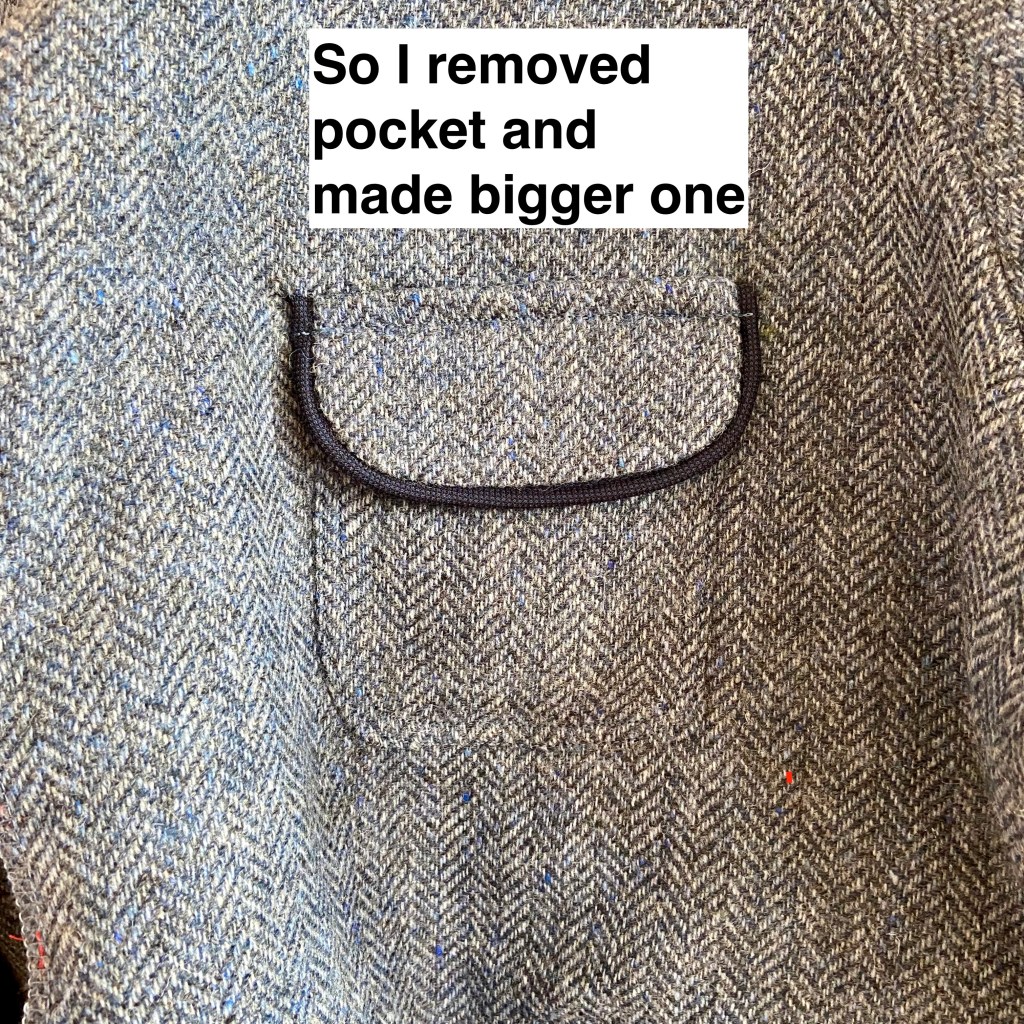
For the piping I cut bias strips 1.5” wide – this allowed me to maintain the 5/8” seam allowance in the pattern. However, for the top small pocket, I forgot that the size of the actual piped bit would increase the overall flap size. The pocket then looked ridiculously small, so I took off the pocket and made a bigger one to fit. This wasn’t too difficult. I didn’t change the bottom pockets because the little bit of extra size wasn’t so noticeable there.
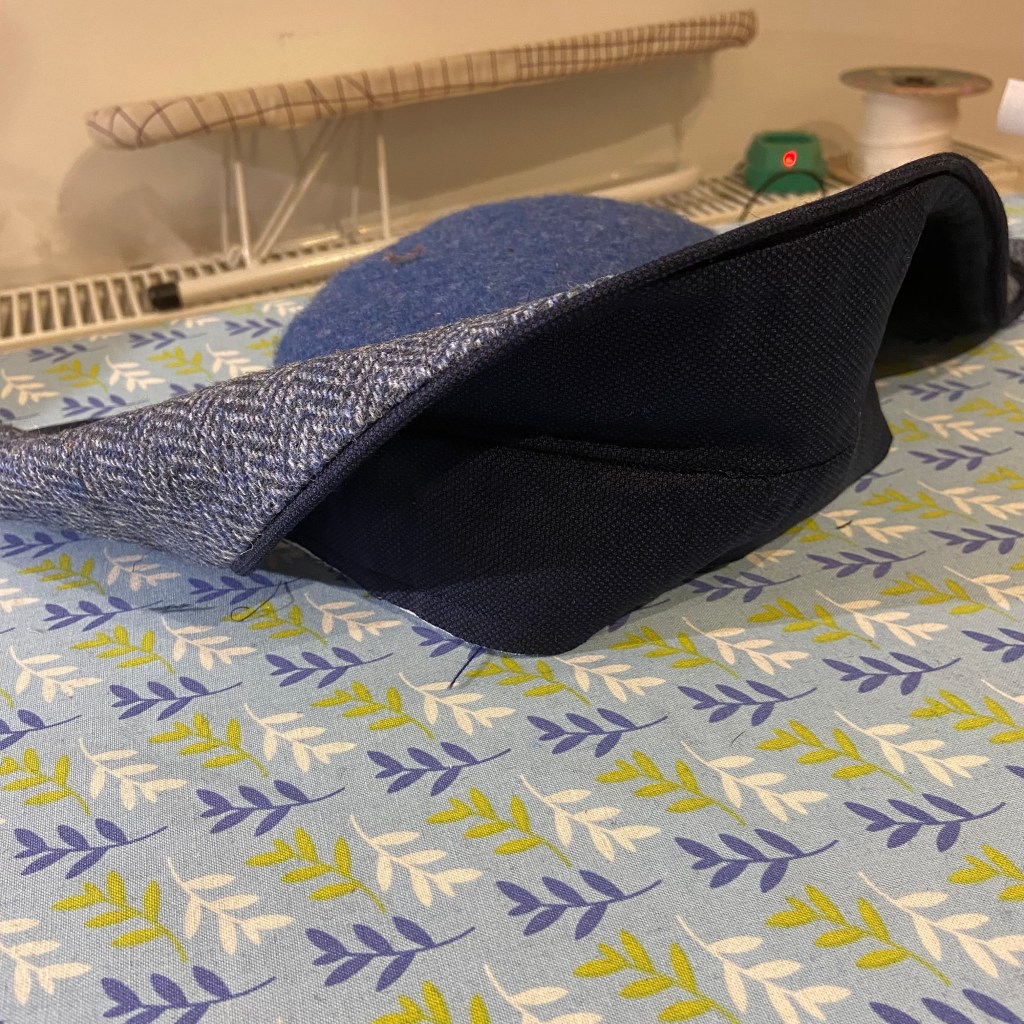
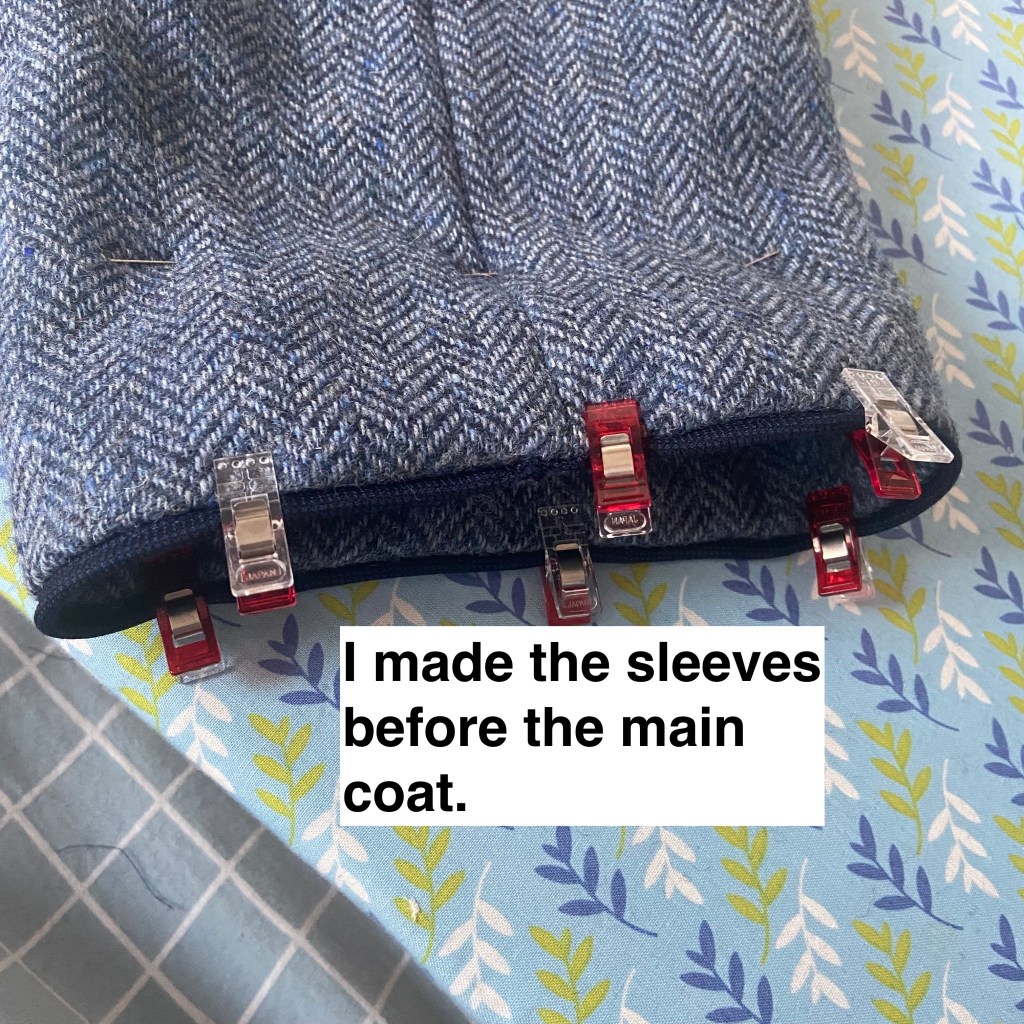
Sleeves and piped cuffs
I had made a toile and already shortened the sleeves by 9 cm as a result.
These are two-piece sleeves. To add the piping I sewed one of the sleeve seams, then while the sleeve was still flat, cut off a piece where the sleeve was going to be turned up (7.5 cm from the raw edge). I basted the piping to the edge of the new cuff piece. I then sewed the second seam on the main sleeve and on the new cuff. And then joined the two together in the round.
I also piped the pocket flaps.
Top stitching and front-facingThe only area I topstitched was the patch pockets. I didn’t topstitch the piped areas (as the pattern instructs – but piping is not part of the pattern).
I chose to understitch the front-facing – stitch down the seam allowances to the facing side. I didn’t want the look of topstitching on this wool. And I thought the buttonholes and buttons would also help to keep the facing in place. This worked well.


Buttons
I used covered buttons. You can see the full details here.


Love the lining on this coat. I also like to do the little pieces first and get them out of the way. I also read how you did the covered buttons in another post. I’ve seen covered buttons before but the way you did the two-tone is lovely. The wool is beautiful and I also like the sneakers.
LikeLiked by 1 person
Thanks so much Donna. Yes it’s really nice later that these bits are already done. Happy sewing!❤️
LikeLike