

Phew! My Cashmerette Club Kimball Bomber Jacket is finished. And it’s a pretty amazing jacket. If you’re going to sew this I strongly urge you to make a muslin of the bodice as it is a lot of work and it would be a shame if it didn’t fit in the end. The pattern is marked at intermediate and I’d say that’s about right. There’s no way I could have sewn this at the beginning of my sewing journey.
I’ve joined the recently started Cashmerette Club where you pay so much per month and get one pattern a month and other goodies.
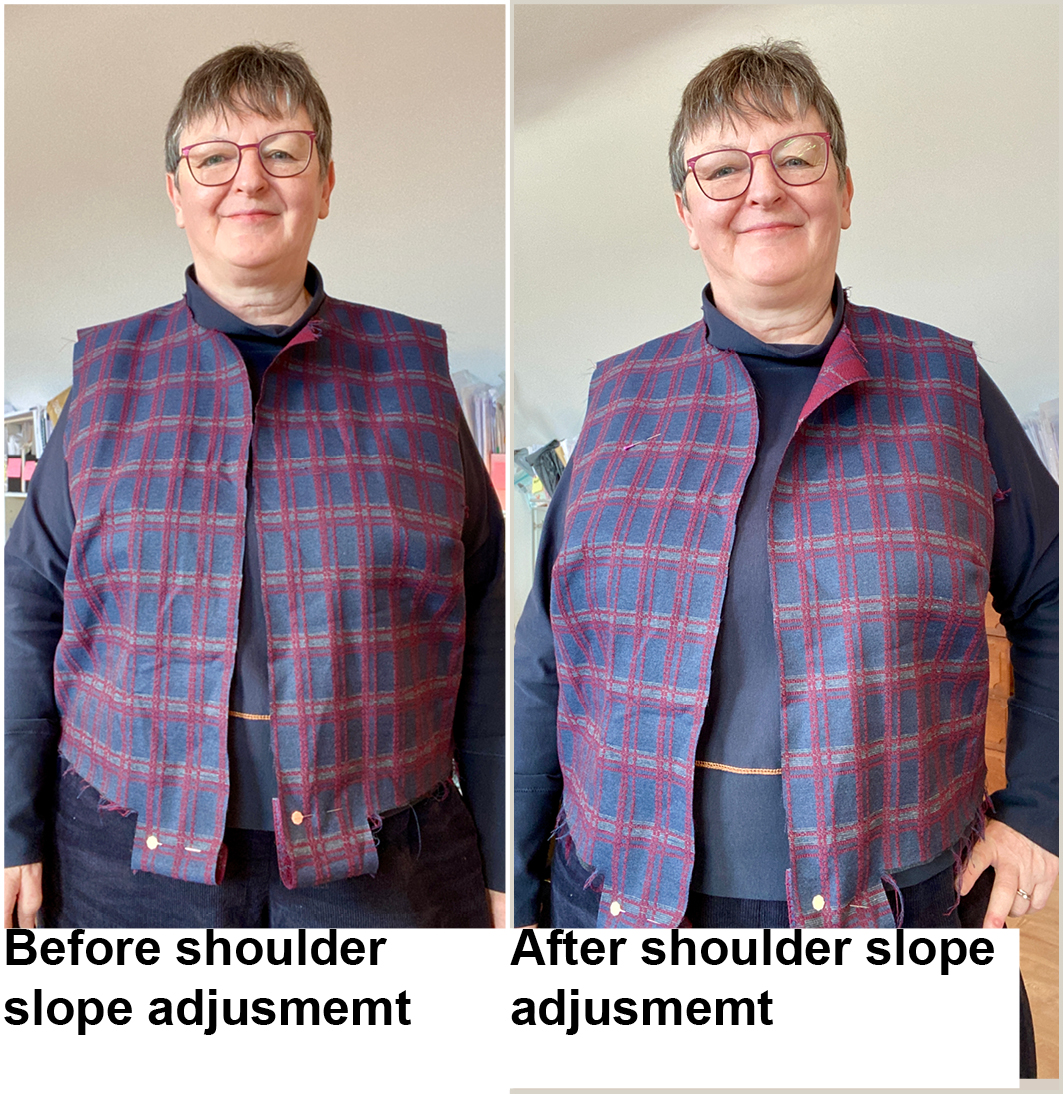
Muslin
For my muslin I used the Cashmerette size calculator and more or less went with what it advised. I used the width of the size 16 shoulders and graded out to 22 under the arms and then straight down staying at 22.
I also did a forward shoulder adjustment. In the second pic I then added a sloping shoulder adjustment. I made this adjustment first to the pattern and then to my muslin (having ripped the shoulder seams). If I don’t do this I get totally lost! (The other pics are before I did the shoulder slope adjustment)
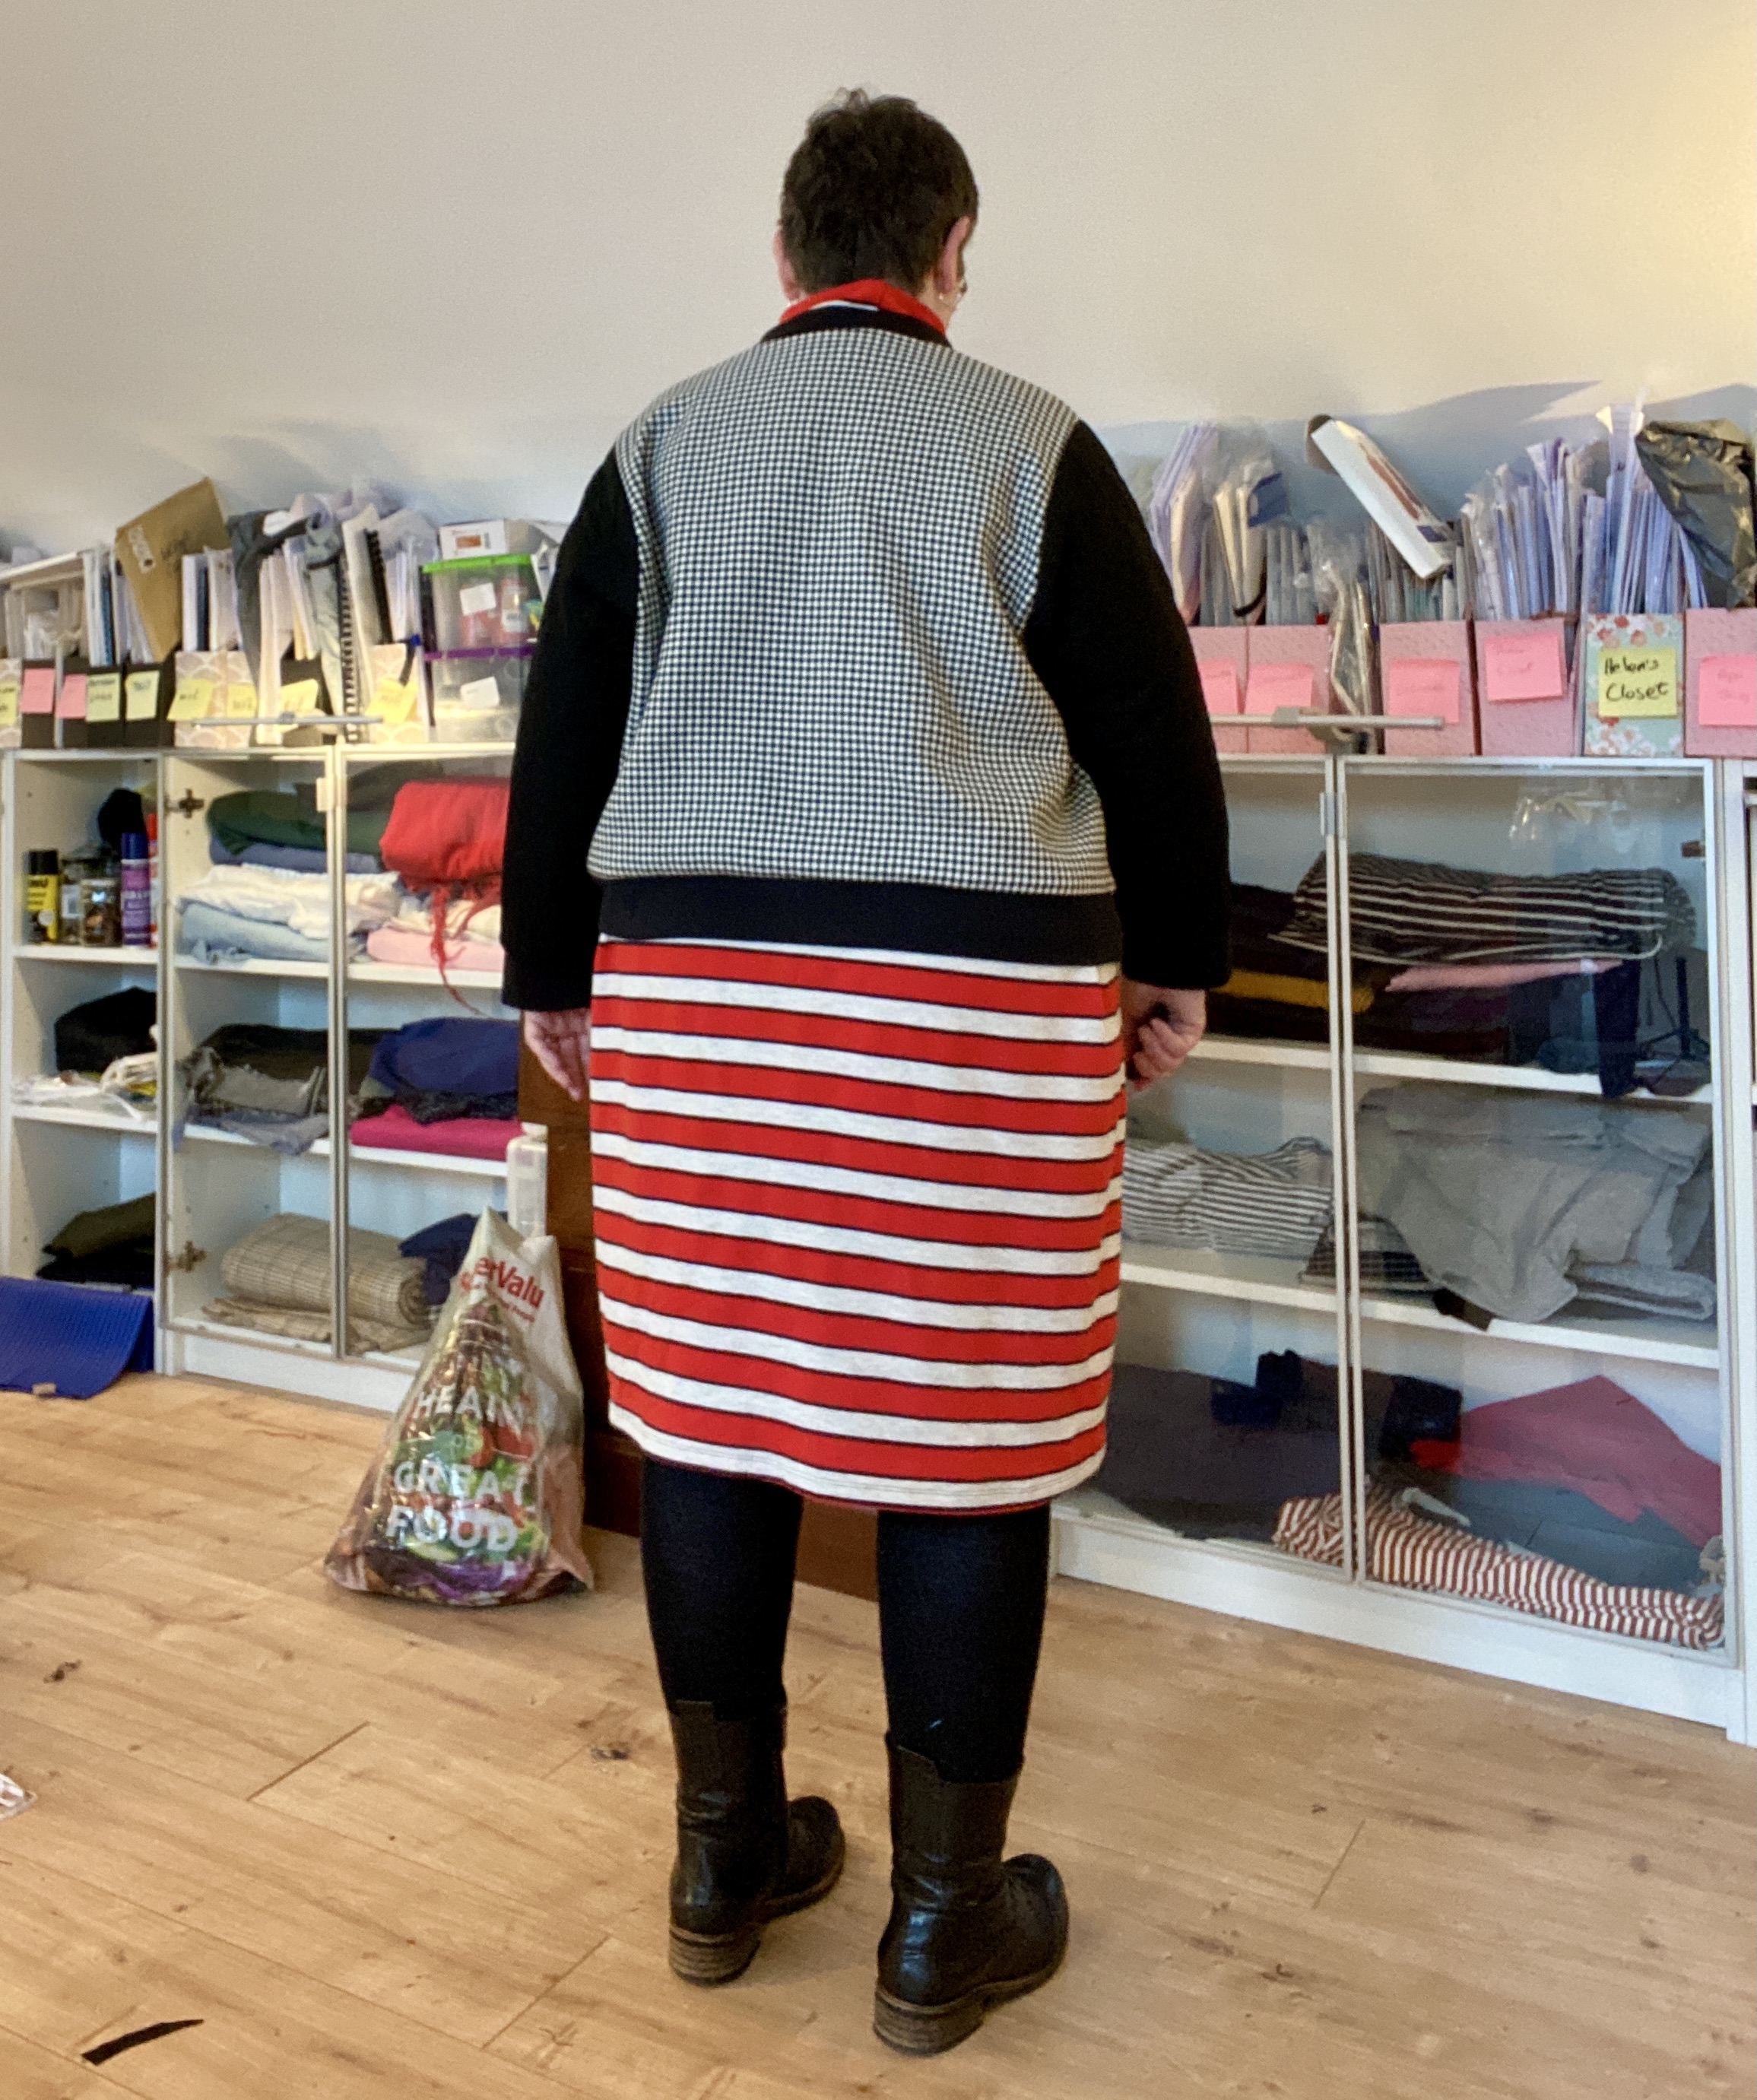
I didn’t alter the length at all and I’m glad as I think it’s perfect.
Hong Kong binding
I did, as the pattern suggests, Hong Kong bind the raw edges. But I used my own technique which is to serge the bias on, then fold it over and stitch in the ditch. I used Liberty Tana Lawn for the bias as it is very light and very strong.


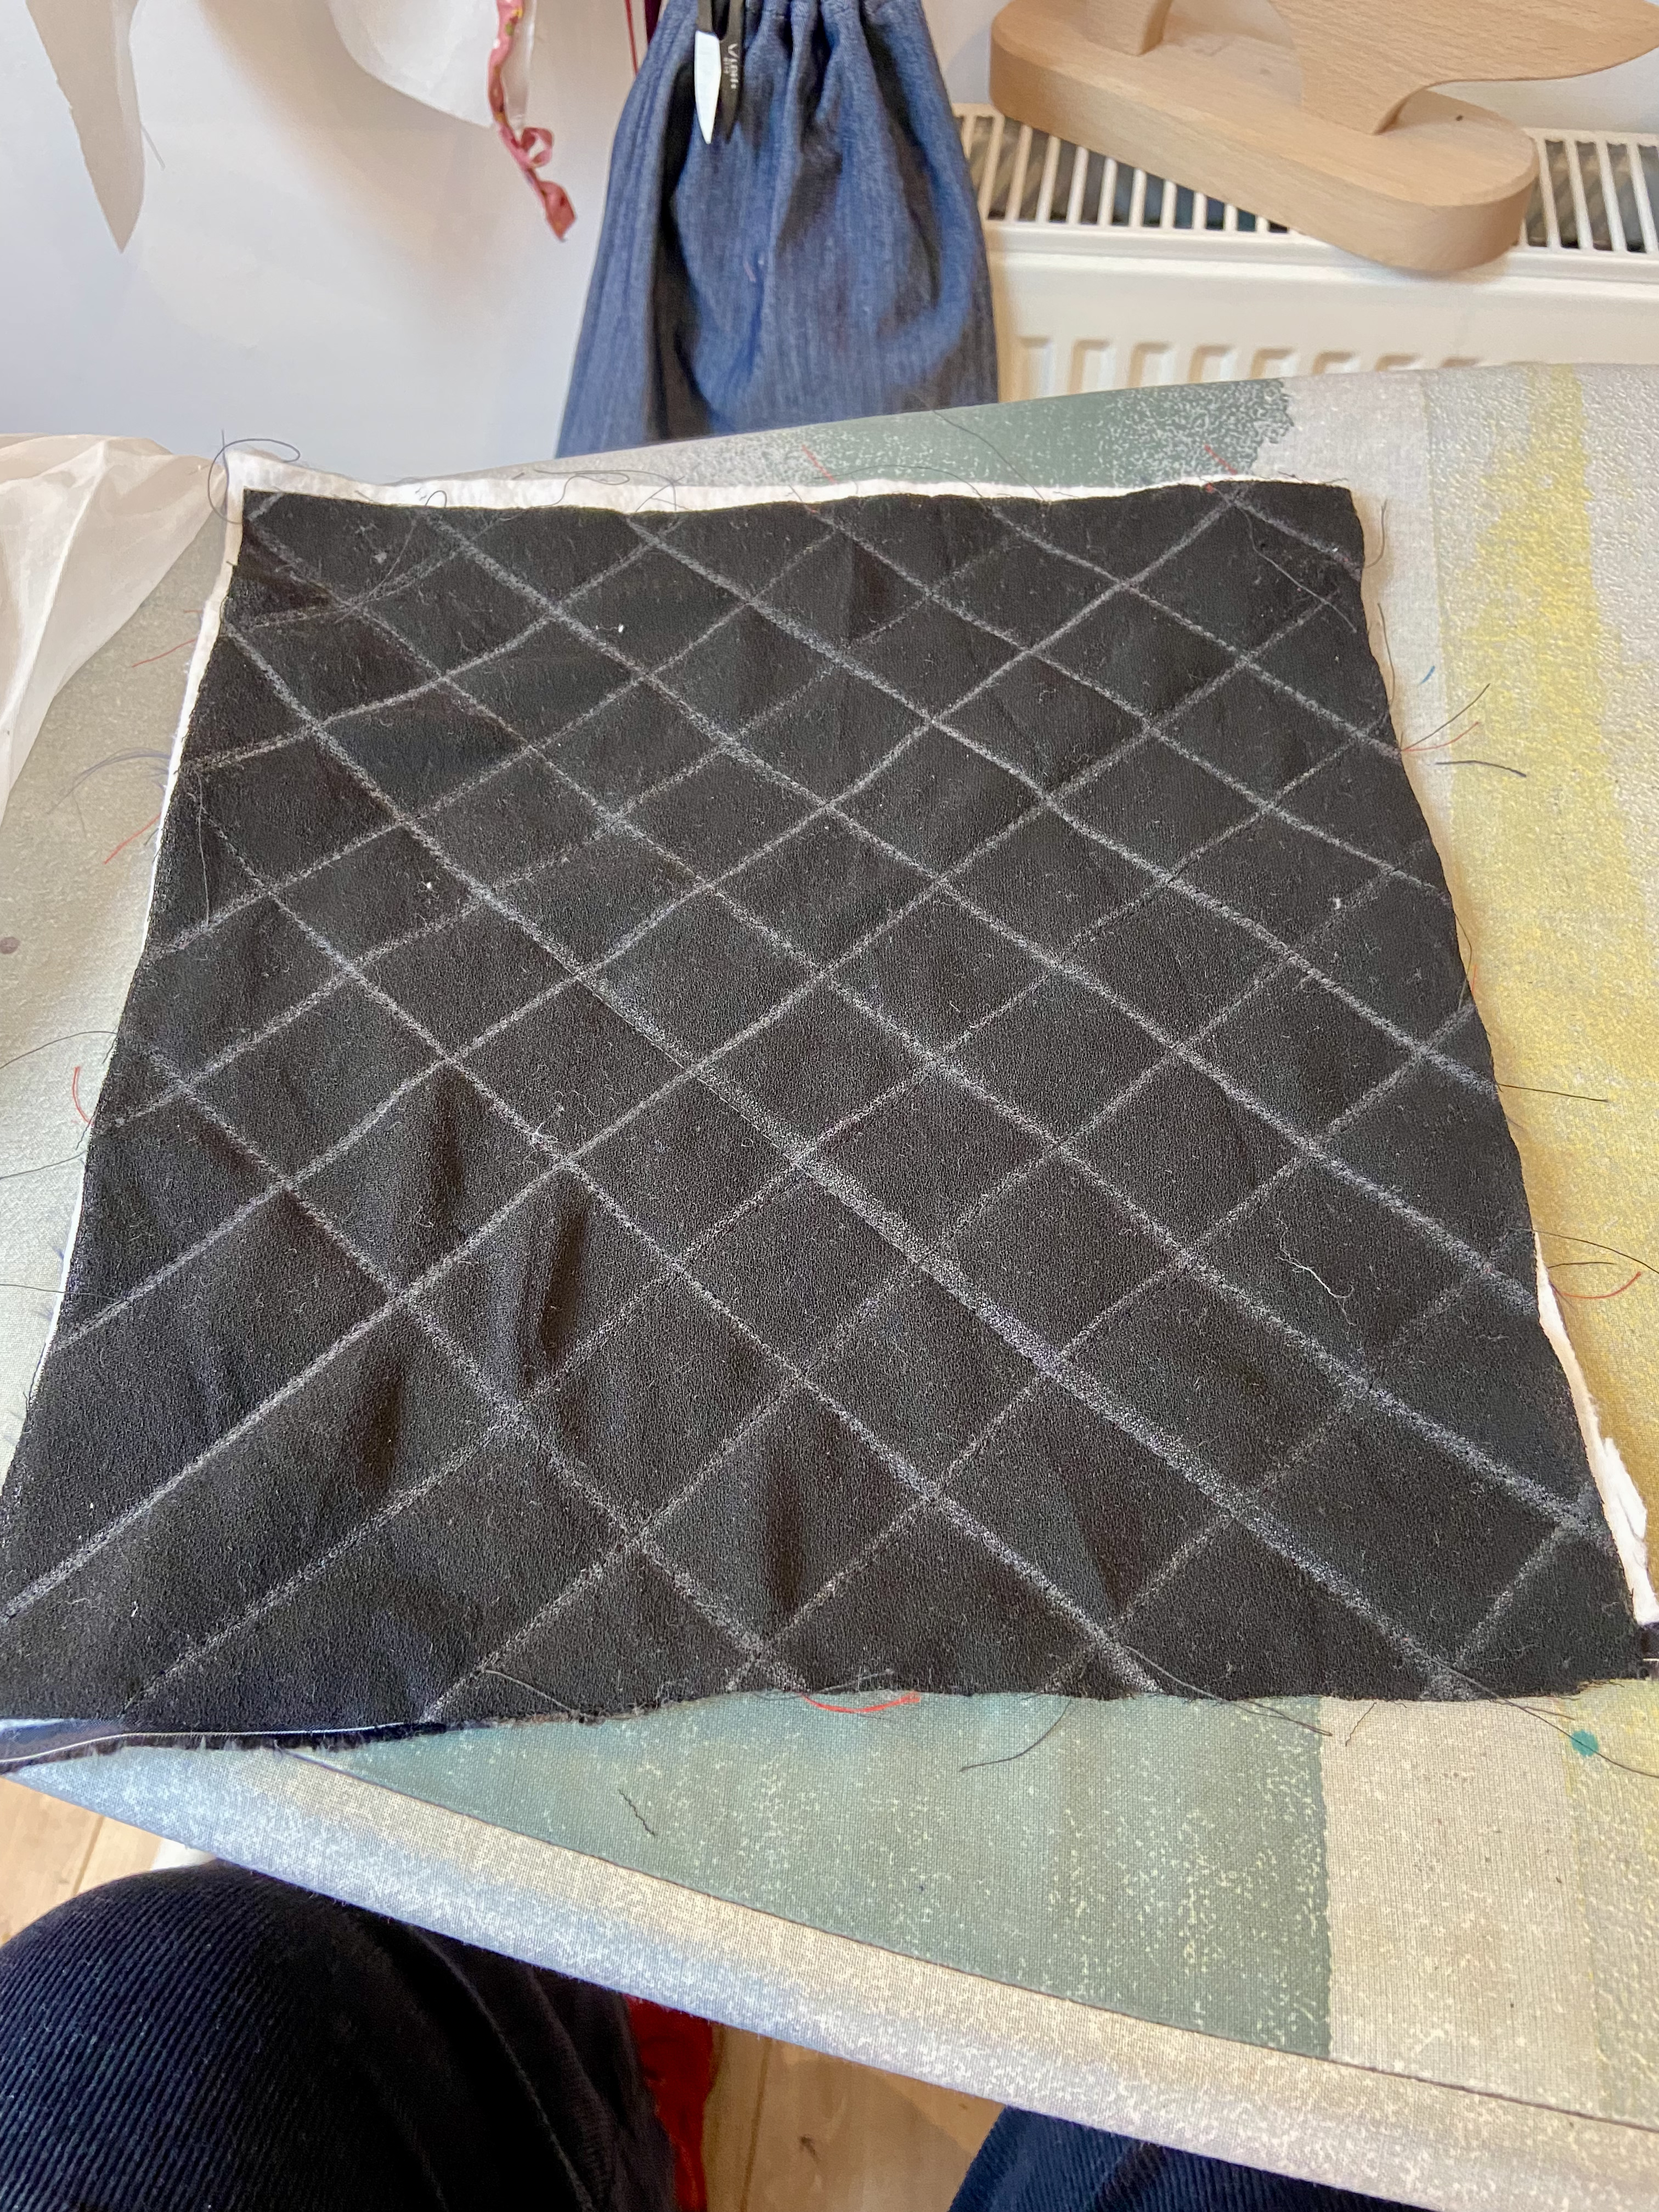
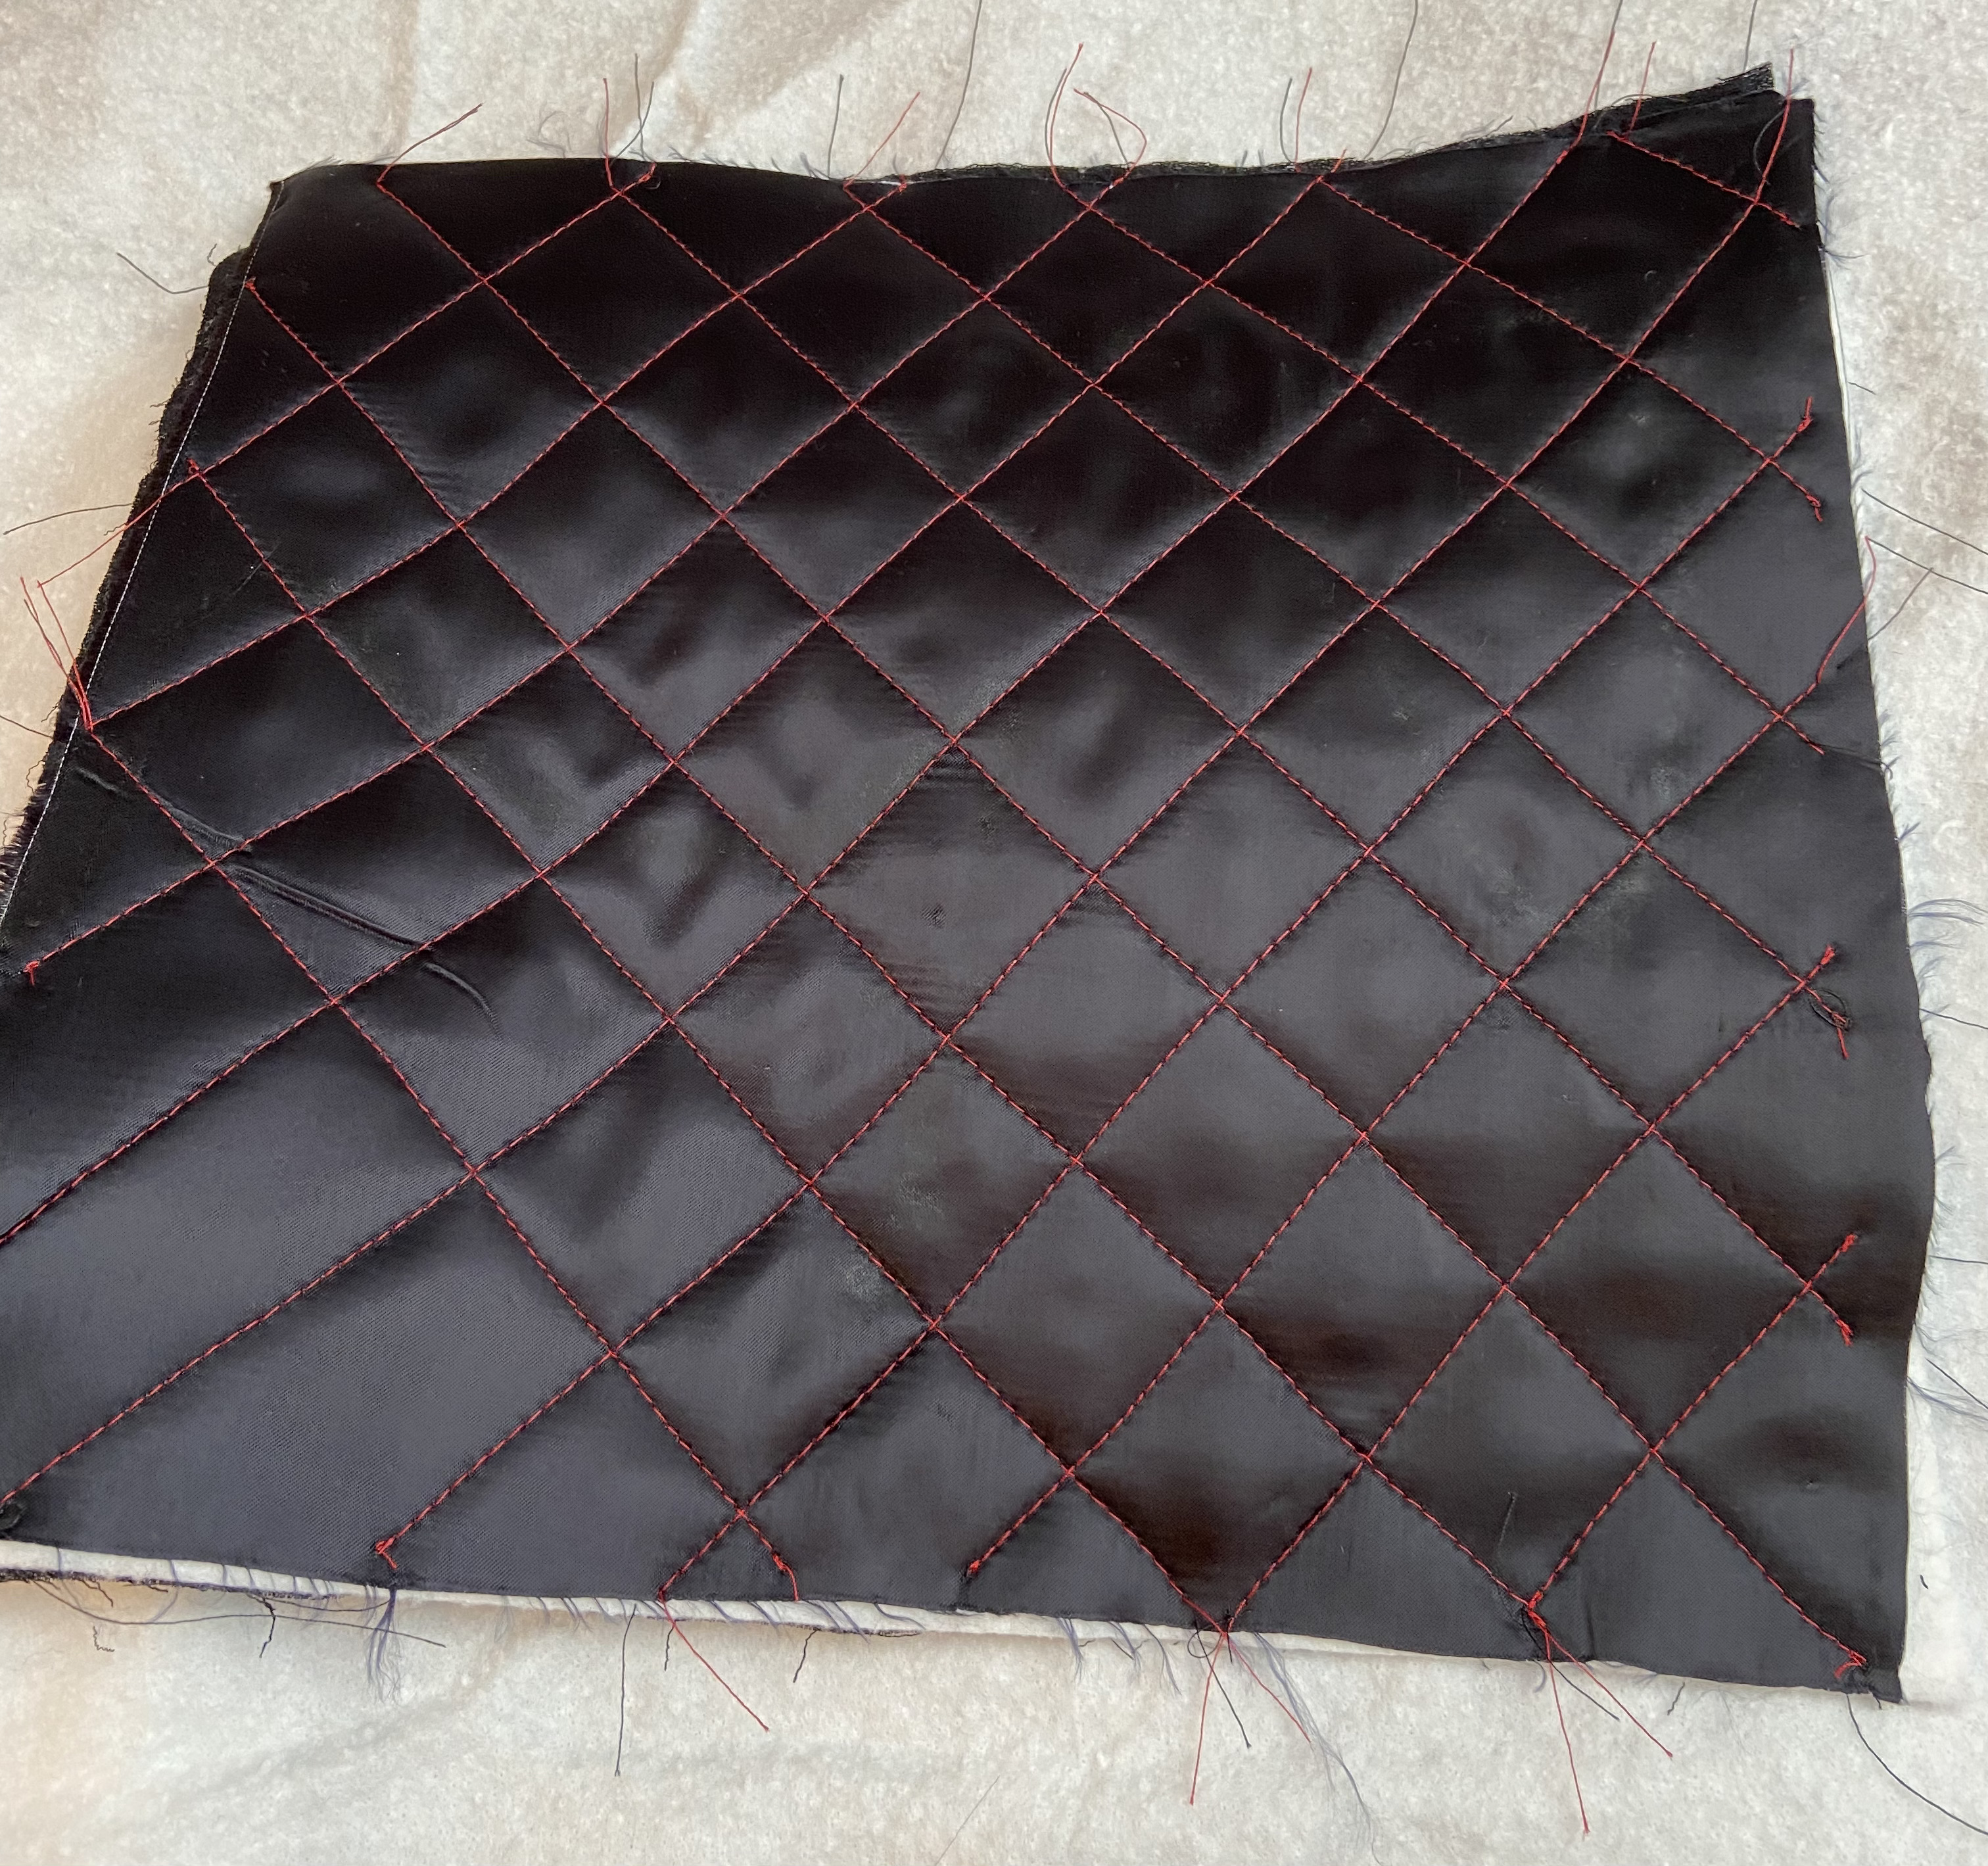
Quilting
The sleeves of this jacket are quilted with batting sandwiched between lining and the outer fabric. My outer fabric is wool crepe and it was tricky to quilt as it has a kind of natural stretch. If I were making again, I would choose a more stable fabric for the sleeves. The lining is a lovely quality Bemberg.
My main body fabric is a heavy wool cotton mix that worked well. The edges did fray like mad so I was happy to be serging on the bias and getting rid of all those threads.
Zip
The instructions for this are really good. Cashmerette got back to me when I wondered how to stop the zip pull coming off at the top. I think the problem is that the zip I used is very chunky with big teeth and was insufficiently buried in the seam allowance. I’ve since added thread bartacks and it’s grand.

Pockets
I have done zipped-welt pockets before but never with French seams. So it was interesting to learn how to do that. I was glad I had already made this type of pocket as they are quite tricky.
Supplies
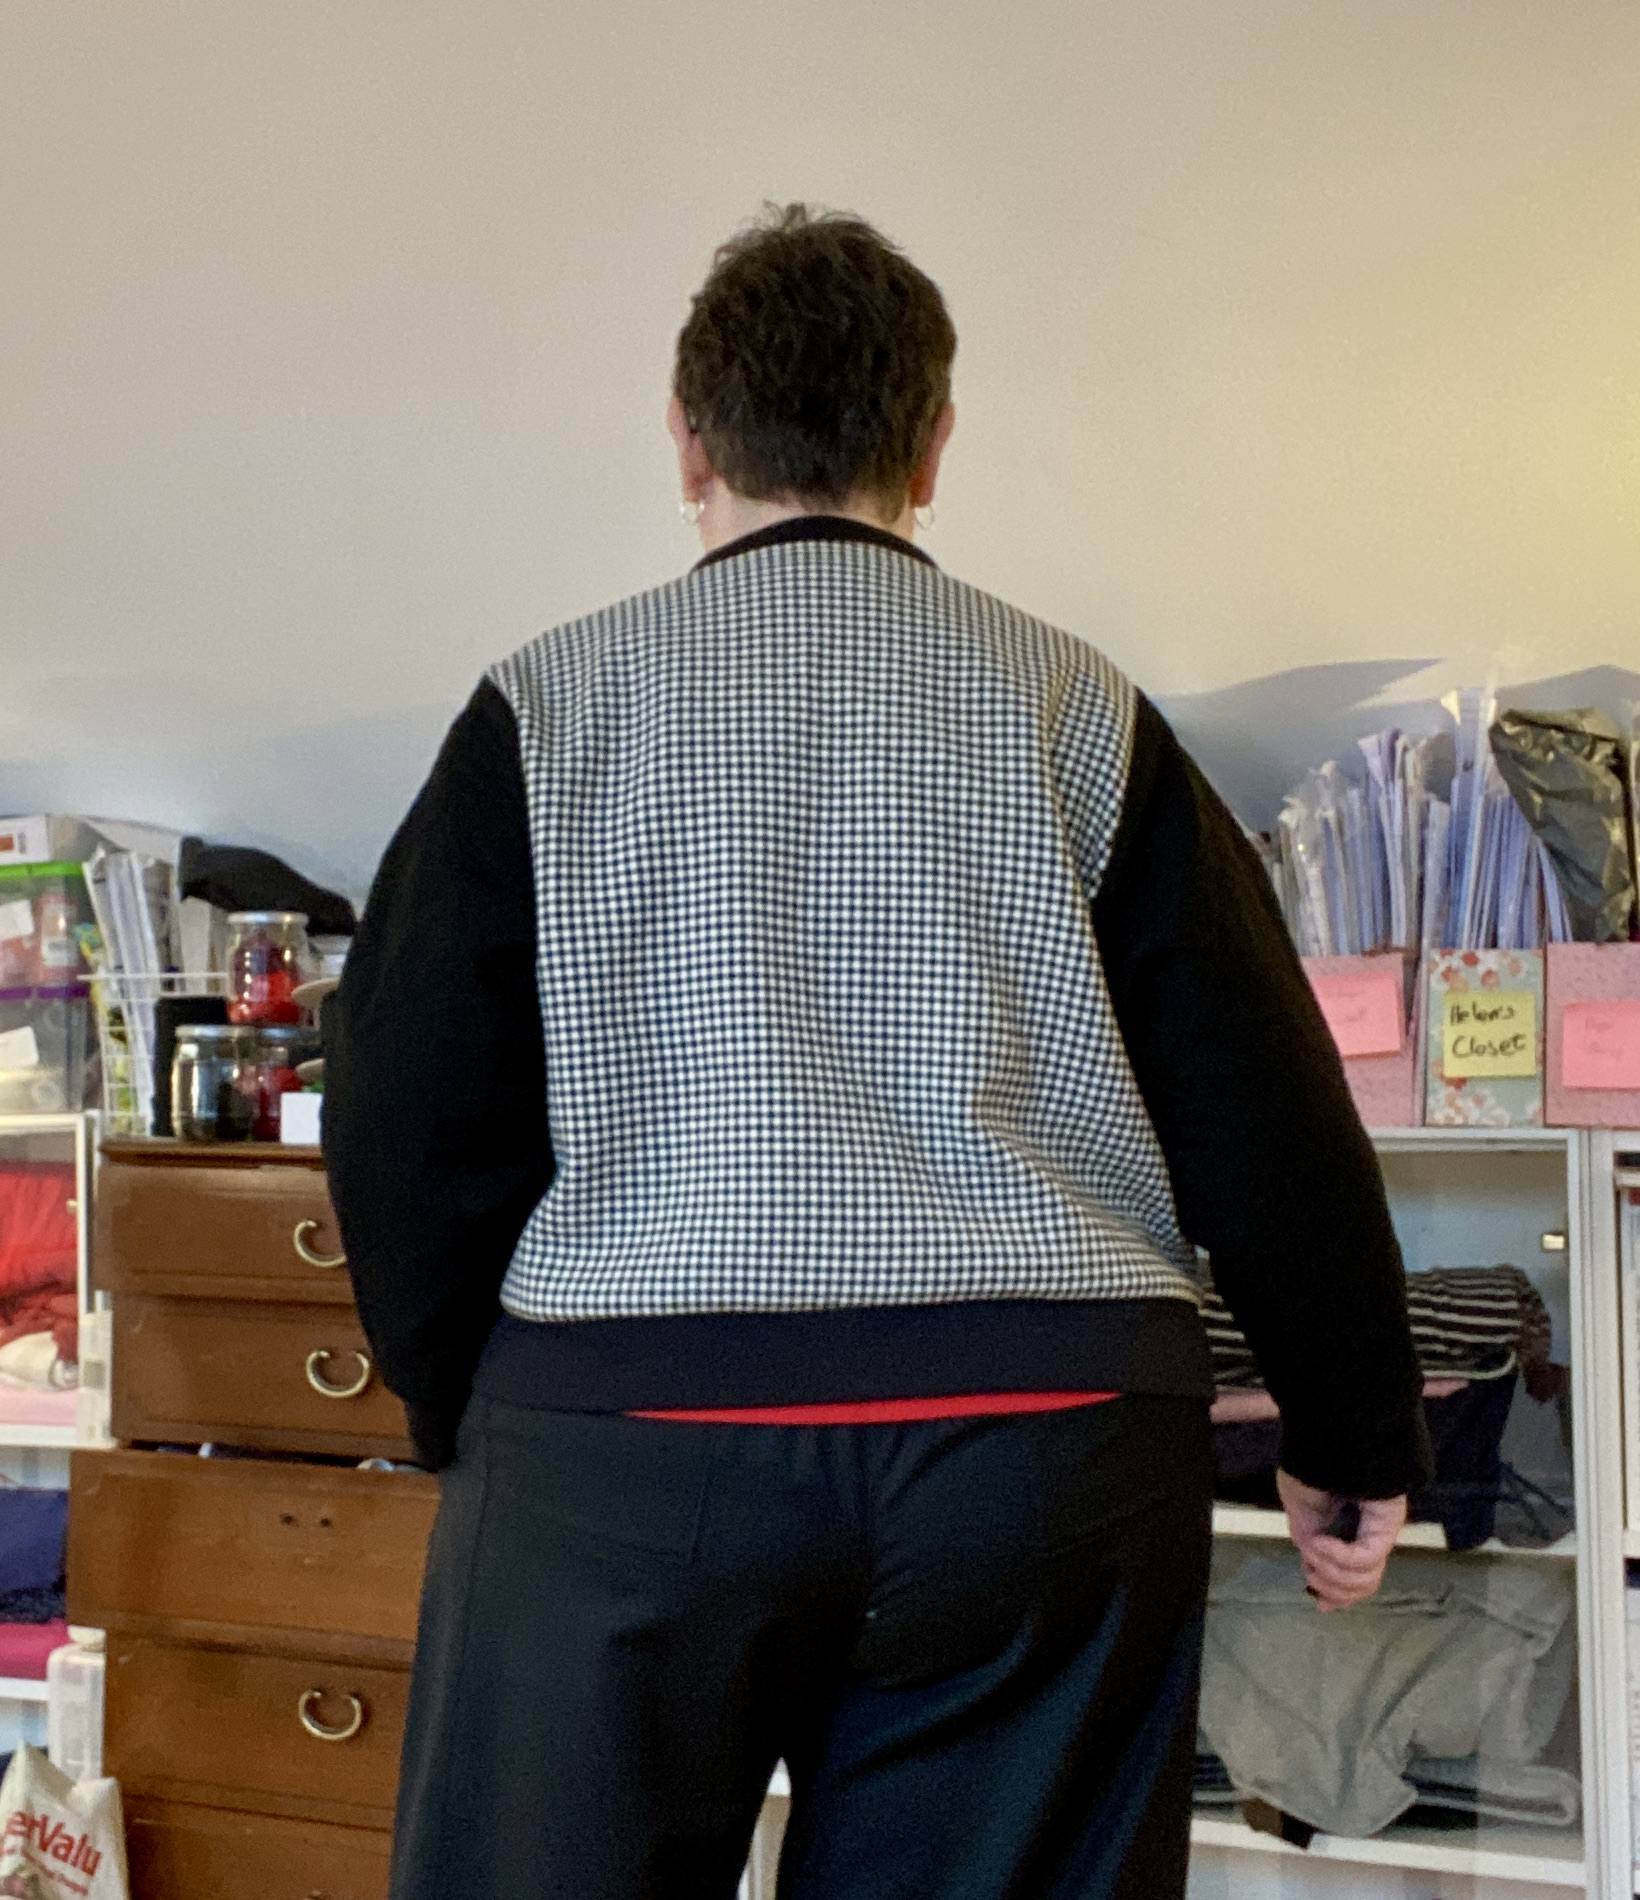
I got the beautiful Bemberg lining and the wool-cotton black and white houndstooth from http://www.craftystudio.ie The black wool crepe was in my stash.
Other clothes
I’m also wearing the Sew House Seven Free Range Slacks in wool suiting and a me-made t-shirt.

Gorgeous!
The top of the zip should be enclosed in the fabric which effectively creates its own stopper, so the zip piece shouldn’t come off. Sounds like maybe you didn’t enclose it? If so, I would sew a bar tack across the top to create a stopper
LikeLike
Thanks Jenny. I did enclose it but I think the problem is that this zip is ‘chunky’ and the teeth are big and further apart than usual. The left-hand side (as you look at it) got a little more buried than the right. I have now sewn bartacks by hand and that works fine. Thanks for responding so quickly.
LikeLike
Gorgeous!
For the zipper, the end should be enclosed in the fabric which creates a stopper. If yours isn’t working like that, I would recommend sewing a bar tack at the top which will stop the zipper coming off
LikeLiked by 1 person
Thanks Jenny. I’ve now sewn thread stops by hand and it seems to work fine. 🙂
LikeLike