
I was keen to consolidate what I learned from making my first Muna and Broad Noice Jeans before I forgot so this is my adventure with version 2 and 3.
https://www.munaandbroad.com/products/noice-jeans-sewing-pattern-pdf
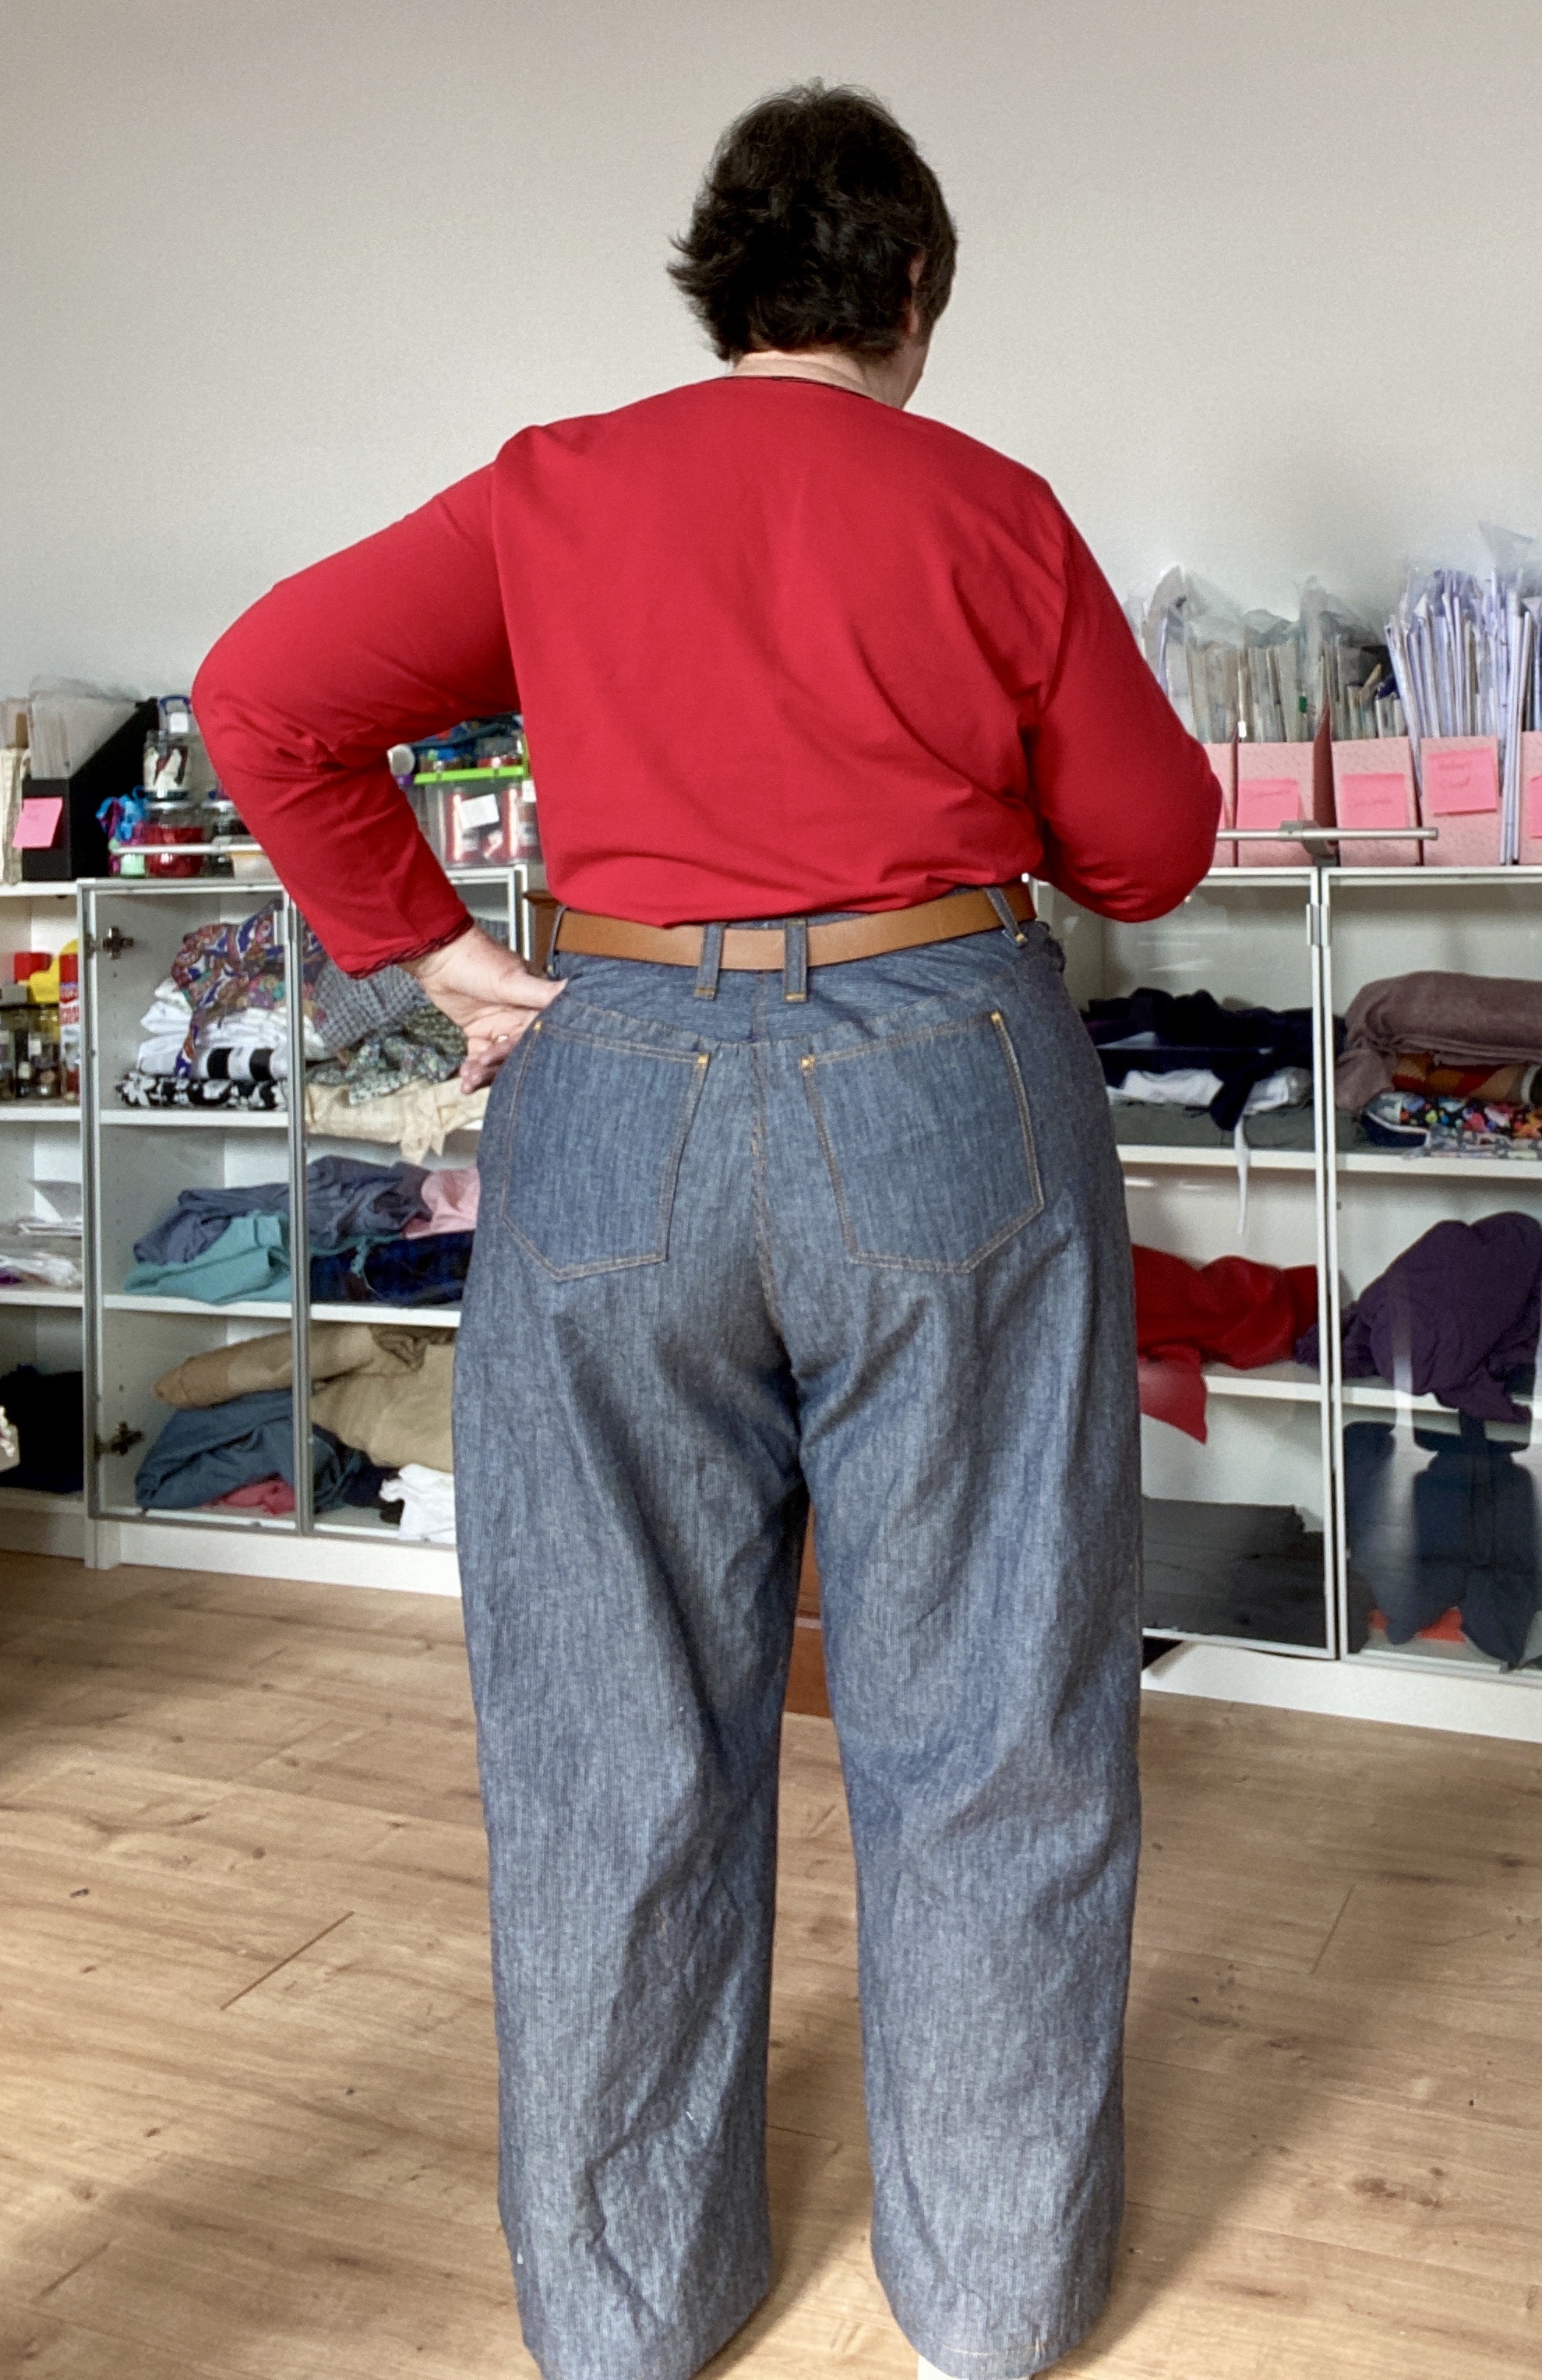
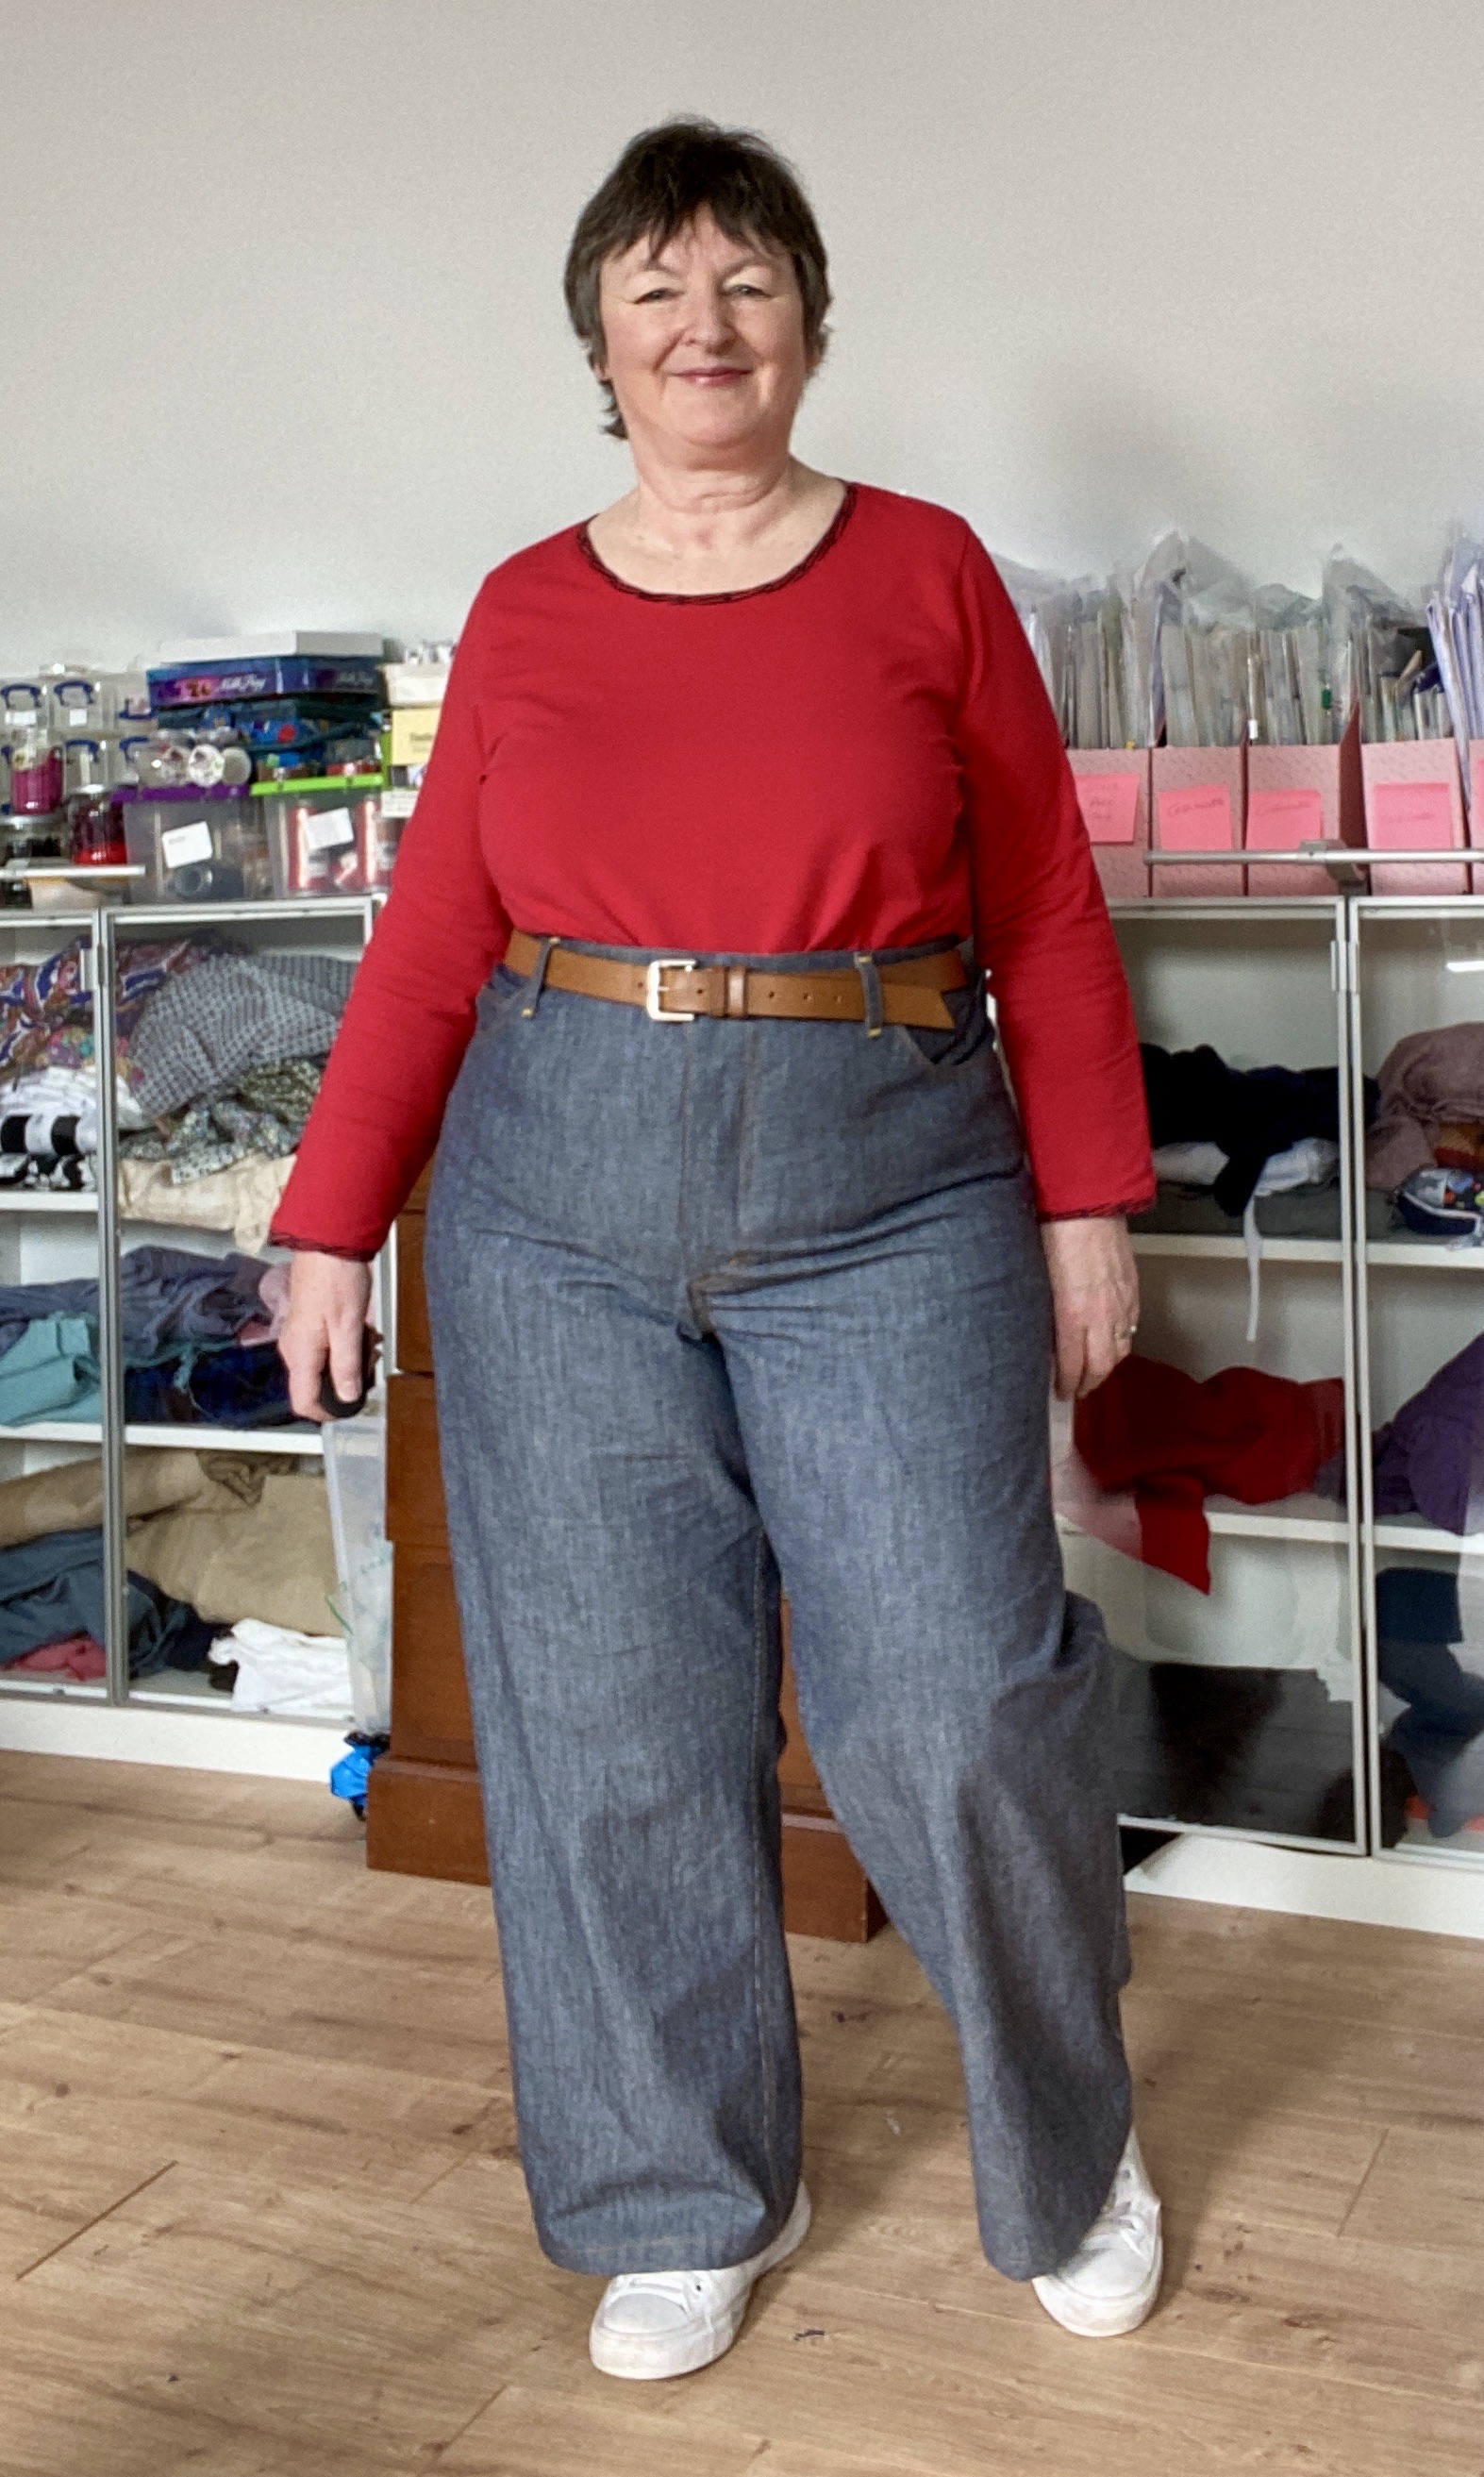
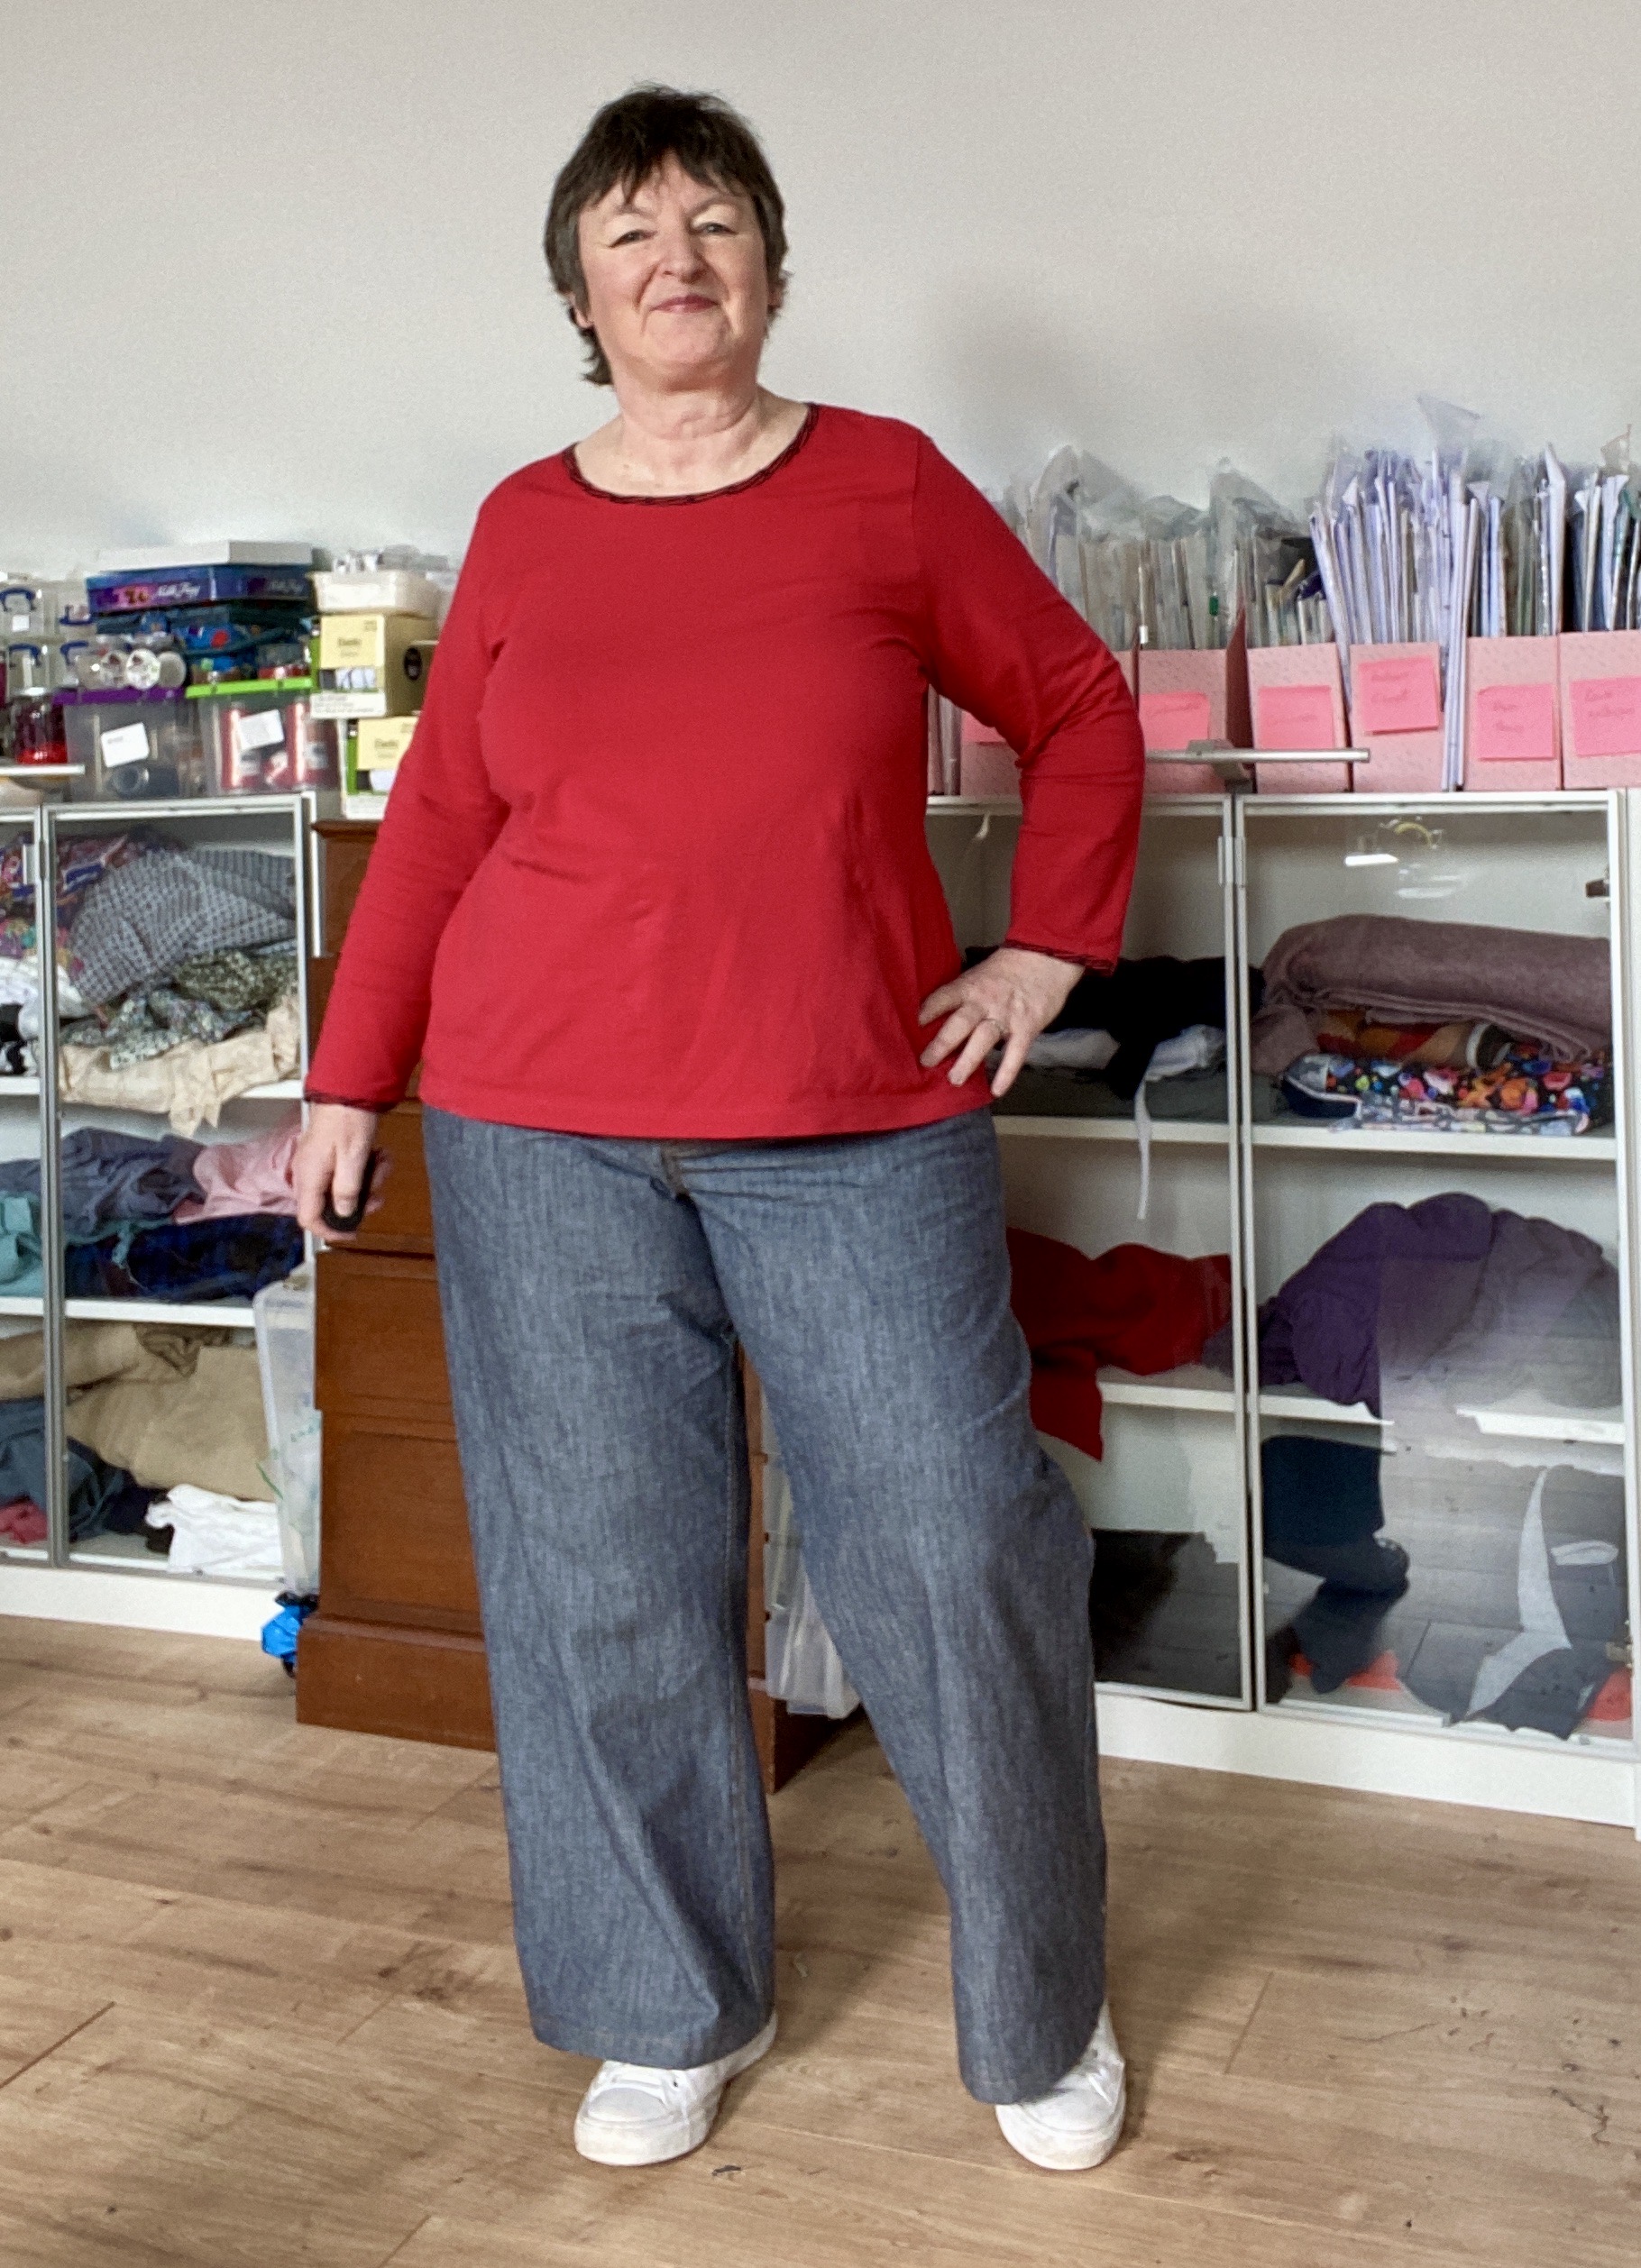
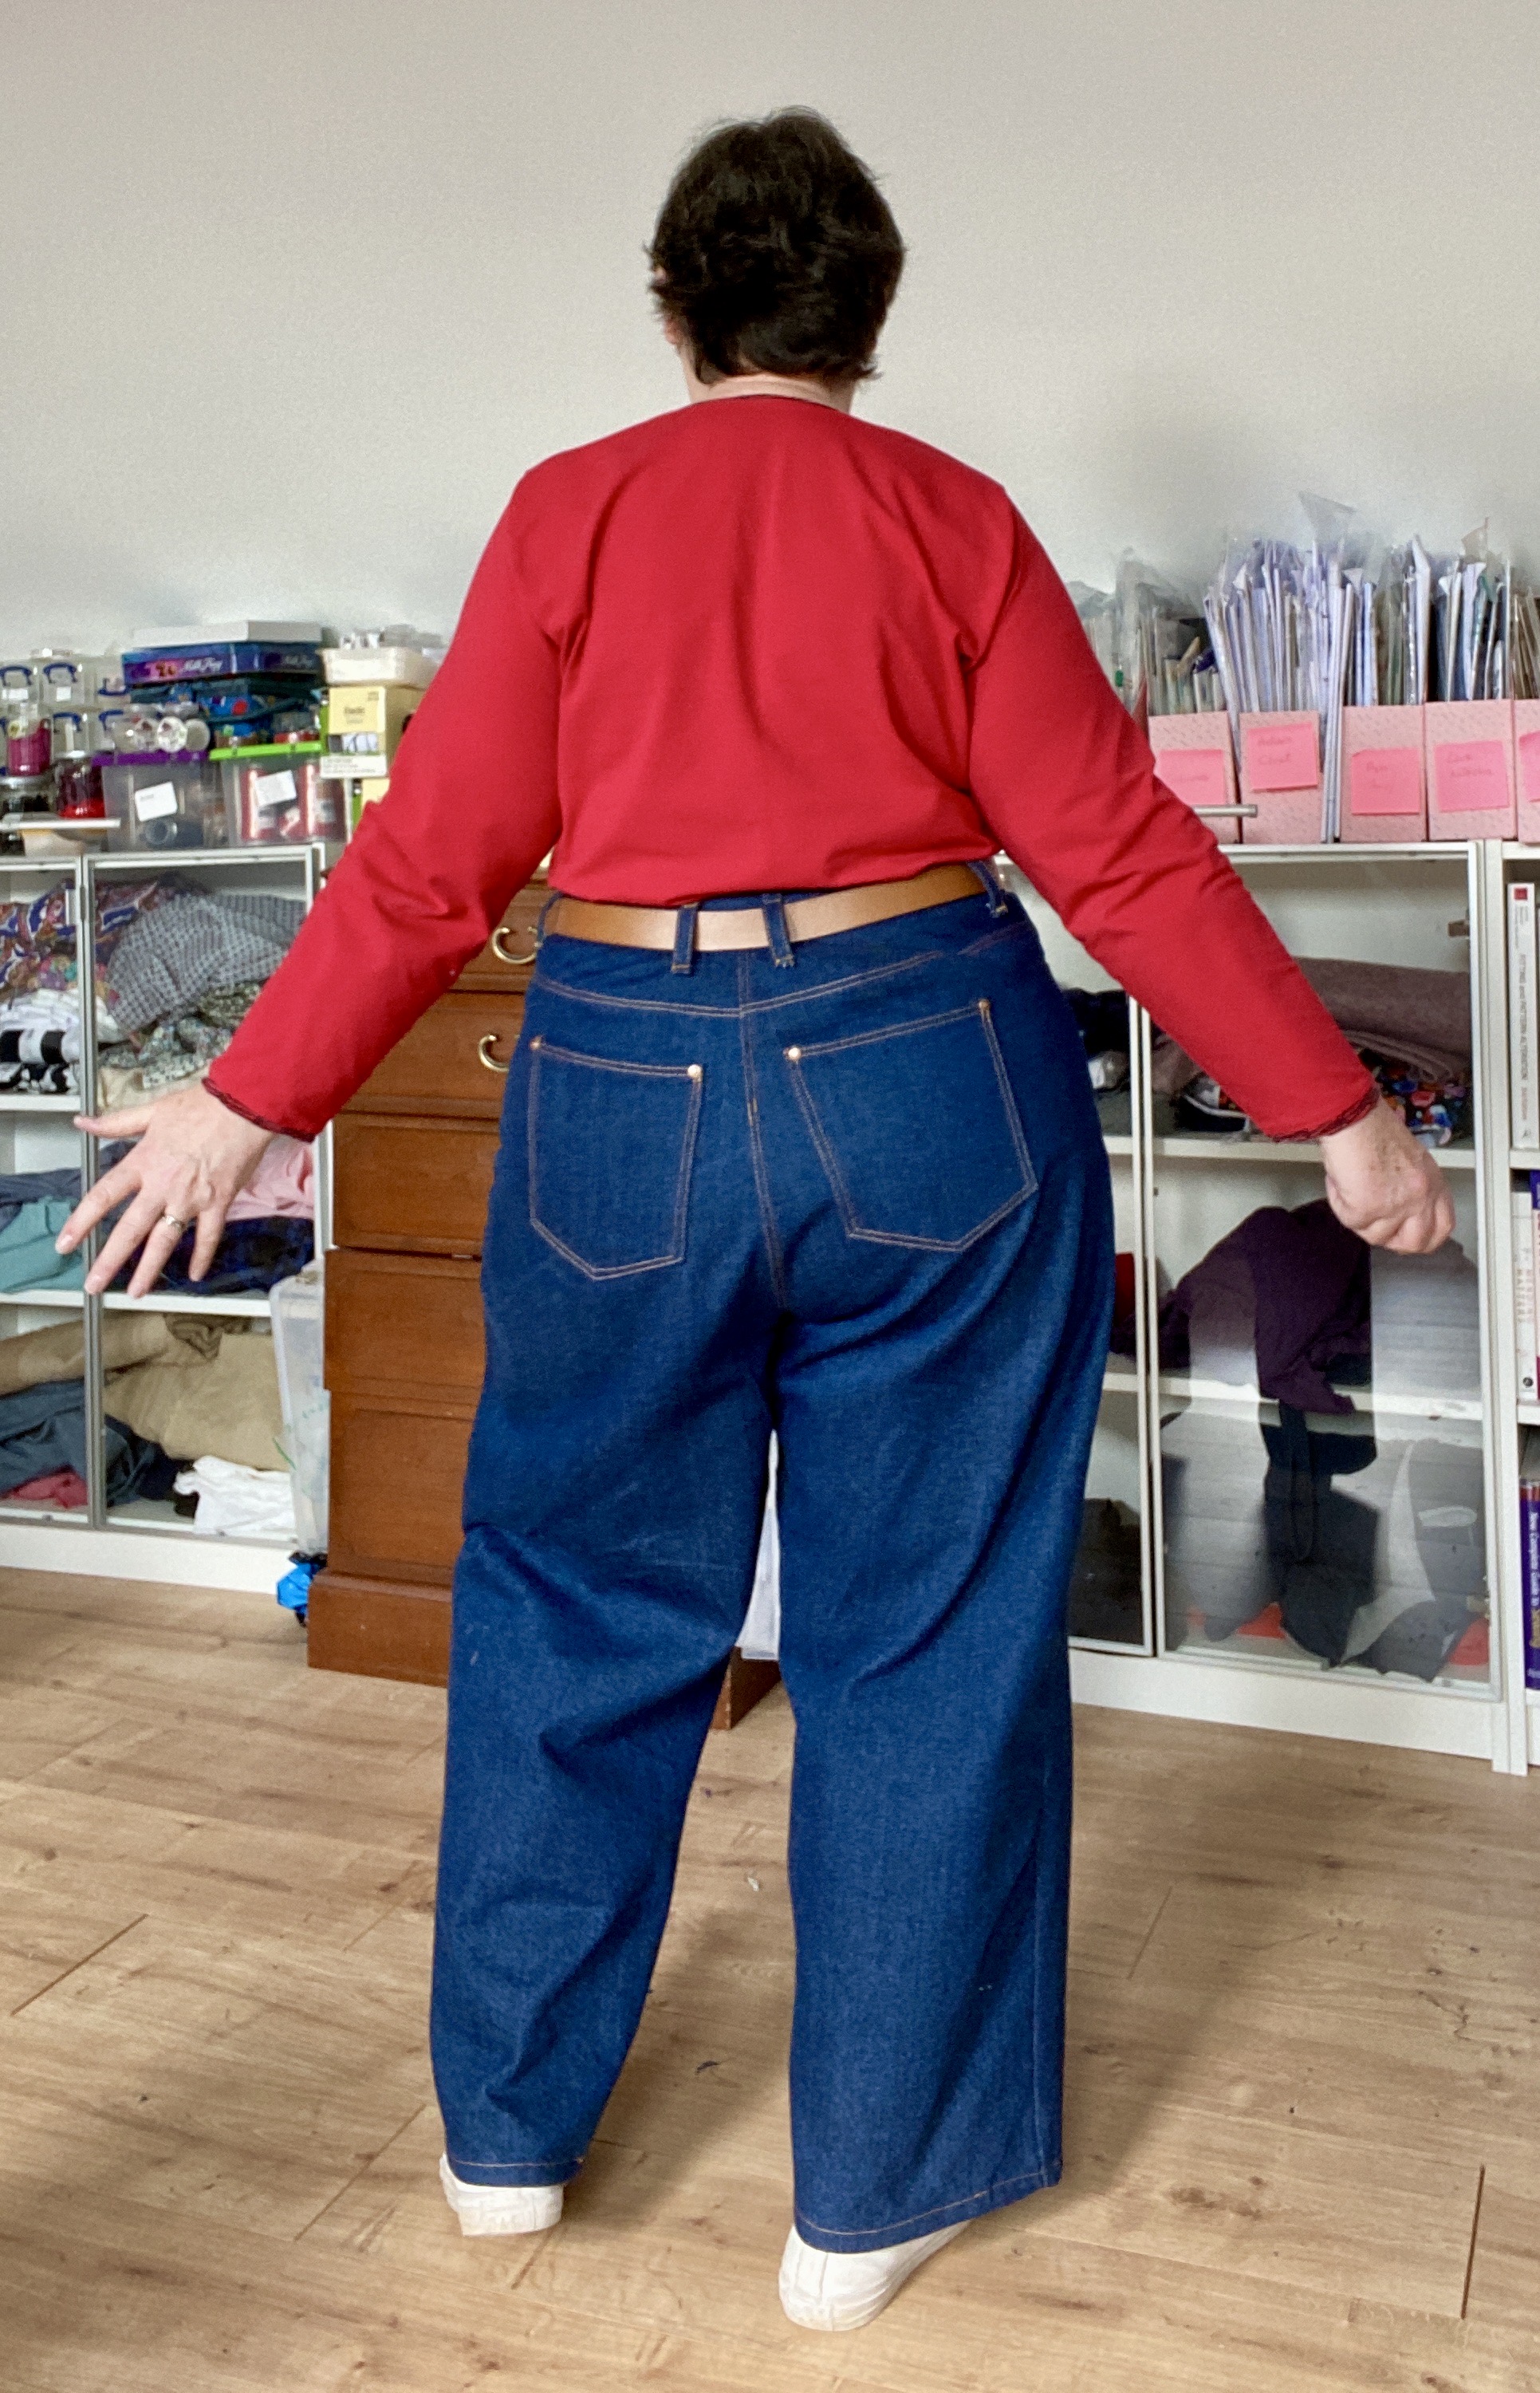
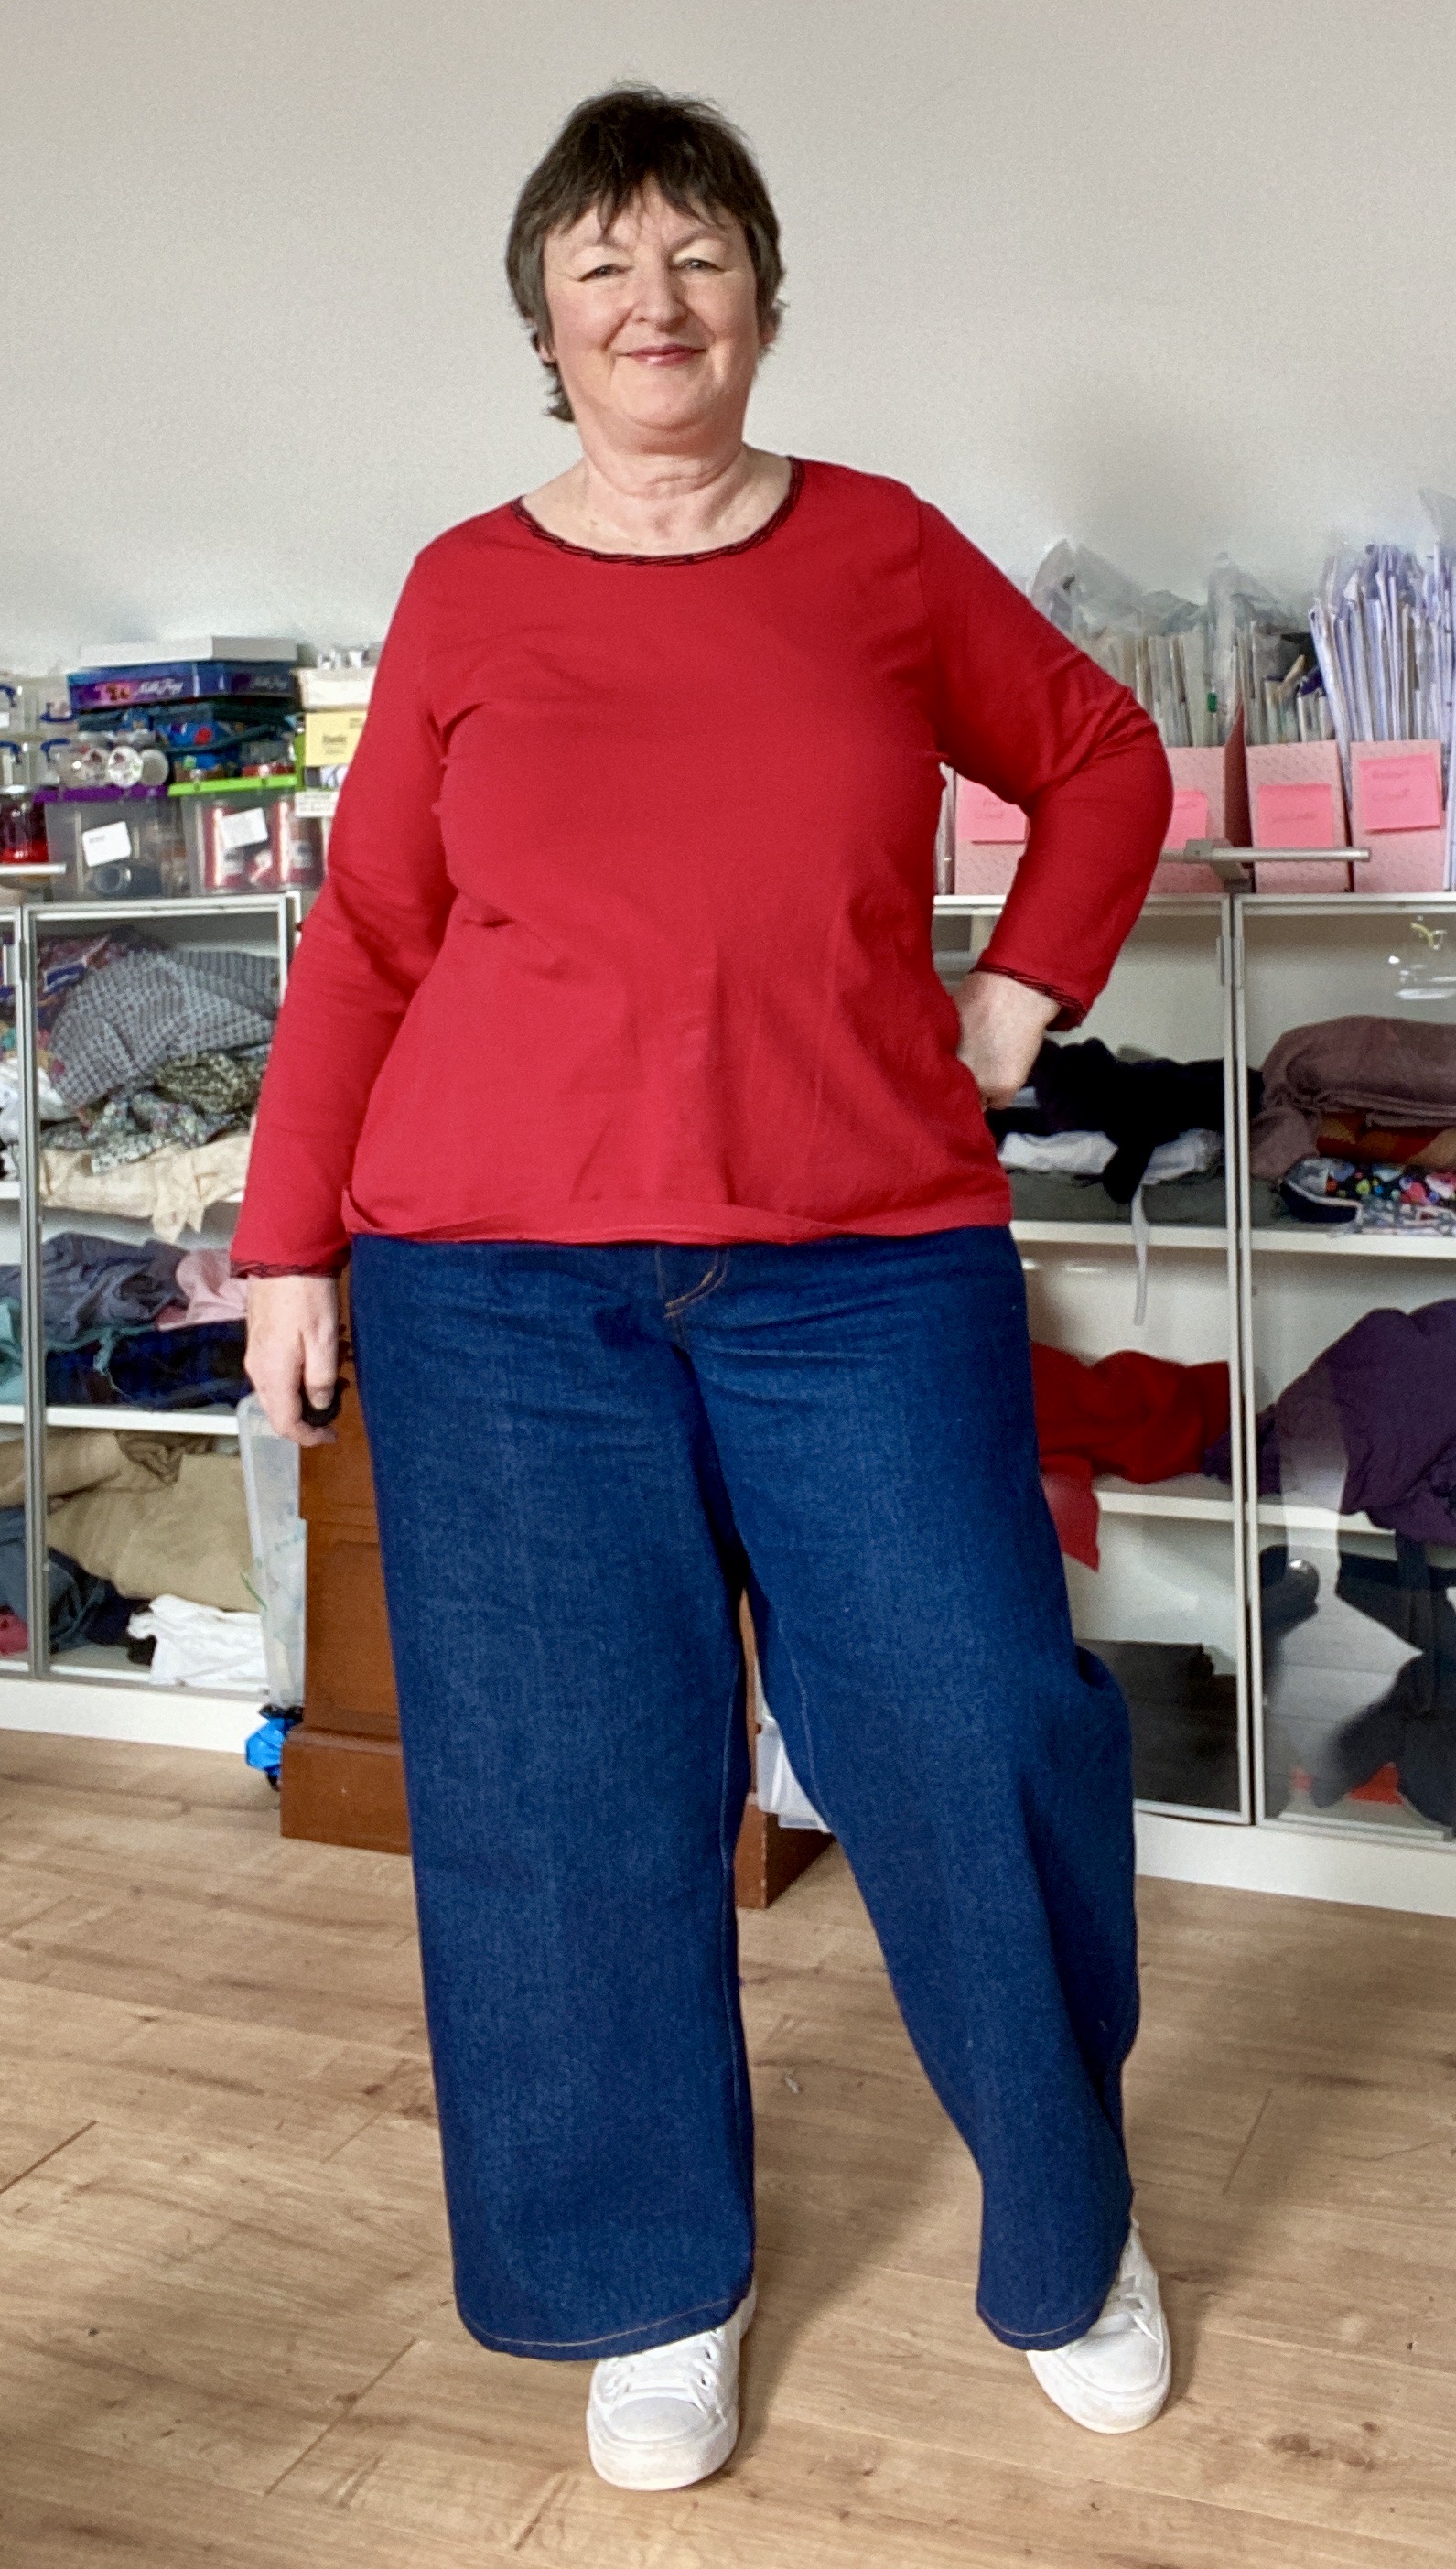
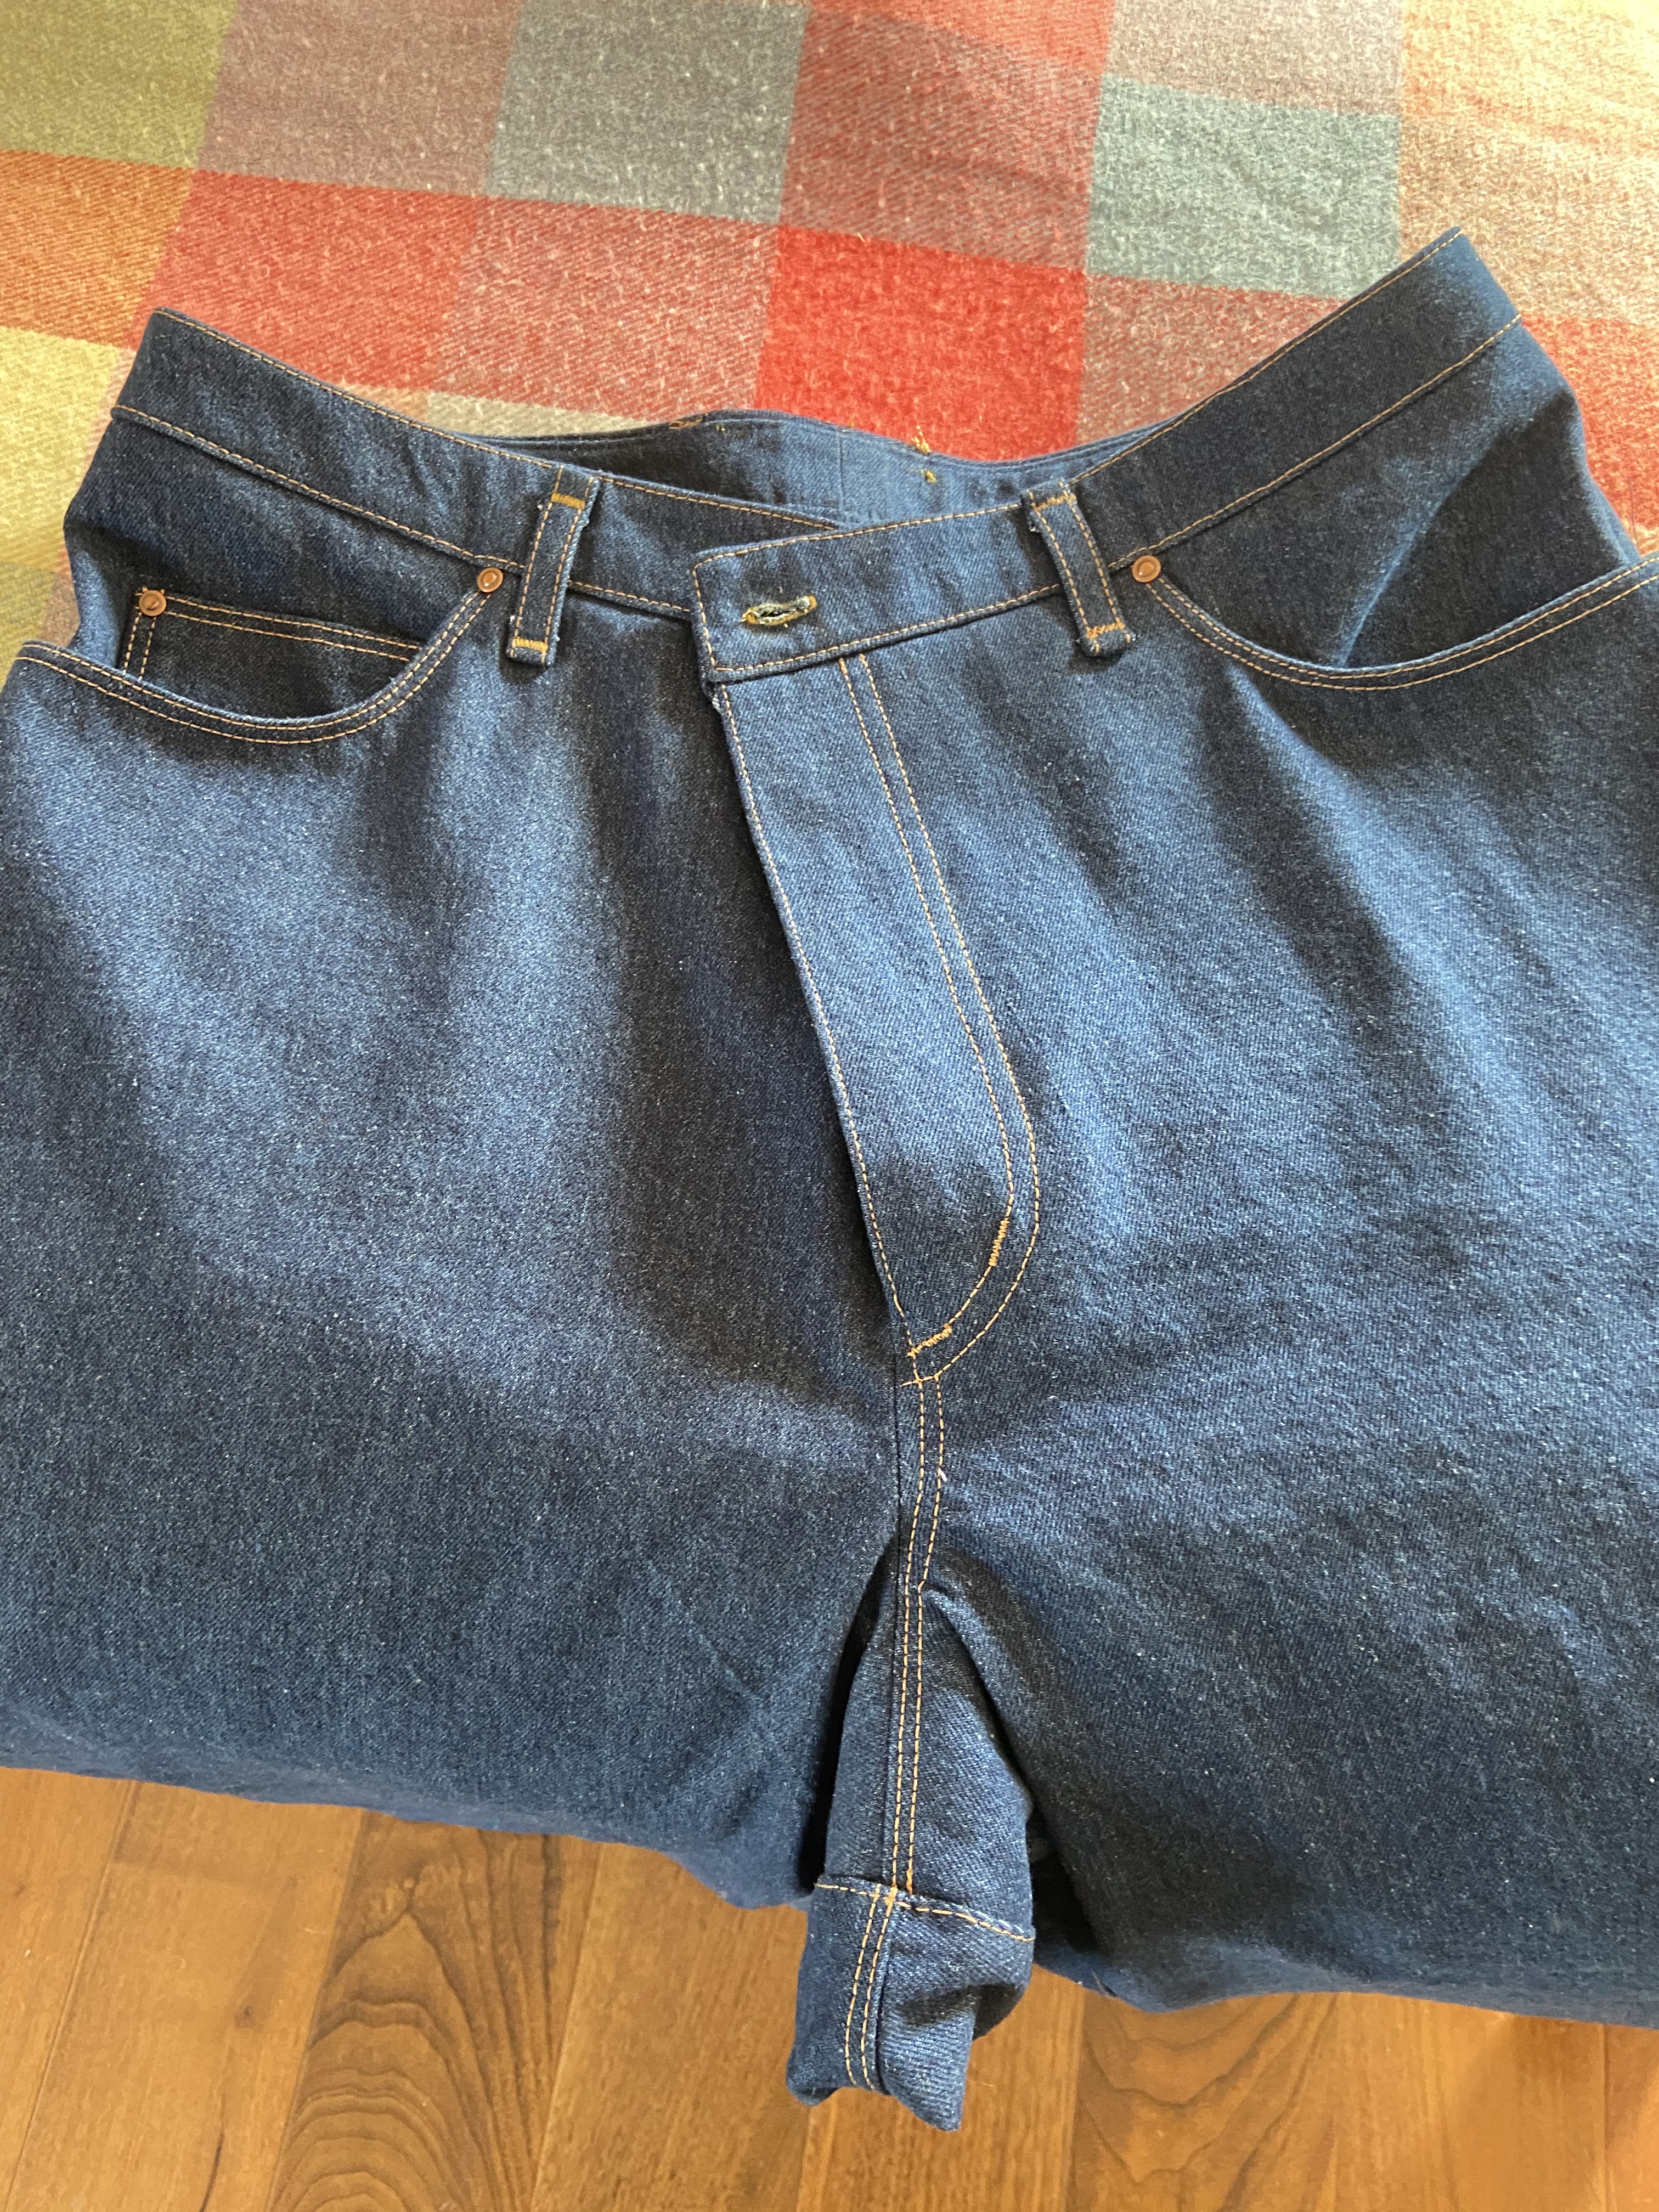
I liked the first denim ones so much, that I chose the same denim to make another pair.
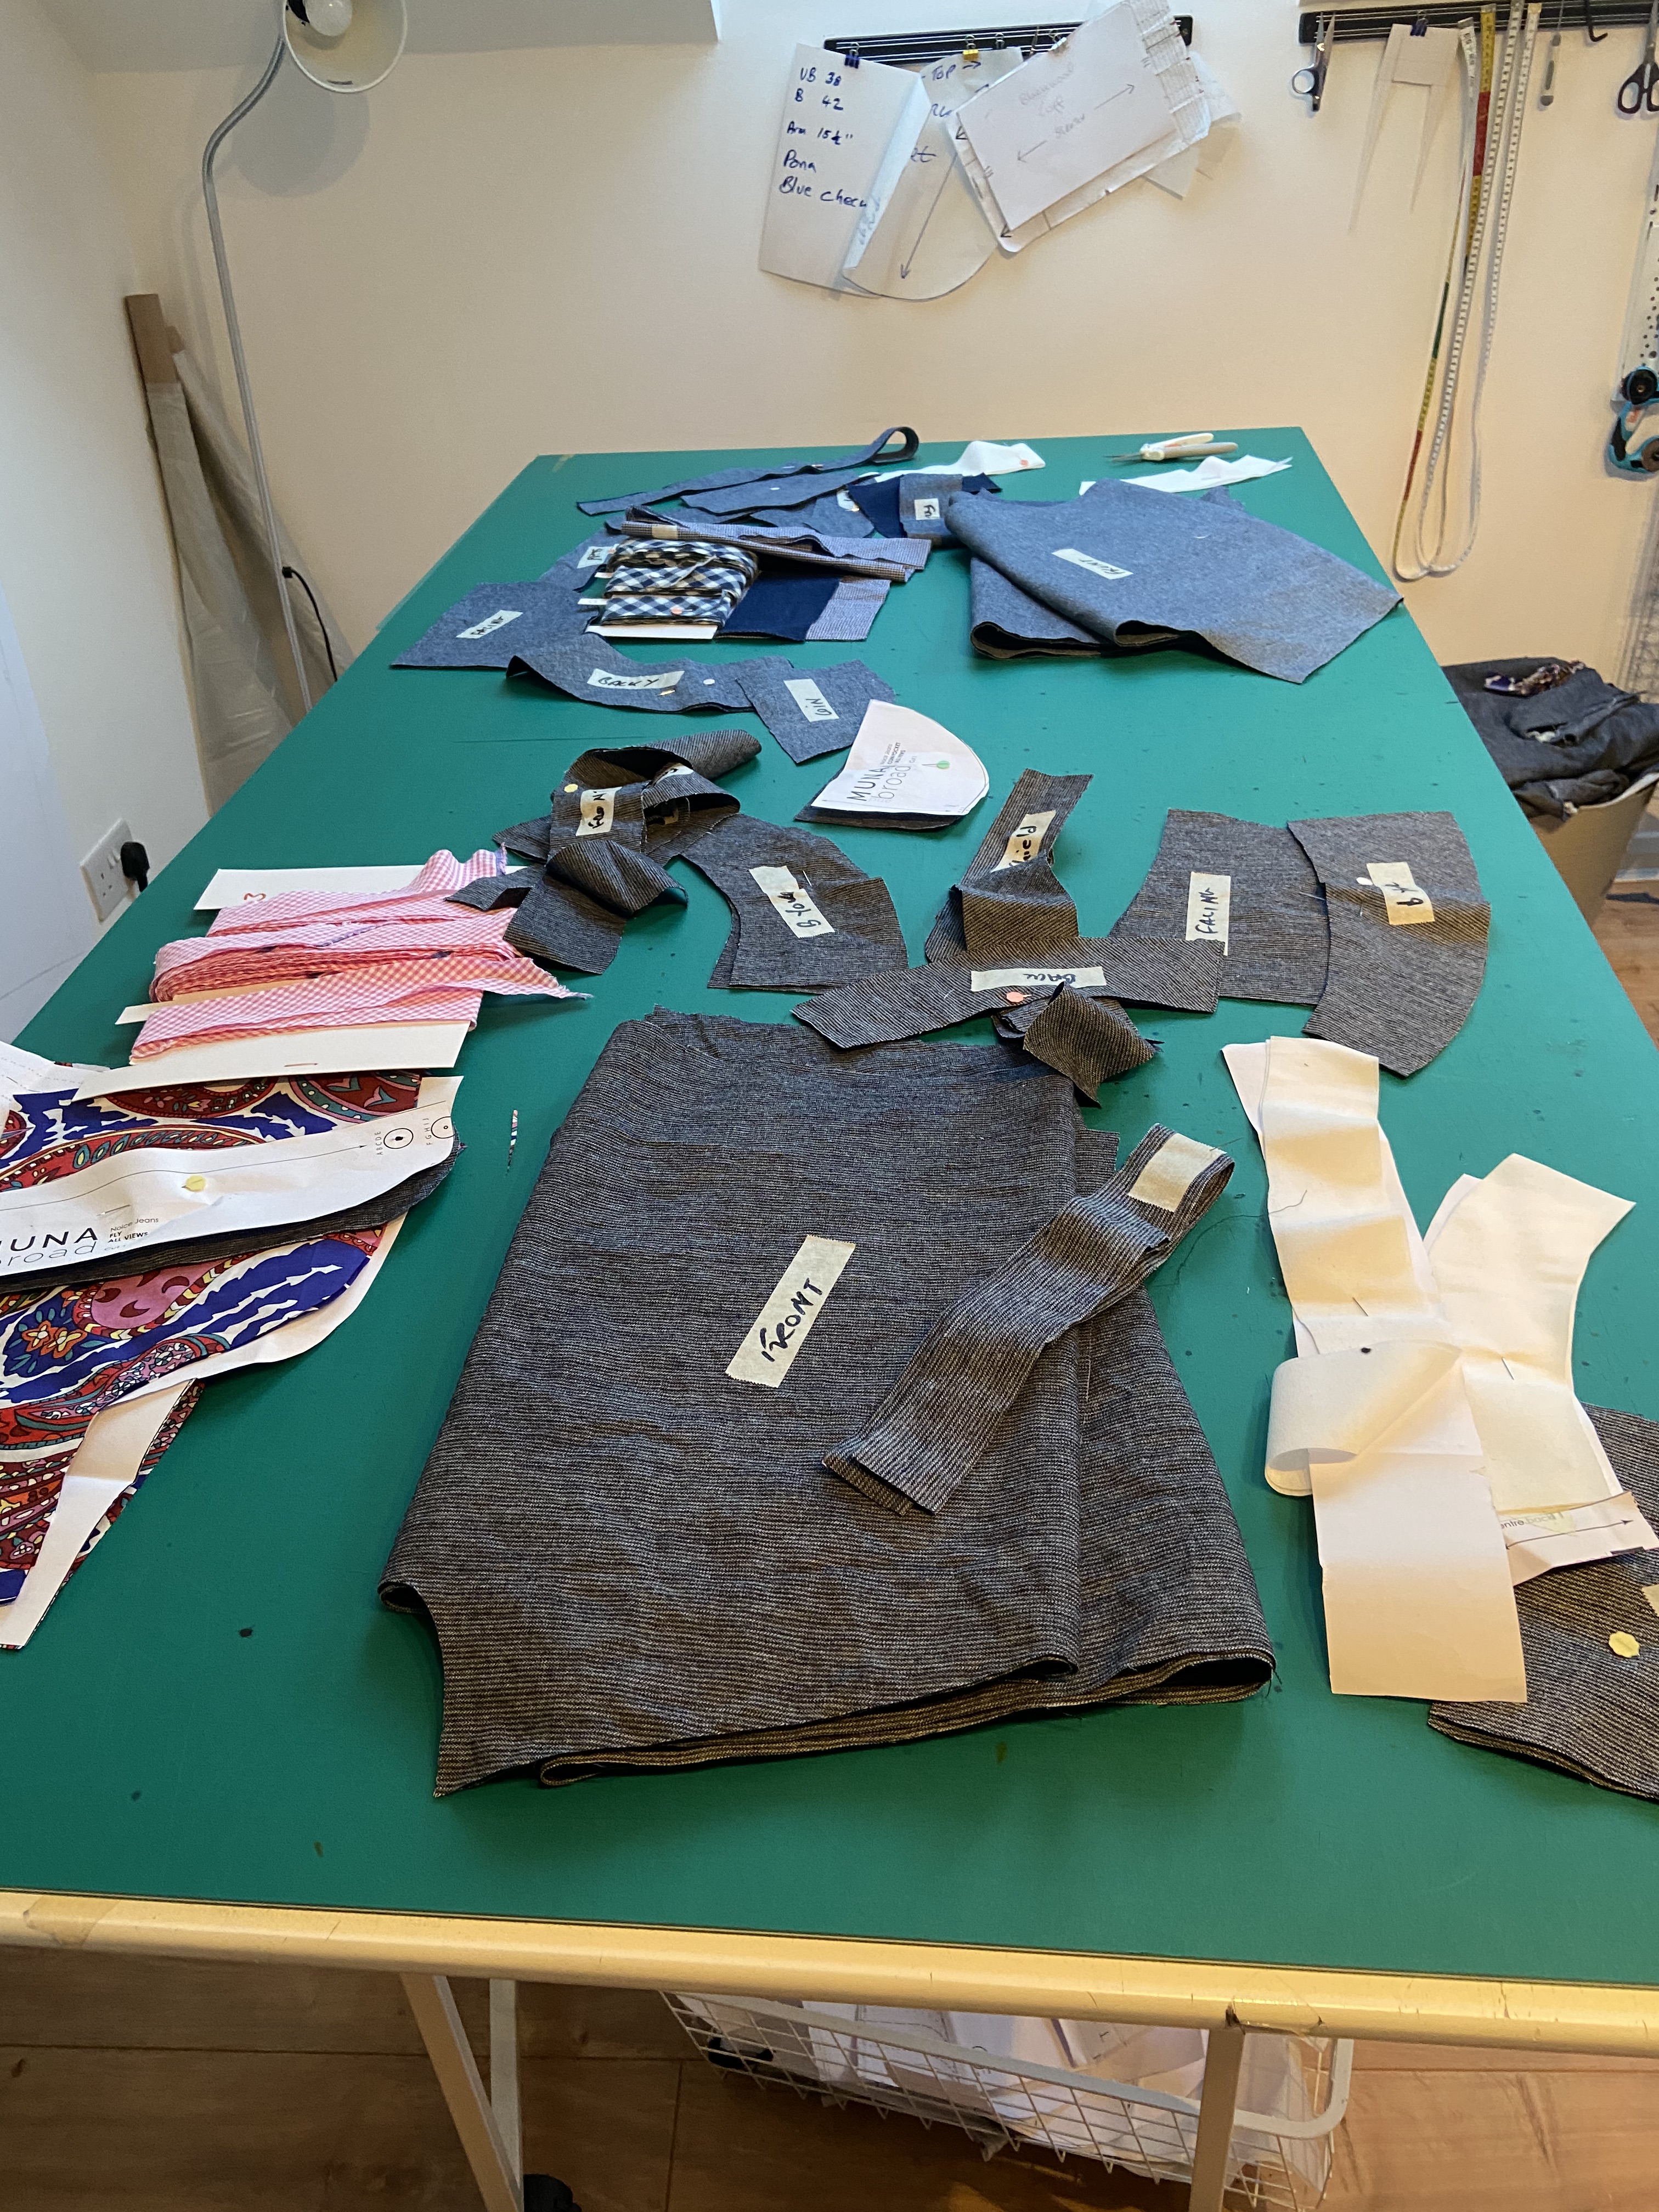
I didn’t get off to a great start – for the blue denim, I cut two sets of back legs; and for the pinstripe, I cut Fit 1 instead of Fit 2. Note to future self: do not sew two complex garments at the same time!
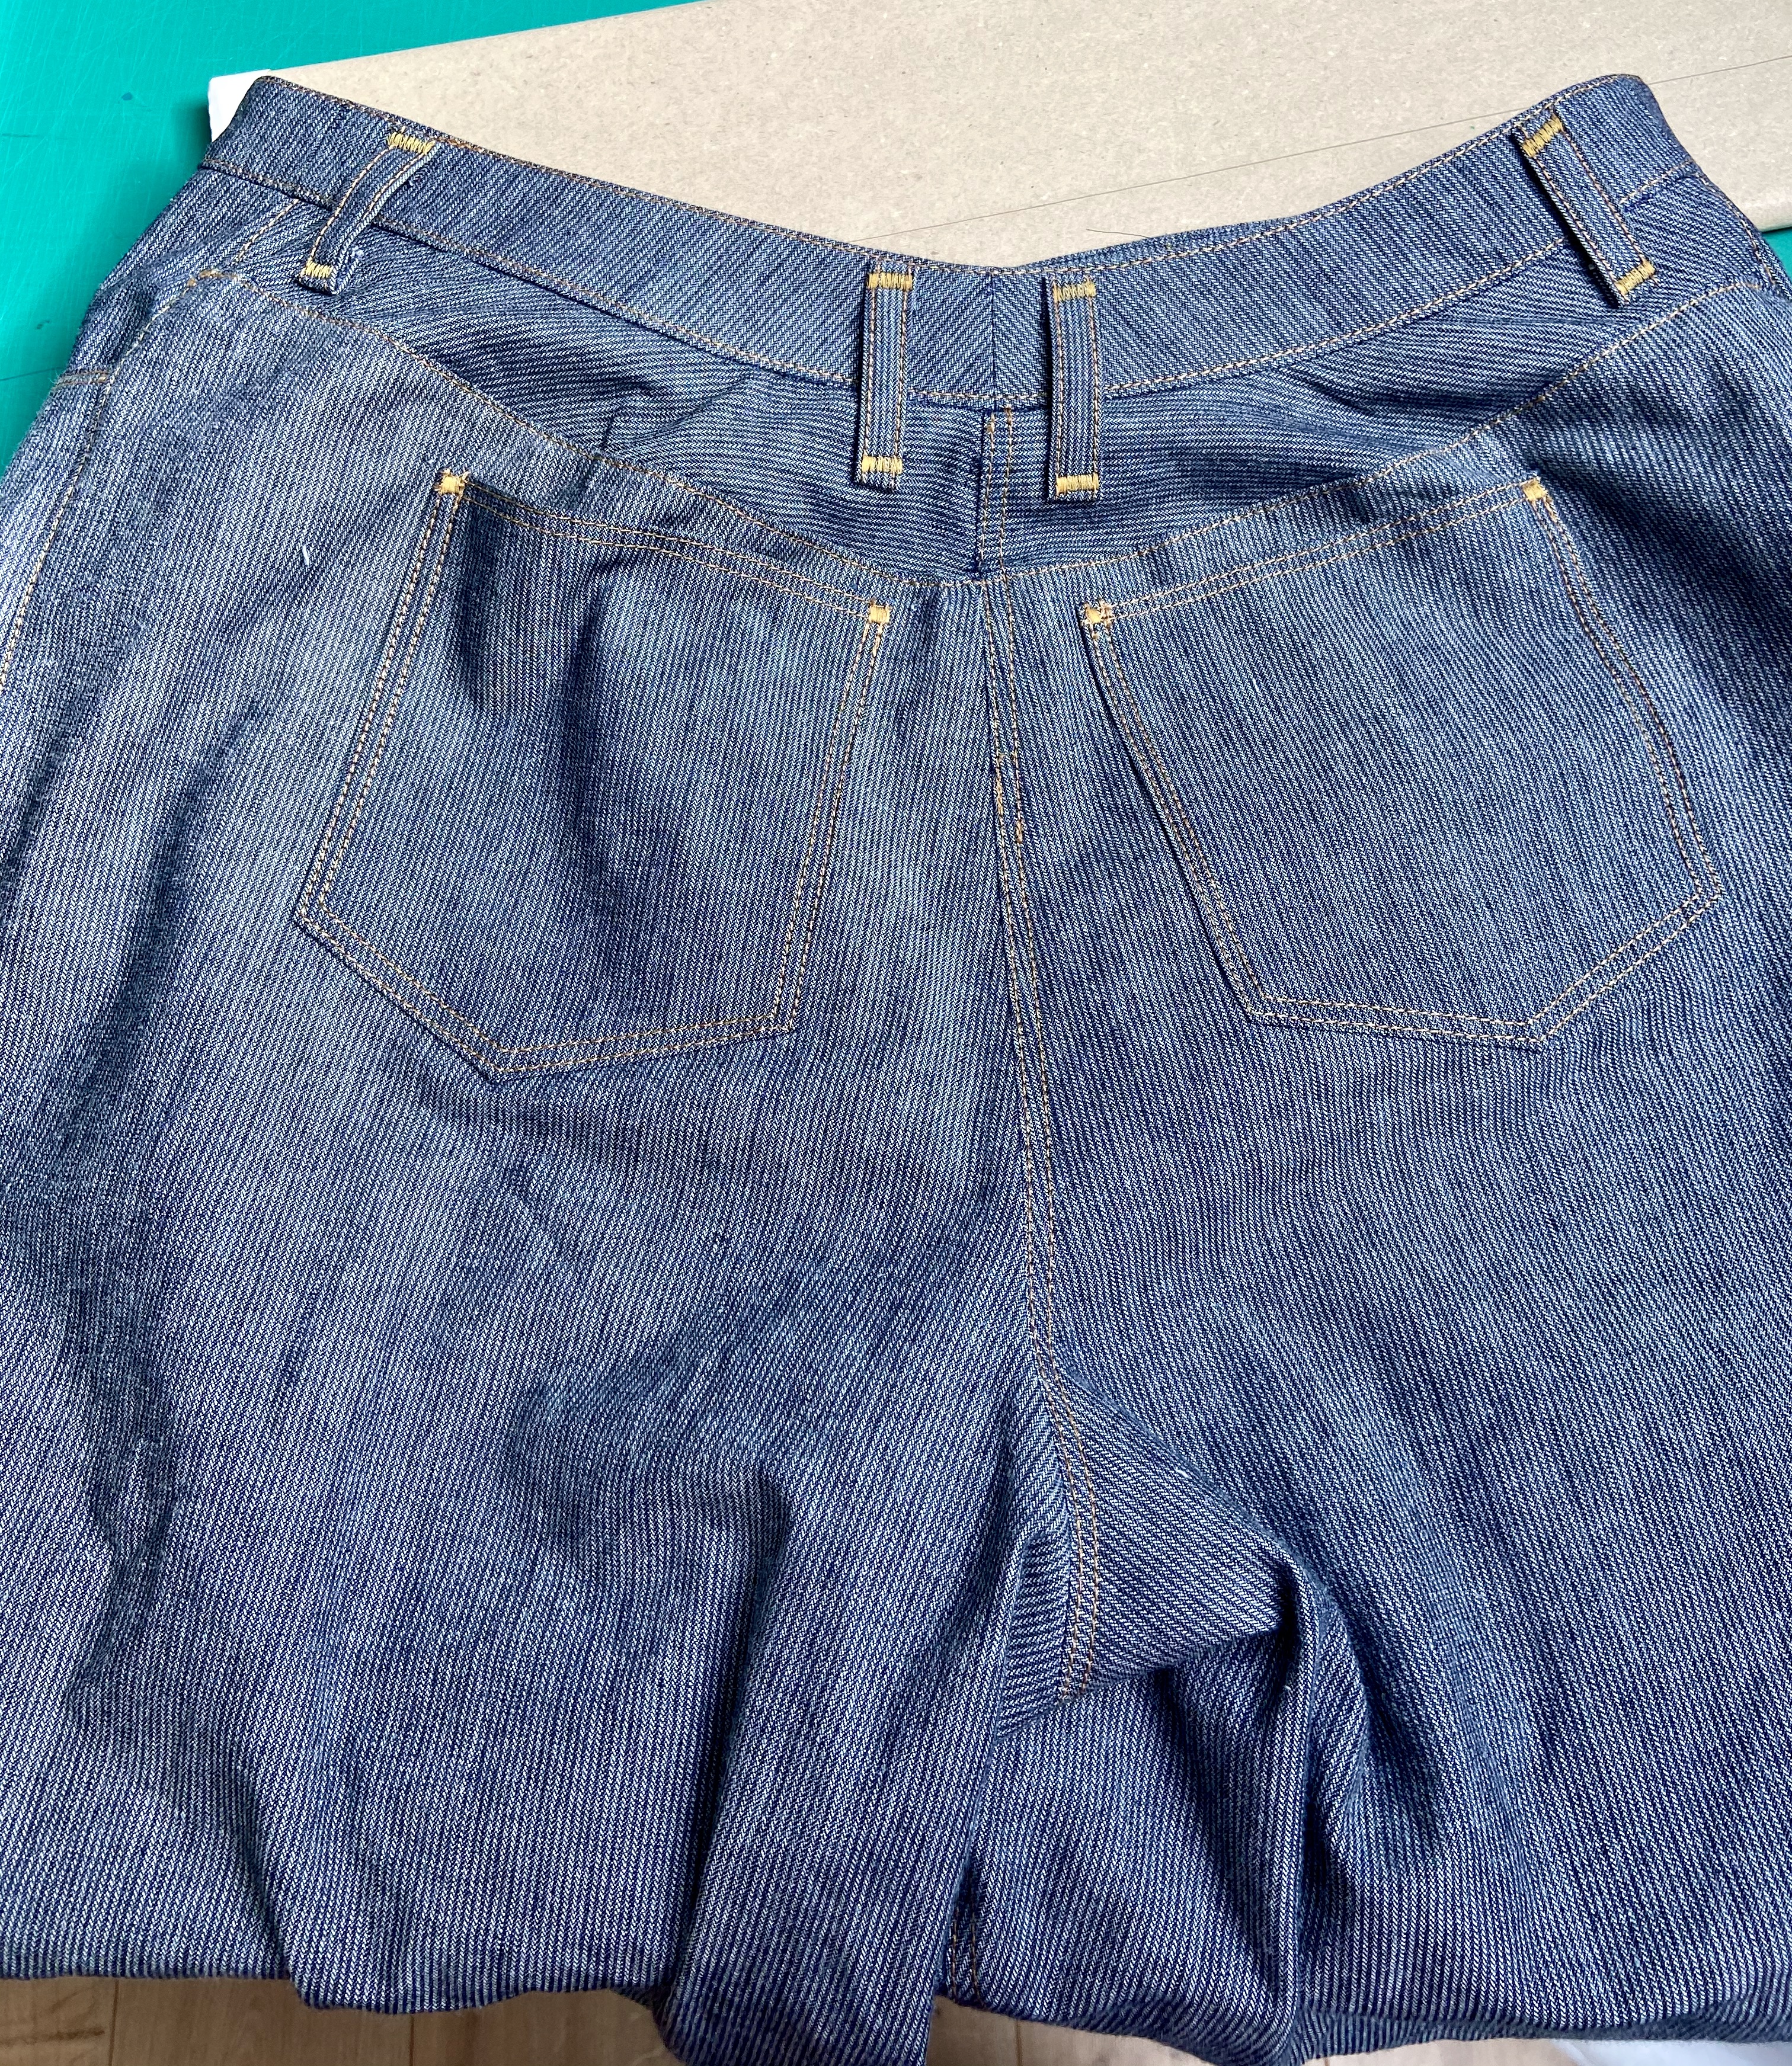
I thought I had transferred all the changes I made to the first pattern, but I think I must have added other tweaks as I went along. In this pair, like the first pair (before I altered them) I had puckering on the back yoke. To cut a long story short (I basted and changed them about 10 times1) I found that the problem was that the back rise was too high up for me. So I ended up taking off the waistband, again, unpicking and slicing a graduated inch or so off the horizontal seams of the yoke where they meet the main back legs.
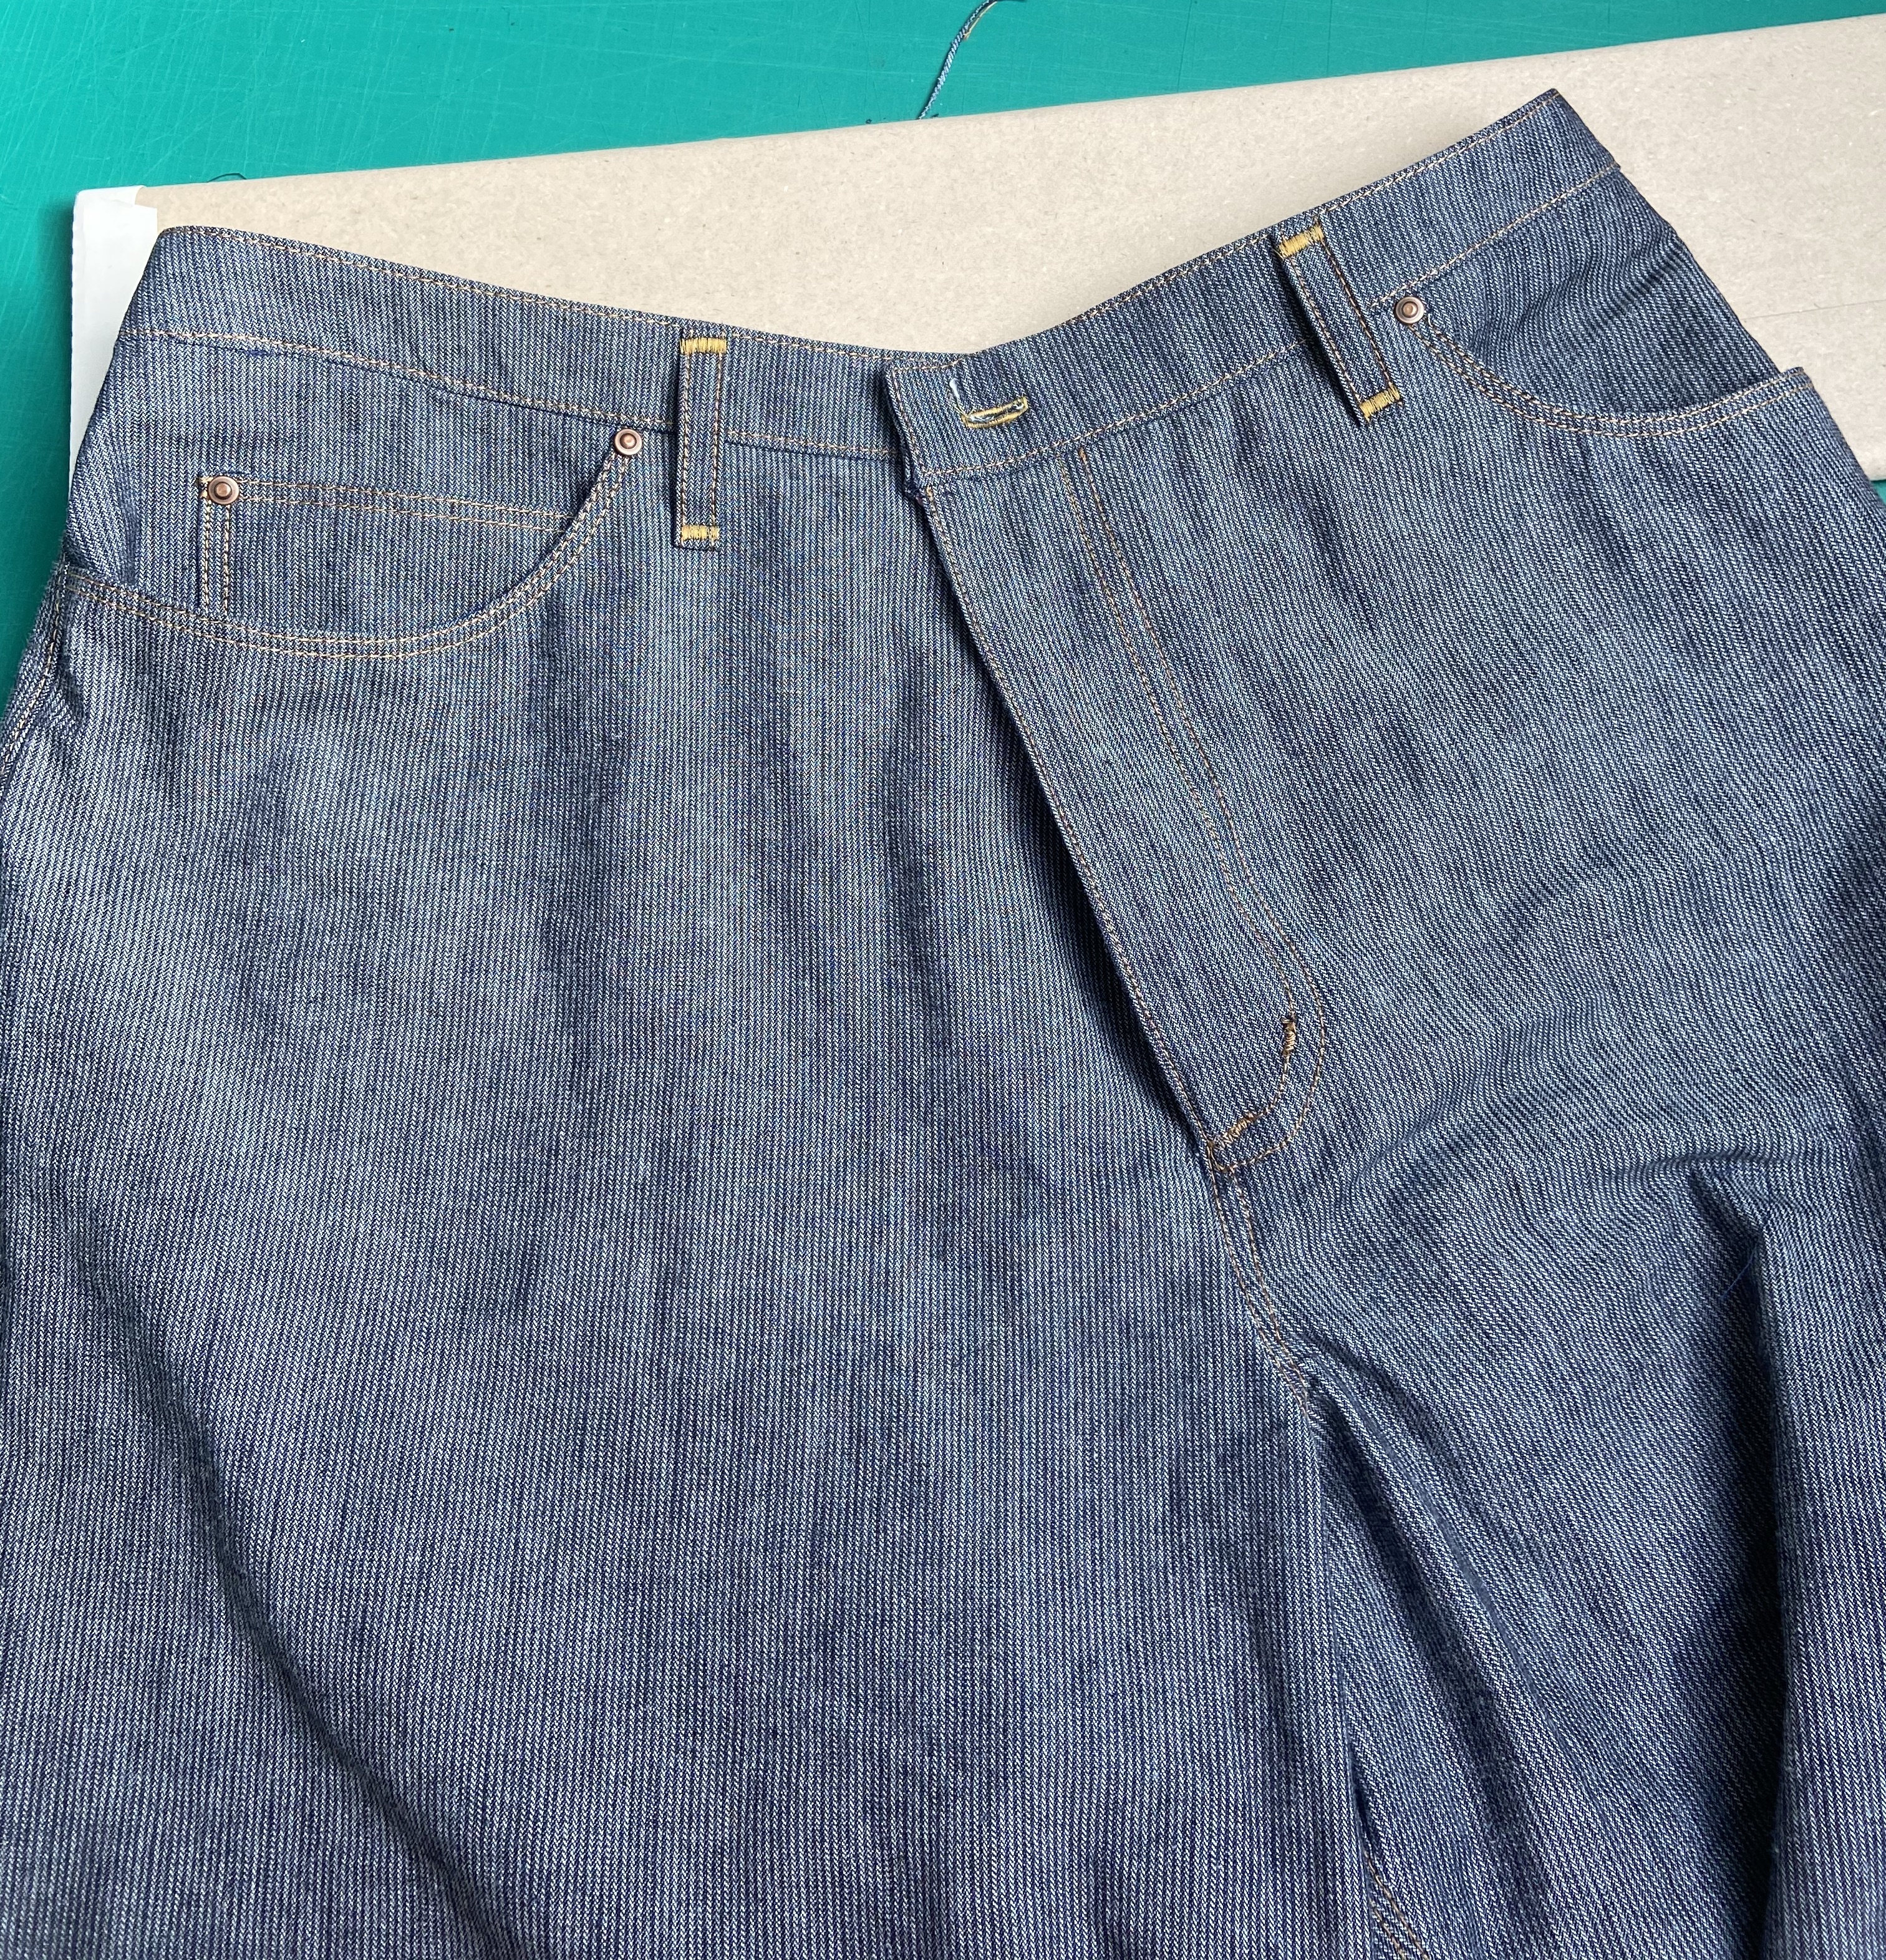
The other version are a pinstripe denim. In these ones I took about graduated inch off both the top and bottom of the yoke.
I got both denims from http://www.quiltyarnstitch.com a local Irish fabric store.
Neither jeans are completely perfect after being picked and unpicked so many times, but I really enjoy wearing them, so they were worth it in the end.

The instructions for the pattern are excellent particularly the free YouTube videos done by Leila – one half of Muna and Broad. I followed them along, pausing as necessary.

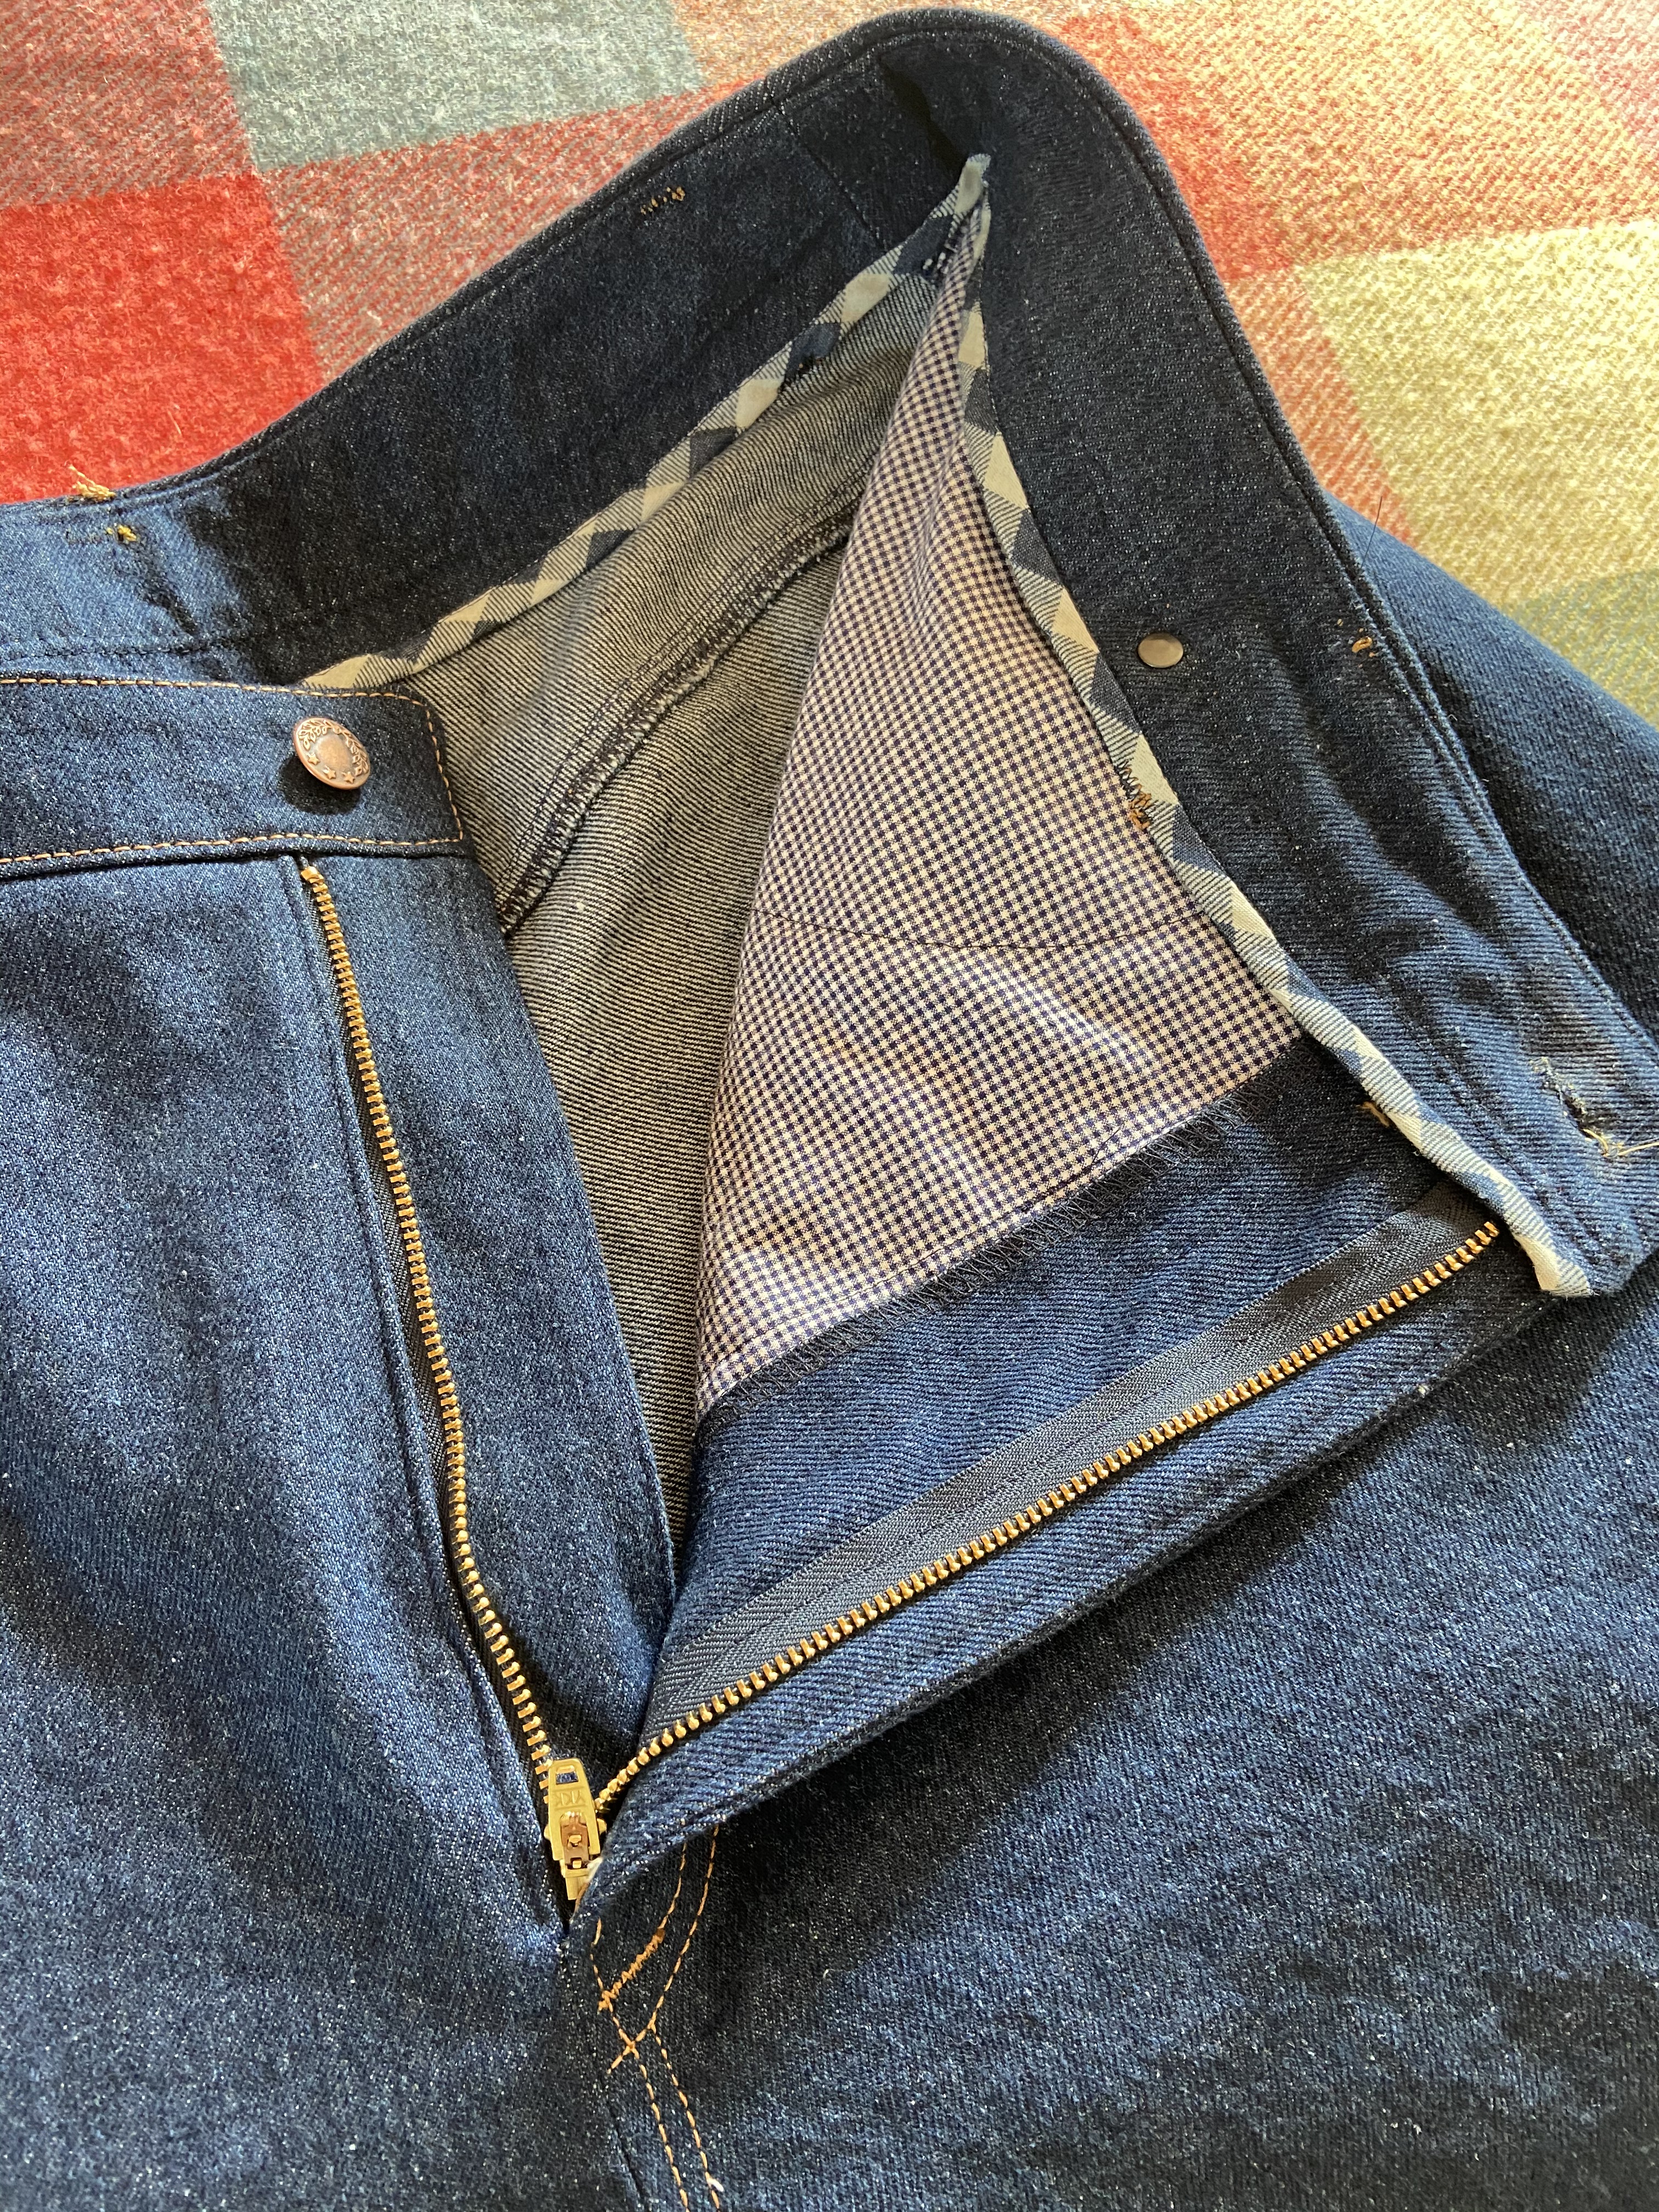
I changed the order slightly, in that I sewed the inseam before the side seams. I did this because it makes top-stitching easier.
I was kind of sewing these in tandem, which was a little confusing! I managed to forget the second row of top-stitching on the inseam of the blue denim ones. Let’s call it a design change!
And on the pinstripe ones, the horizontal yoke seam is only top-stitched once because with all my trimming there wasn’t enough of a seam allowance left for the second row.
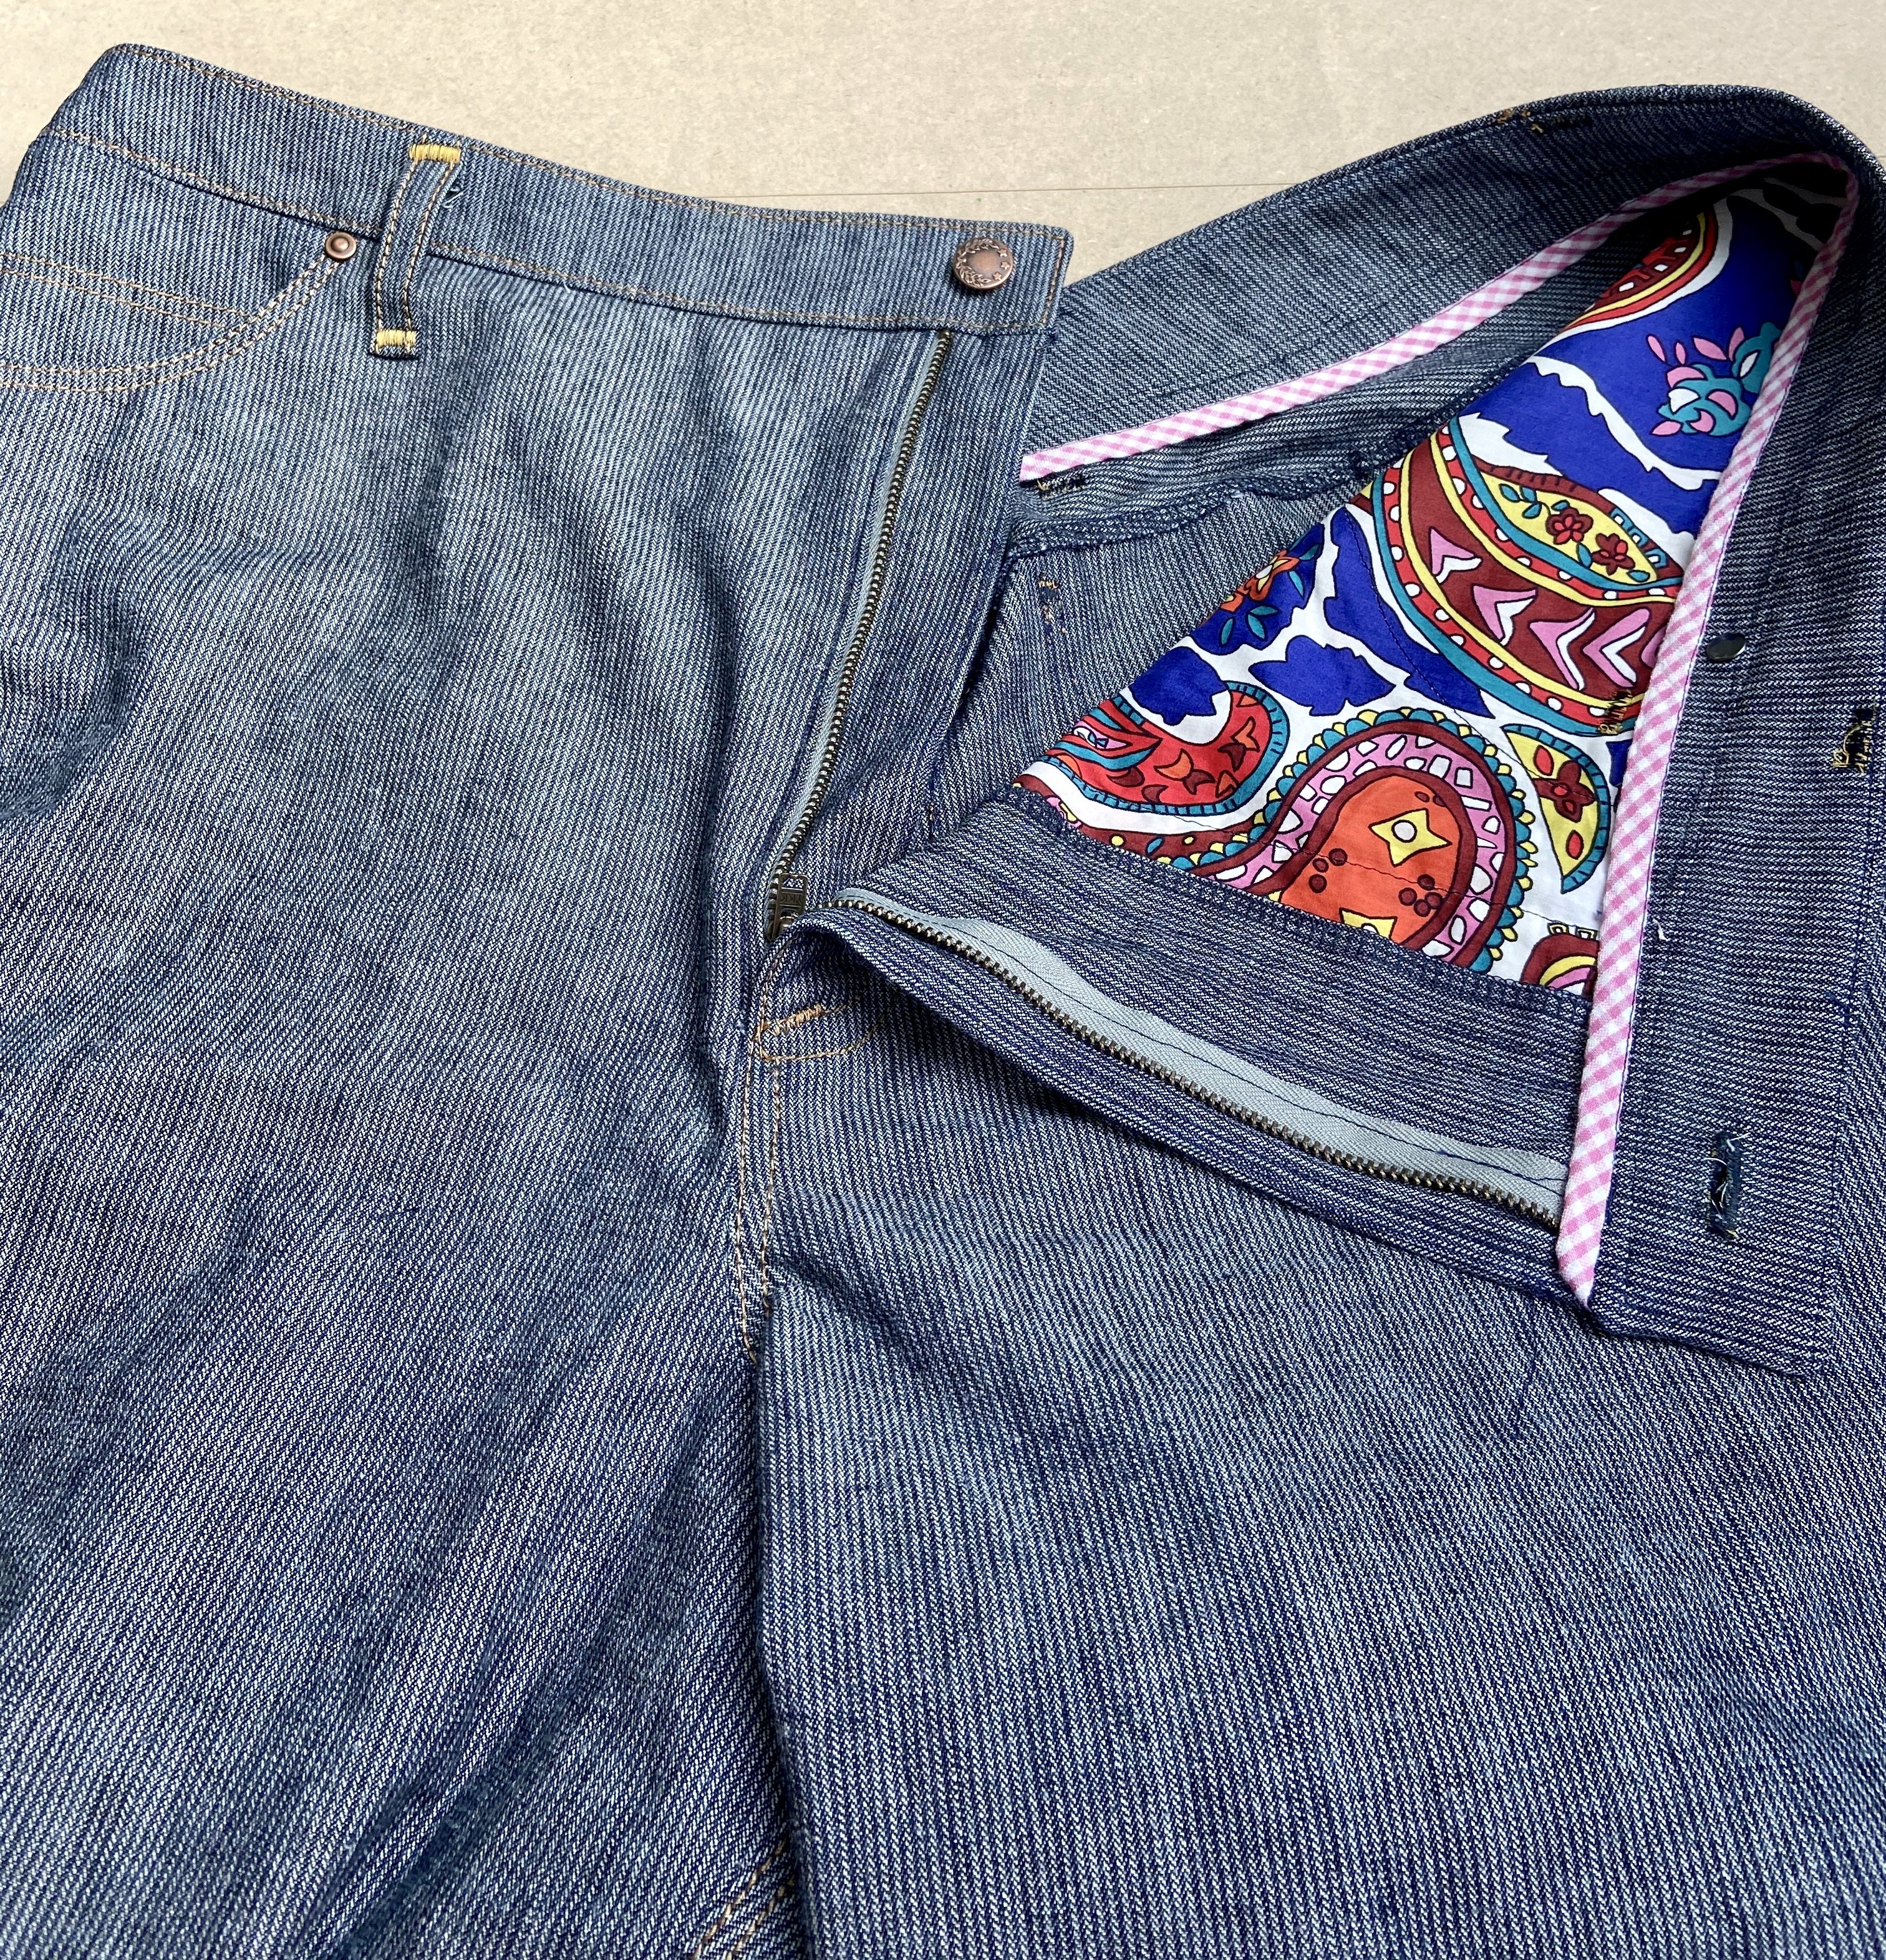
My machine sewed the pinstripe belt hoops on no problem, but was very contrary with the denim. But I learned I just had to place them very slightly away from any bulk in the seam allowance underneath. And not to sew on top of the bias bound edge of the interior waistband.
The top I made nearly two years ago, and is a shortened version of the Cashmerette Pembroke.
So now I have three pairs of jeans and that will do me for about a year anyway!

Very nice insides! Thanks for all the details!
LikeLike
Thank you and you’re most welcome!
LikeLike