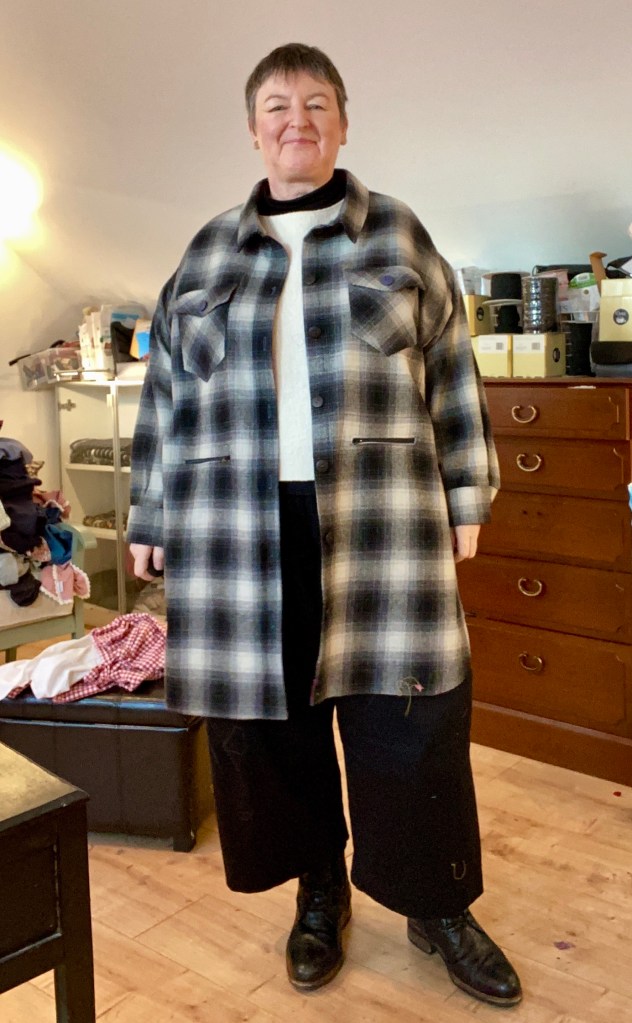
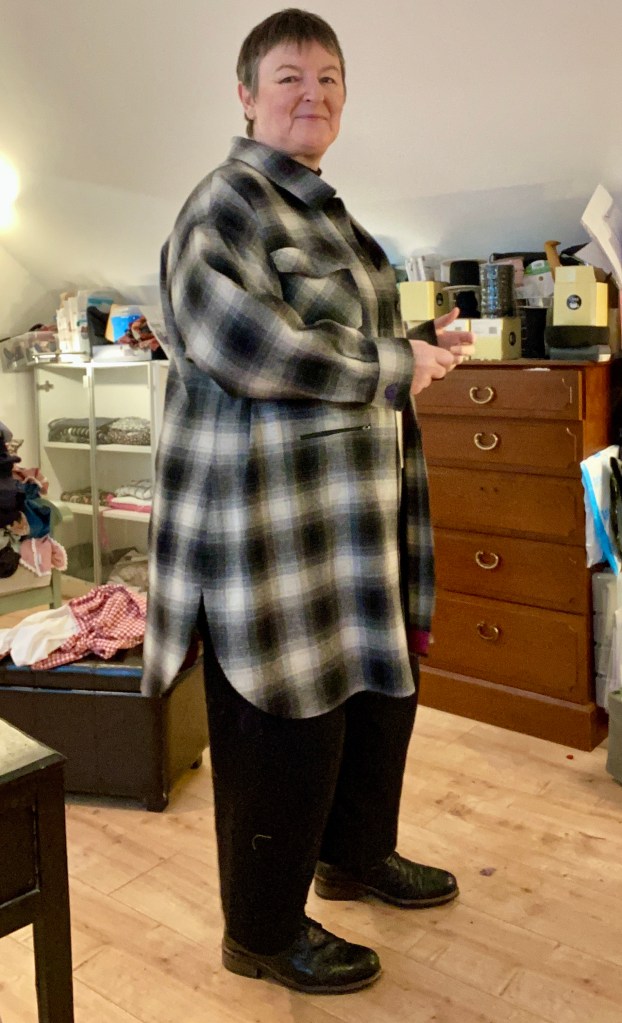
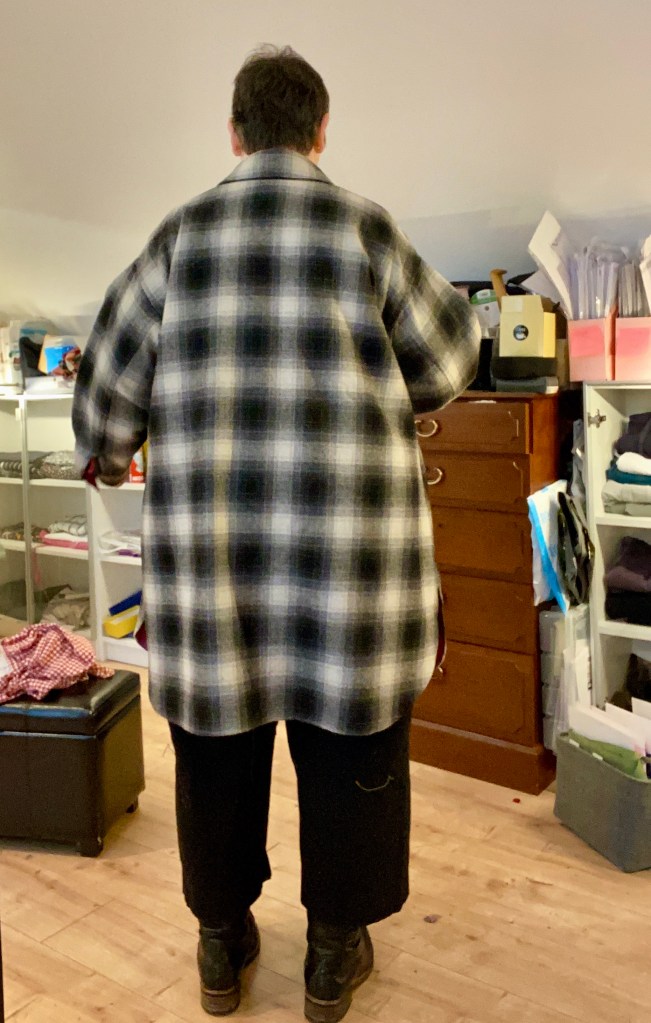
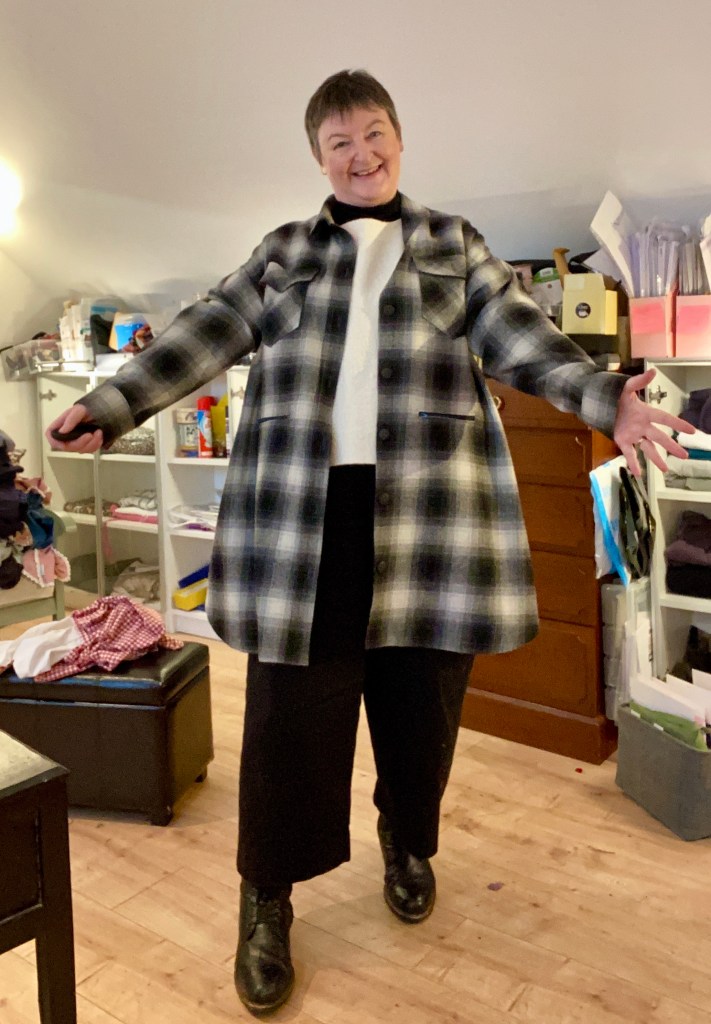
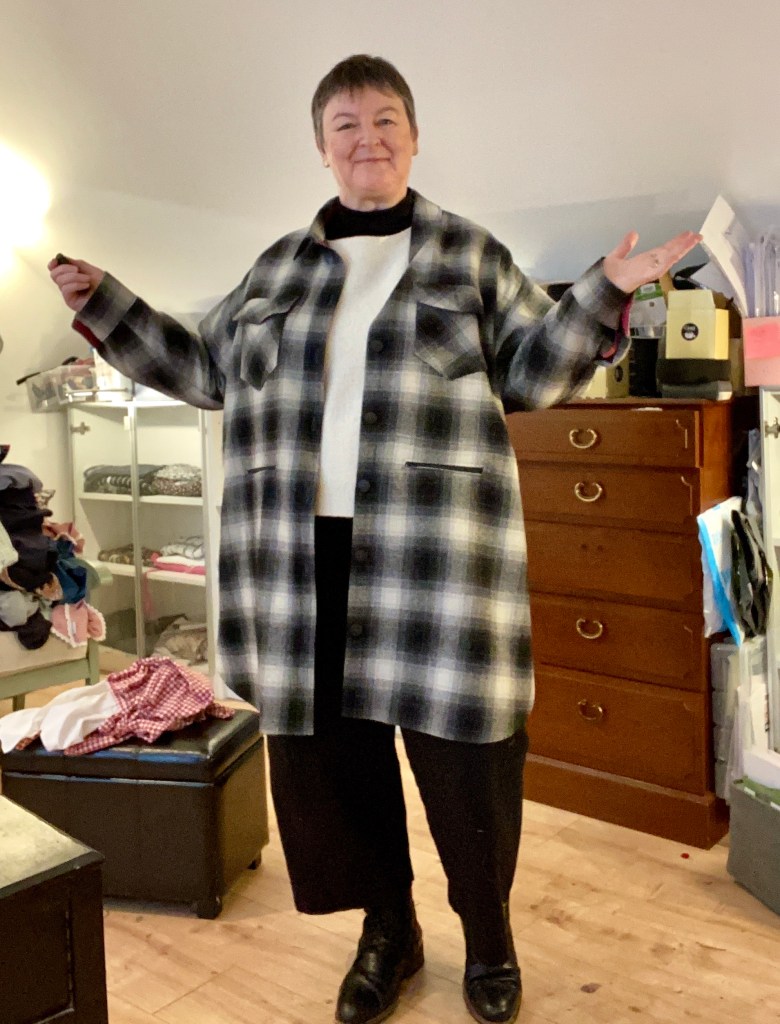
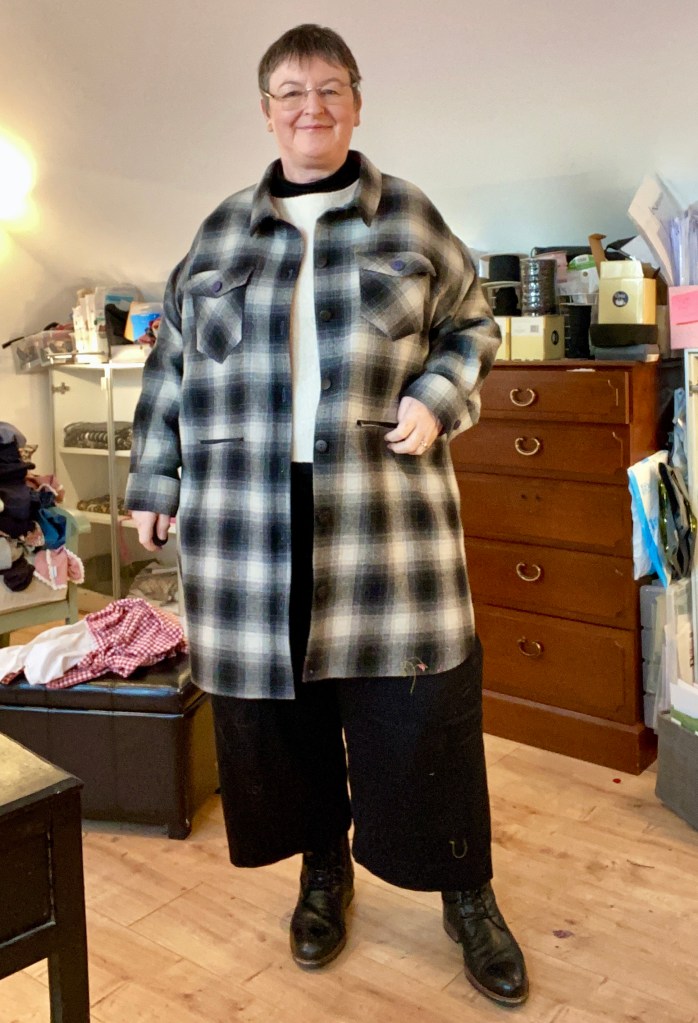
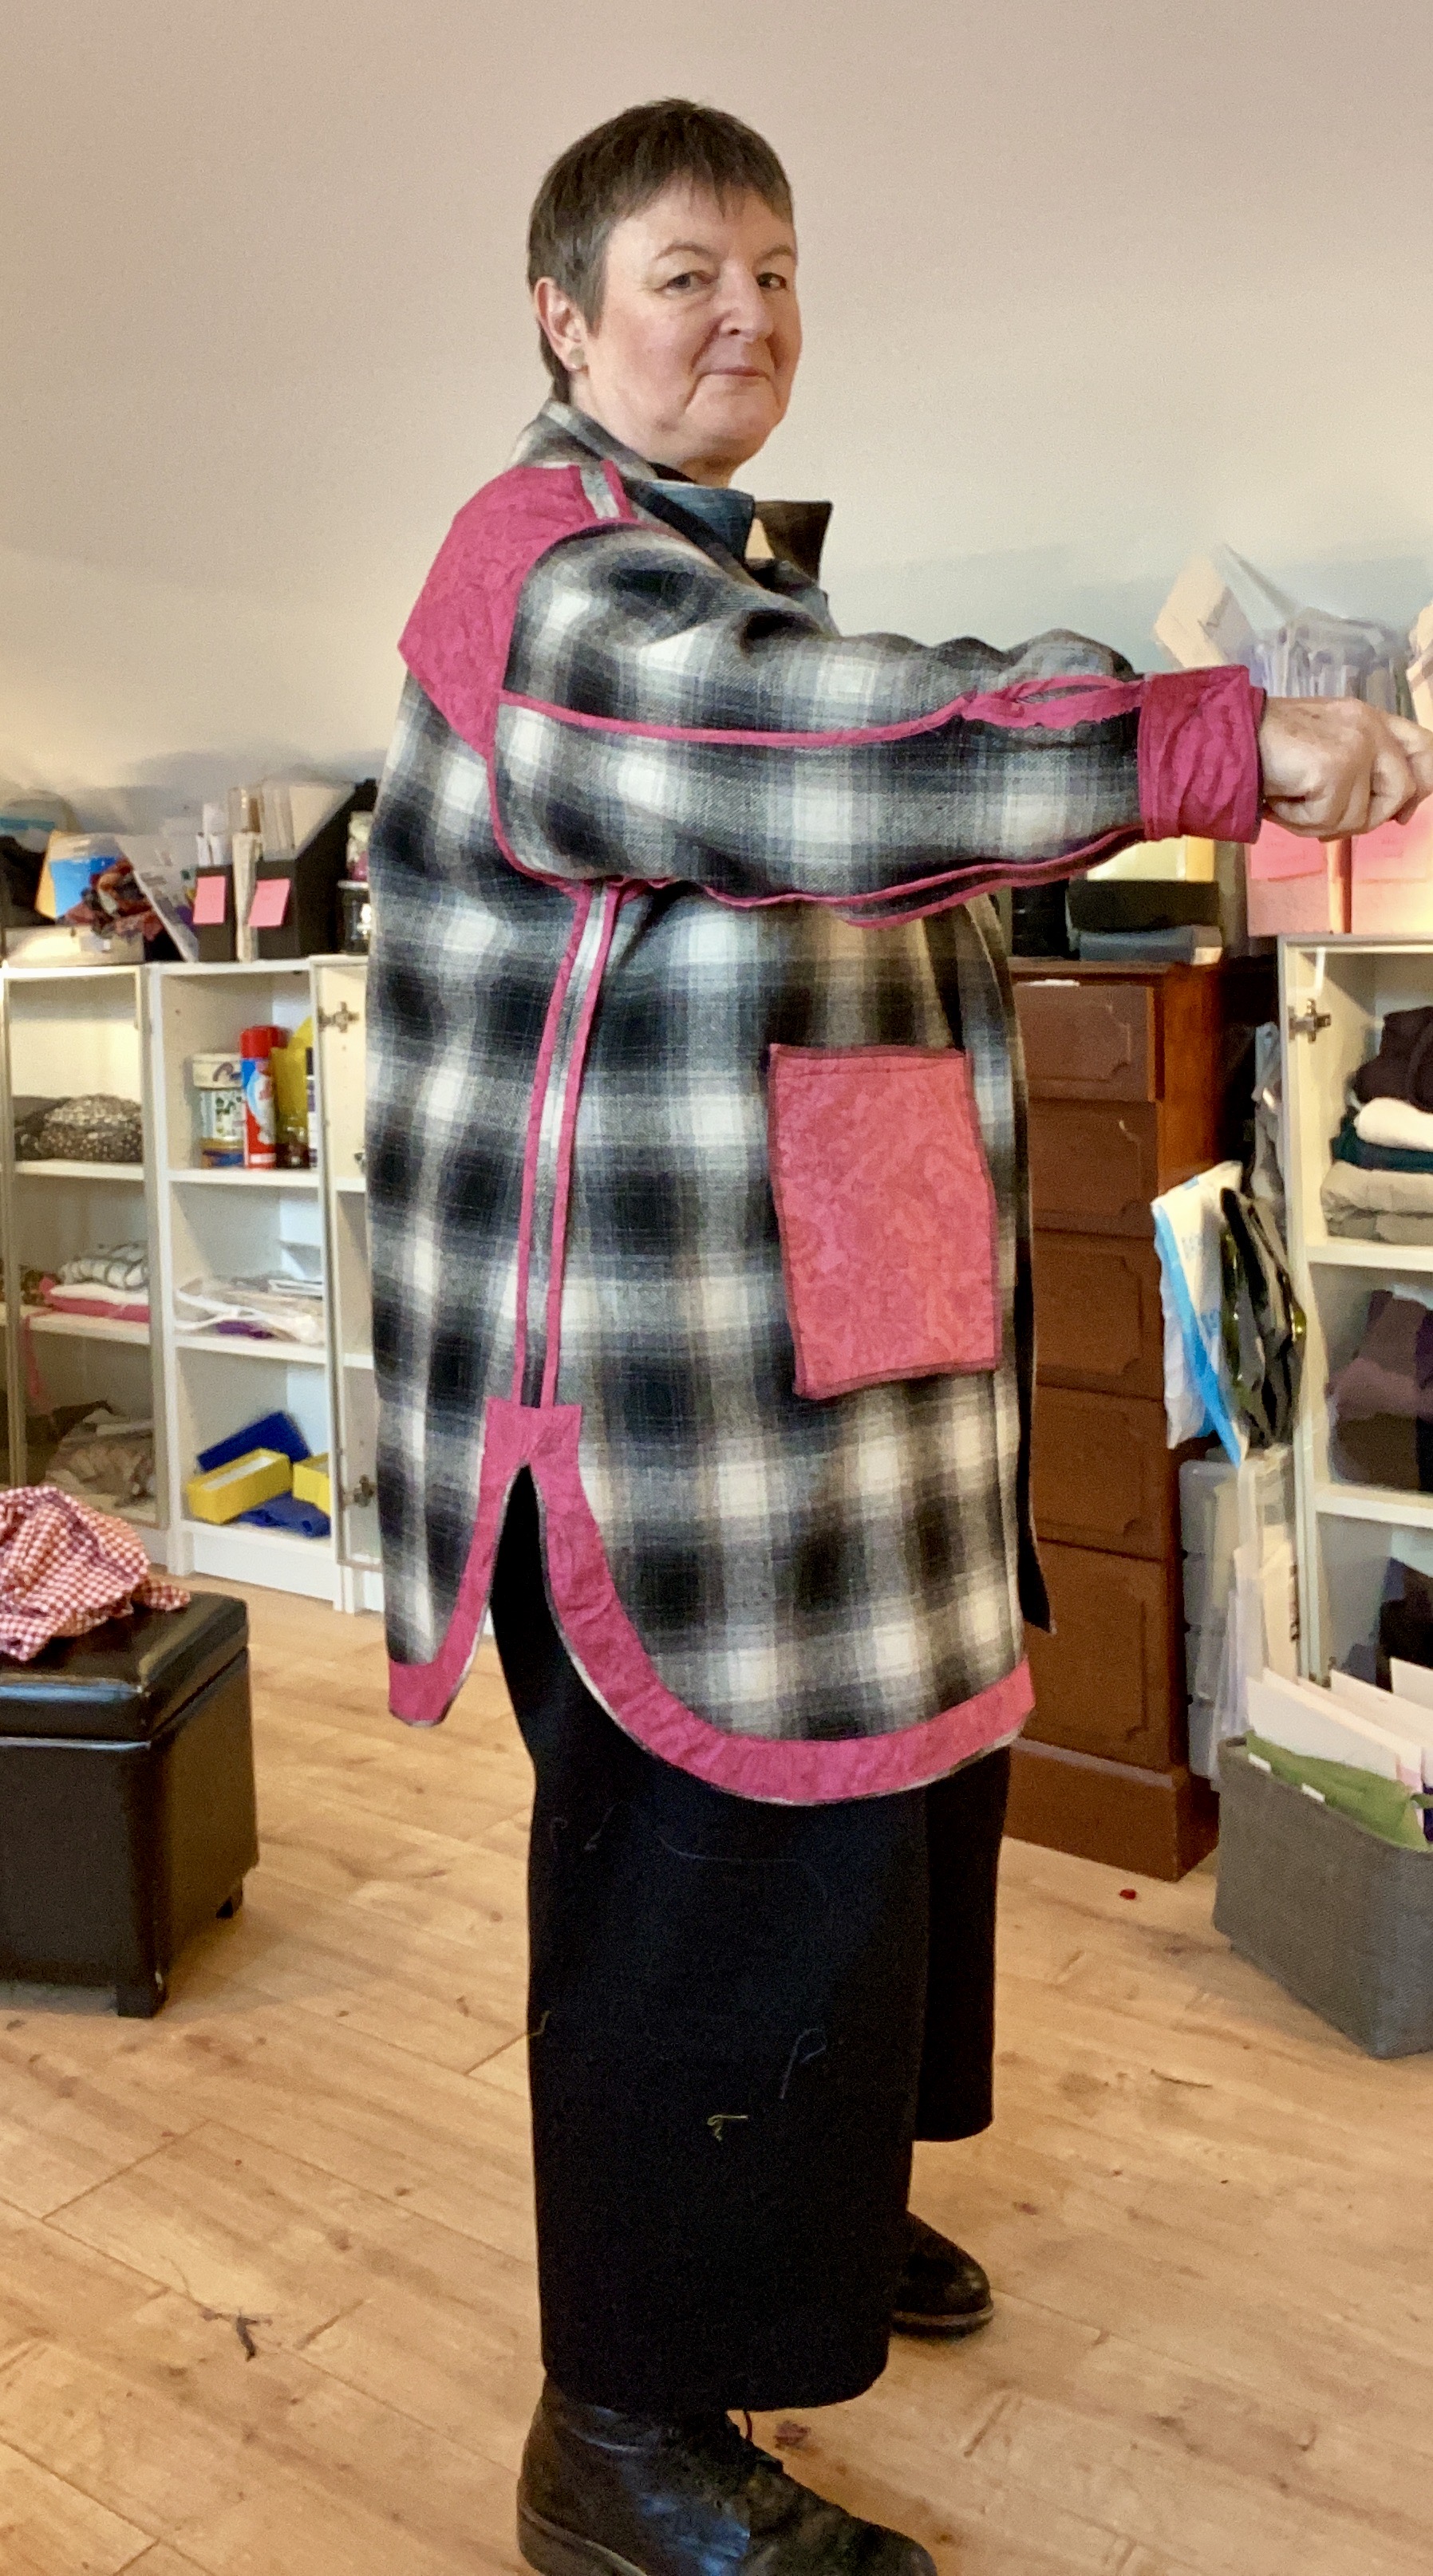
I’m so thrilled with the end result of my Shoalhaven Shacket from Muna and Broad.
https://www.munaandbroad.com/collections/frontpage/products/shoalhaven-shacket-sewing-pattern-pdf
Challenging make
It was probably my most challenging make yet. I’d never done a proper collar or cuffs before.
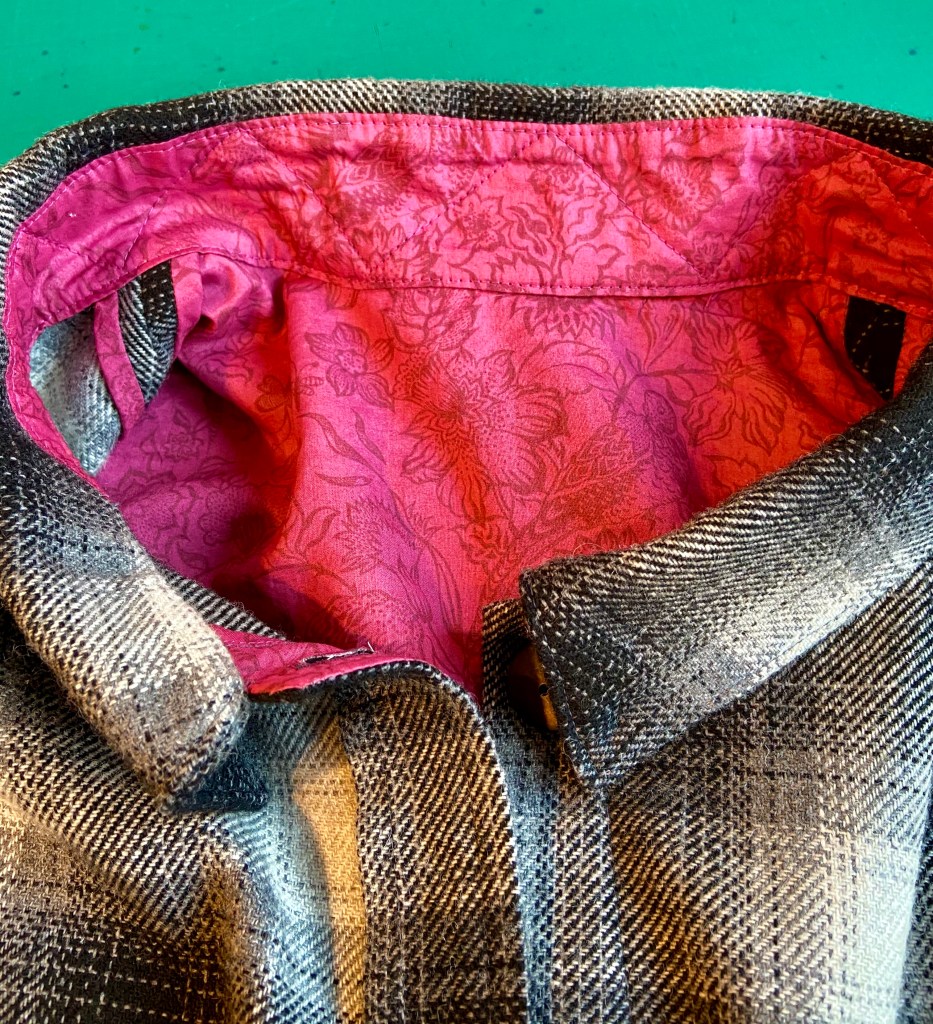
The plaid is wool and the pink lining and facings are Liberty Tana Lawn.
This pattern is extremely well drafted and has some accompanying videos on YouTube that are really fantastic. Specifically, for the collar.
Good instructions
The written instructions are really good too, but I find it a little confusing when more than one instruction is contained in a paragraph. I would find bullet points useful, but maybe others would hate that.
Great customer service
Muna and Broad has really good customer service and when I got confused by an image, Leila (one of the two Muna and Broad owners) got back to me within the hour of me sending an email. And that was on a Sunday!
I learned so much making this shirt/jacket. There are two pattern pieces for the front, which is really helpful when pattern matching. And the button placket is grown-on to one side so you don’t have to worry about pattern matching it either. I didn’t know what I was doing really, so when the button placket was finished, it was like magic! A lot of the time on this pattern, I wasn’t sure what I was doing just following along with the instructions. And after I did each stage I felt, ‘now I see!’.
The cuff plackets are really cleverly done, just with some binding.
Great sizing range
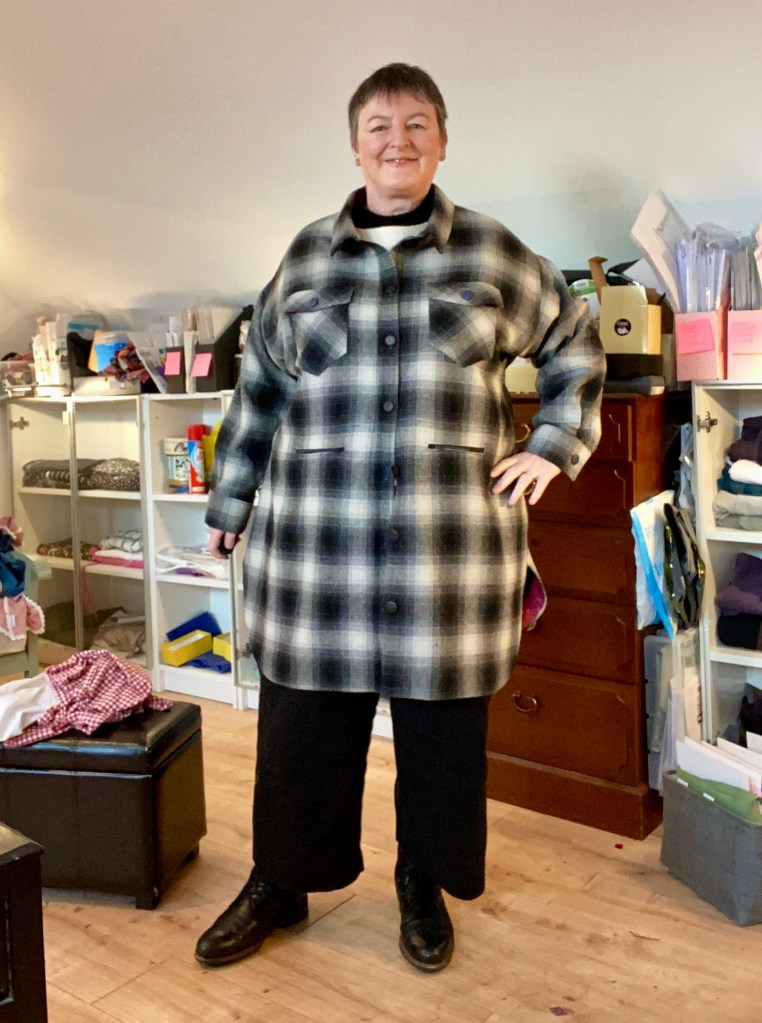
I’m 46”, 41”, 51” and I made size D with no alterations. I’m really pleased with the fit – not too big and sloppy and not too tight. And the sleeves are perfect. I nearly always have to do a biceps adjustment, but not here.
The pattern sizing goes from 40” bust to 64”; and 41.5” hip to 71.5”
Changes I made
I cut the back on the fold to avoid bothering with pattern matching.
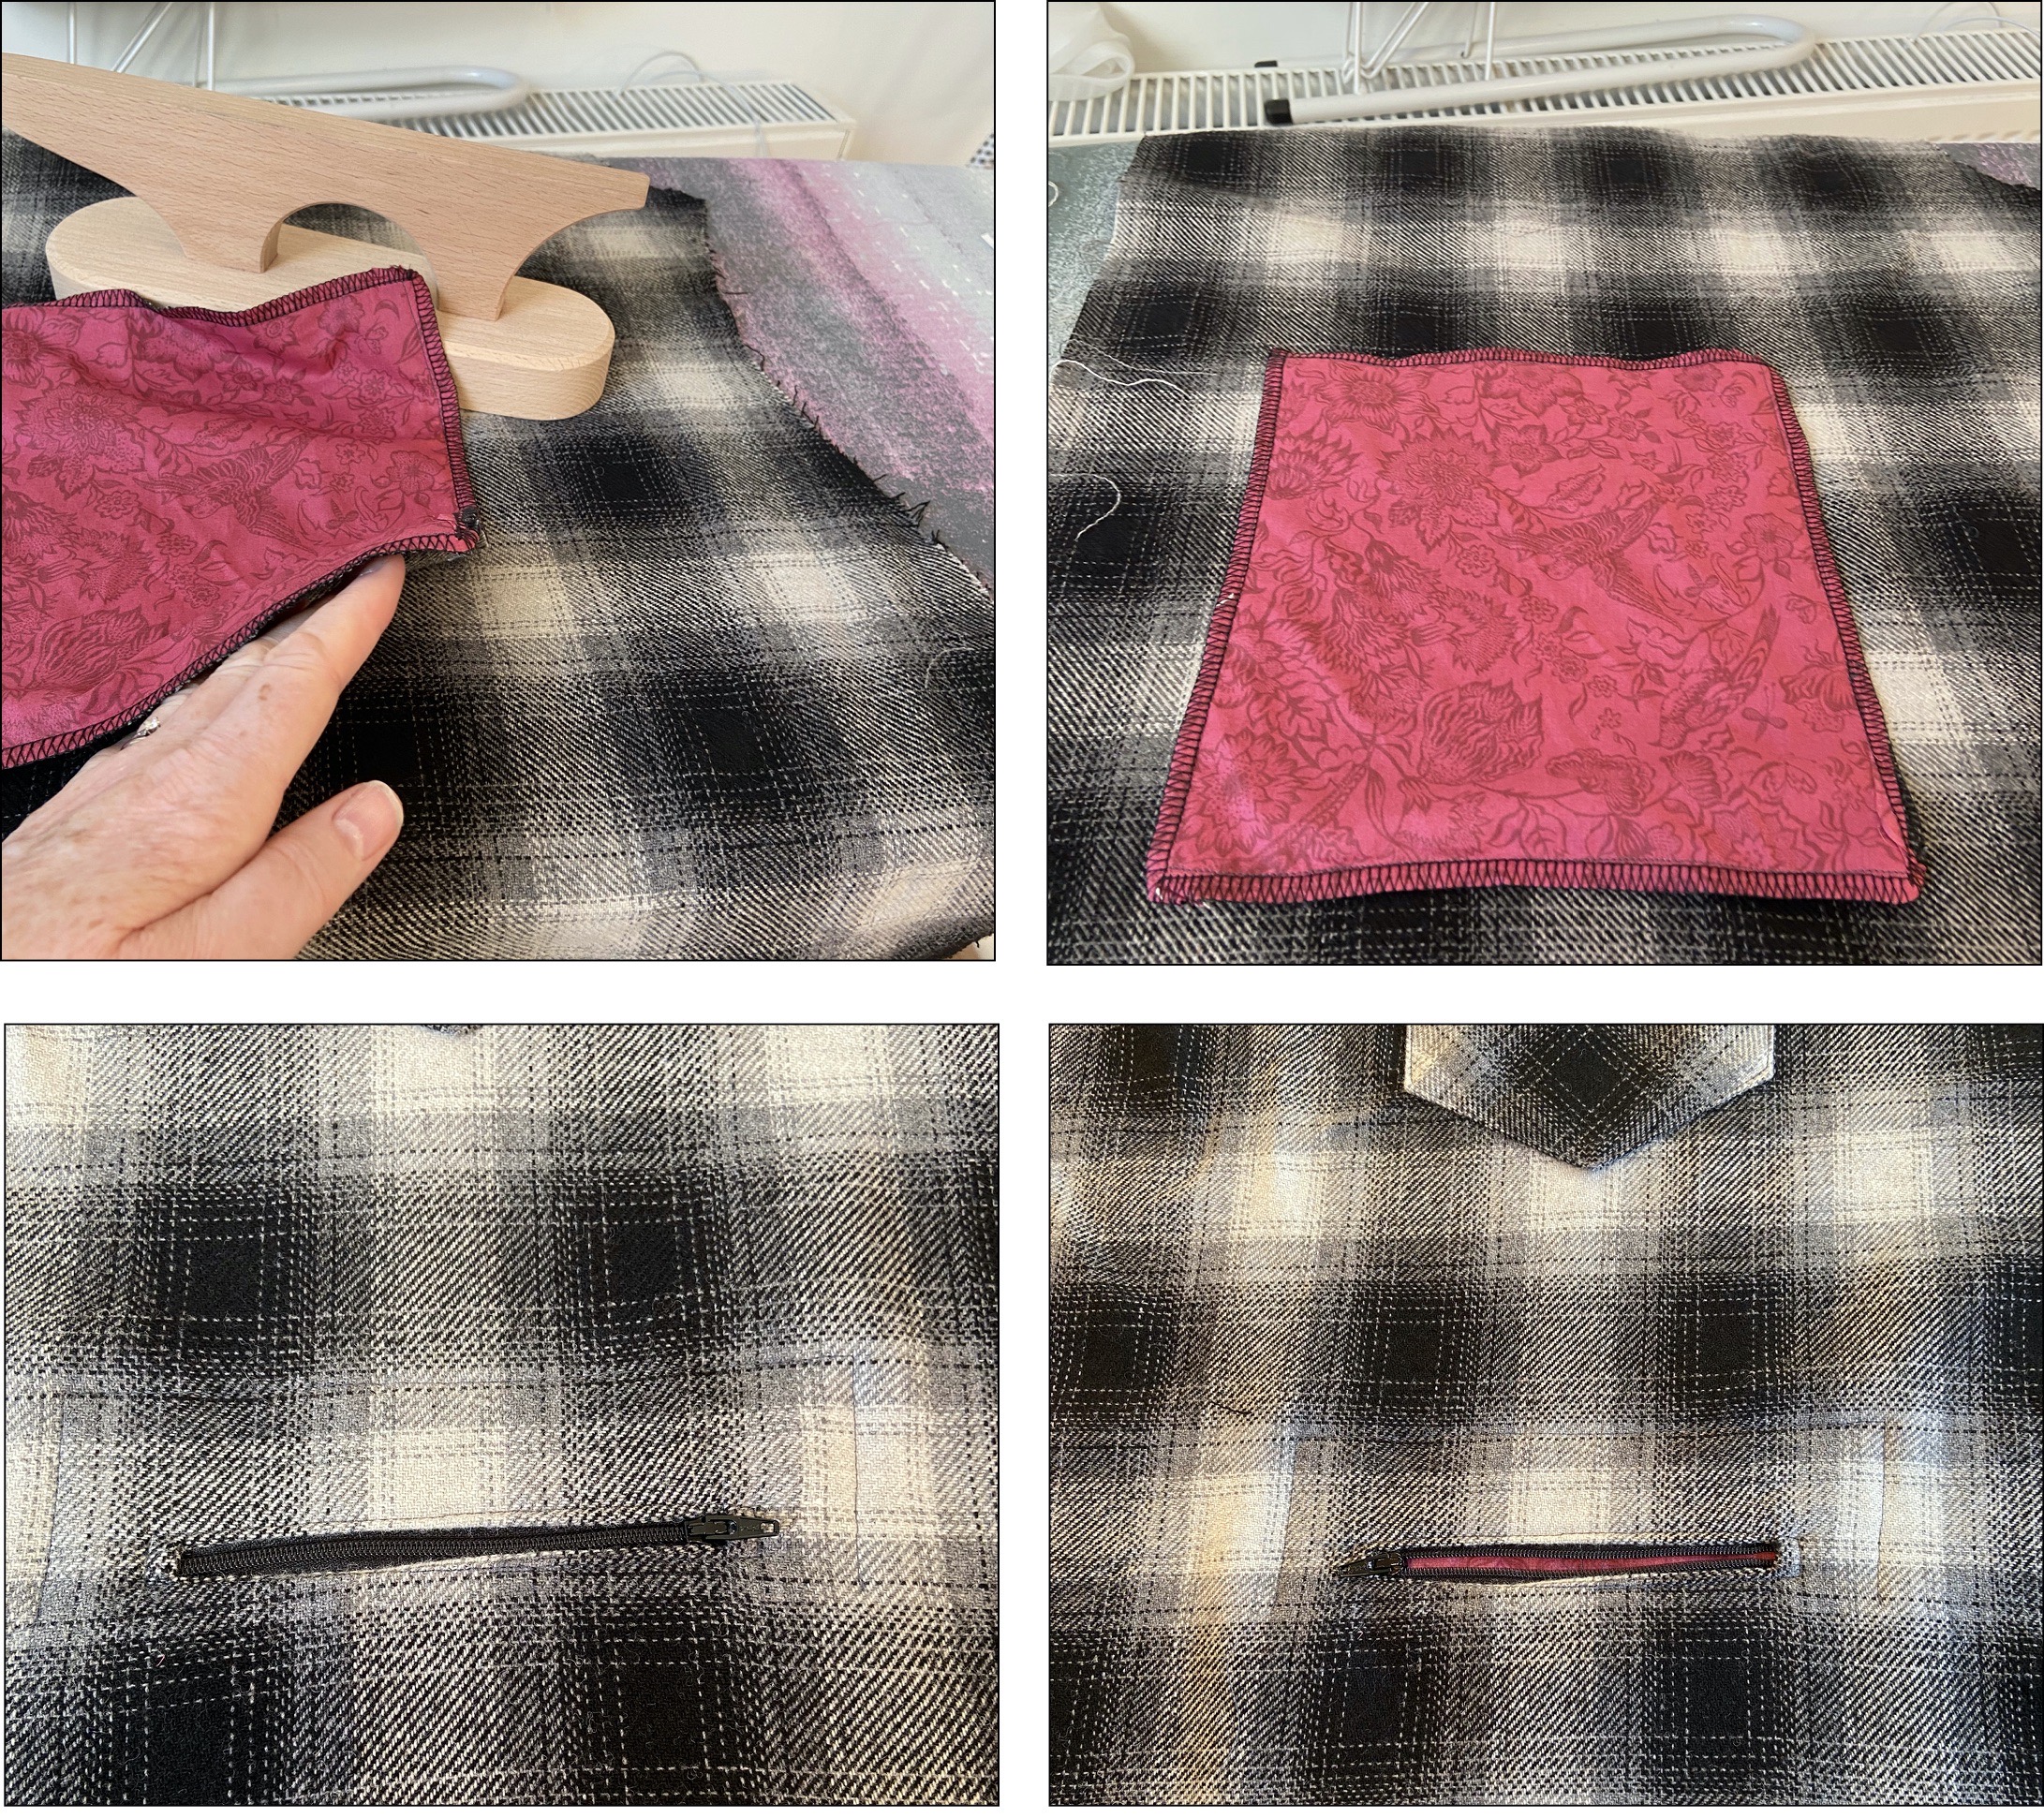
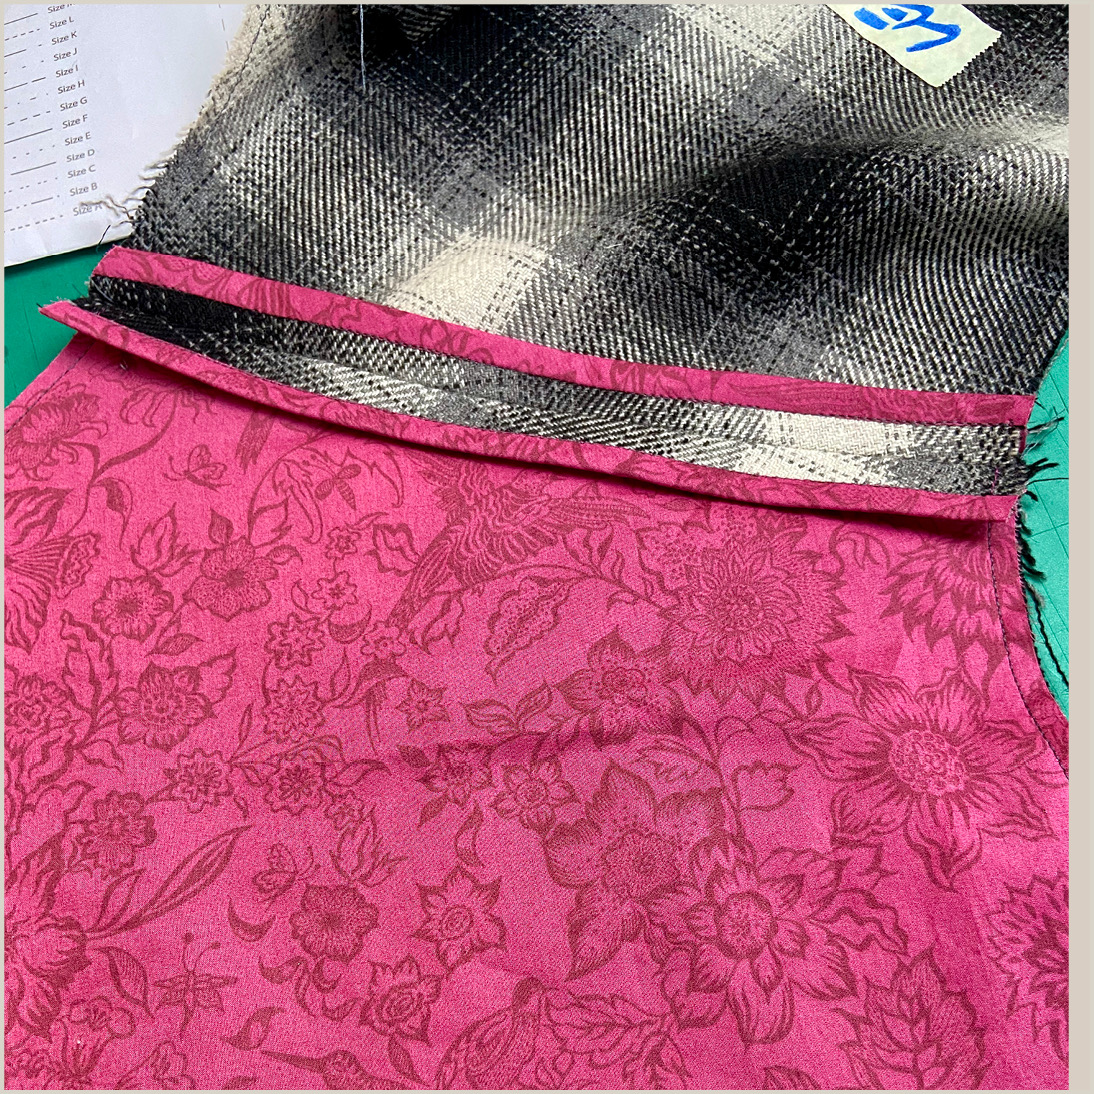
I added zipped-welt pockets – I wrote a tutorial about that here:
https://sheilaokelly.com/2021/01/02/how-to-add-zipped-welt-pockets-to-anything/
I added seven buttons down the front instead of 6 – I prefer odd numbers!
I made self-inflicted mistakes too.
Mistakes I made
I forgot I needed to pattern match the back until I had it cut out, but I had enough fabric left to cut out again. I was able to use the dud piece for other parts of the pattern.
I messed up the pocket flaps and had to re cut and sew.
I messed up the collar and had to re-cut and sew.
Hong Kong seams and bias binding
When making binding I prefer to use a pieces of fabric about 24” square and make decent sized strips.
Then I put the strips on card ranking from shortest to longest. This minimises joins.
I didn’t iron the binding before use, for this project there is no need. (And anyway I never iron until application – see this blog it will change your bias-binding life! https://www.sewinglikemad.com/2013/08/sew-homemade-bias-tape-easy-way-and.html)
For this jacket, the short strips worked perfectly for the shoulder binding; and the long for the arm/sideseam. I didn’t need to join anywhere.
Also wearing…
The cream boiled wool top is the LB Pullover by Paper Theory; and the black trousers are One-seam Pants from Cutting Line Designs.
Denim one planned
I already have a denim Shoalhaven planned and can’t wait to make it to consolidate everything I learnt on this one.
